
Log to Timber
In May I had the opportunity to assist with a course titled Log to Timber taught by Gerald David and Peter Henrikson. The idea behind the project is simple but certainly difficult in practice. Take a white pine log, make it into a dimensional timber with axes, then turn those pieces into a building using hand tools. I had some previous experience with hewing and shaping wood with hand tools but practicing a familiar yet somewhat latent skill is always a humbling reminder of how much there is to learn.
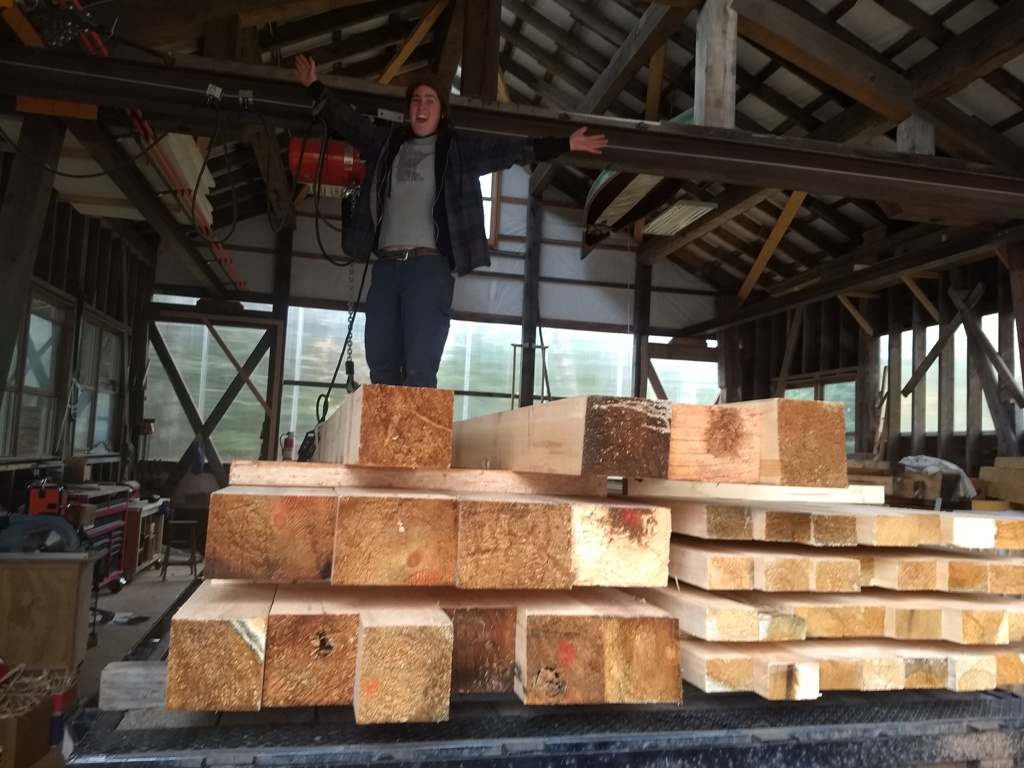
10 students showed up to hone (yes that’s an axe pun) their hewing skills and learn some fundamentals about laying out a structure using centerlines. More on that later. The process started up at the Hedstrom Mill. In the photo you can see Peter blending into the endless stacks of timber. It’s a bit of a where’s waldo shot.
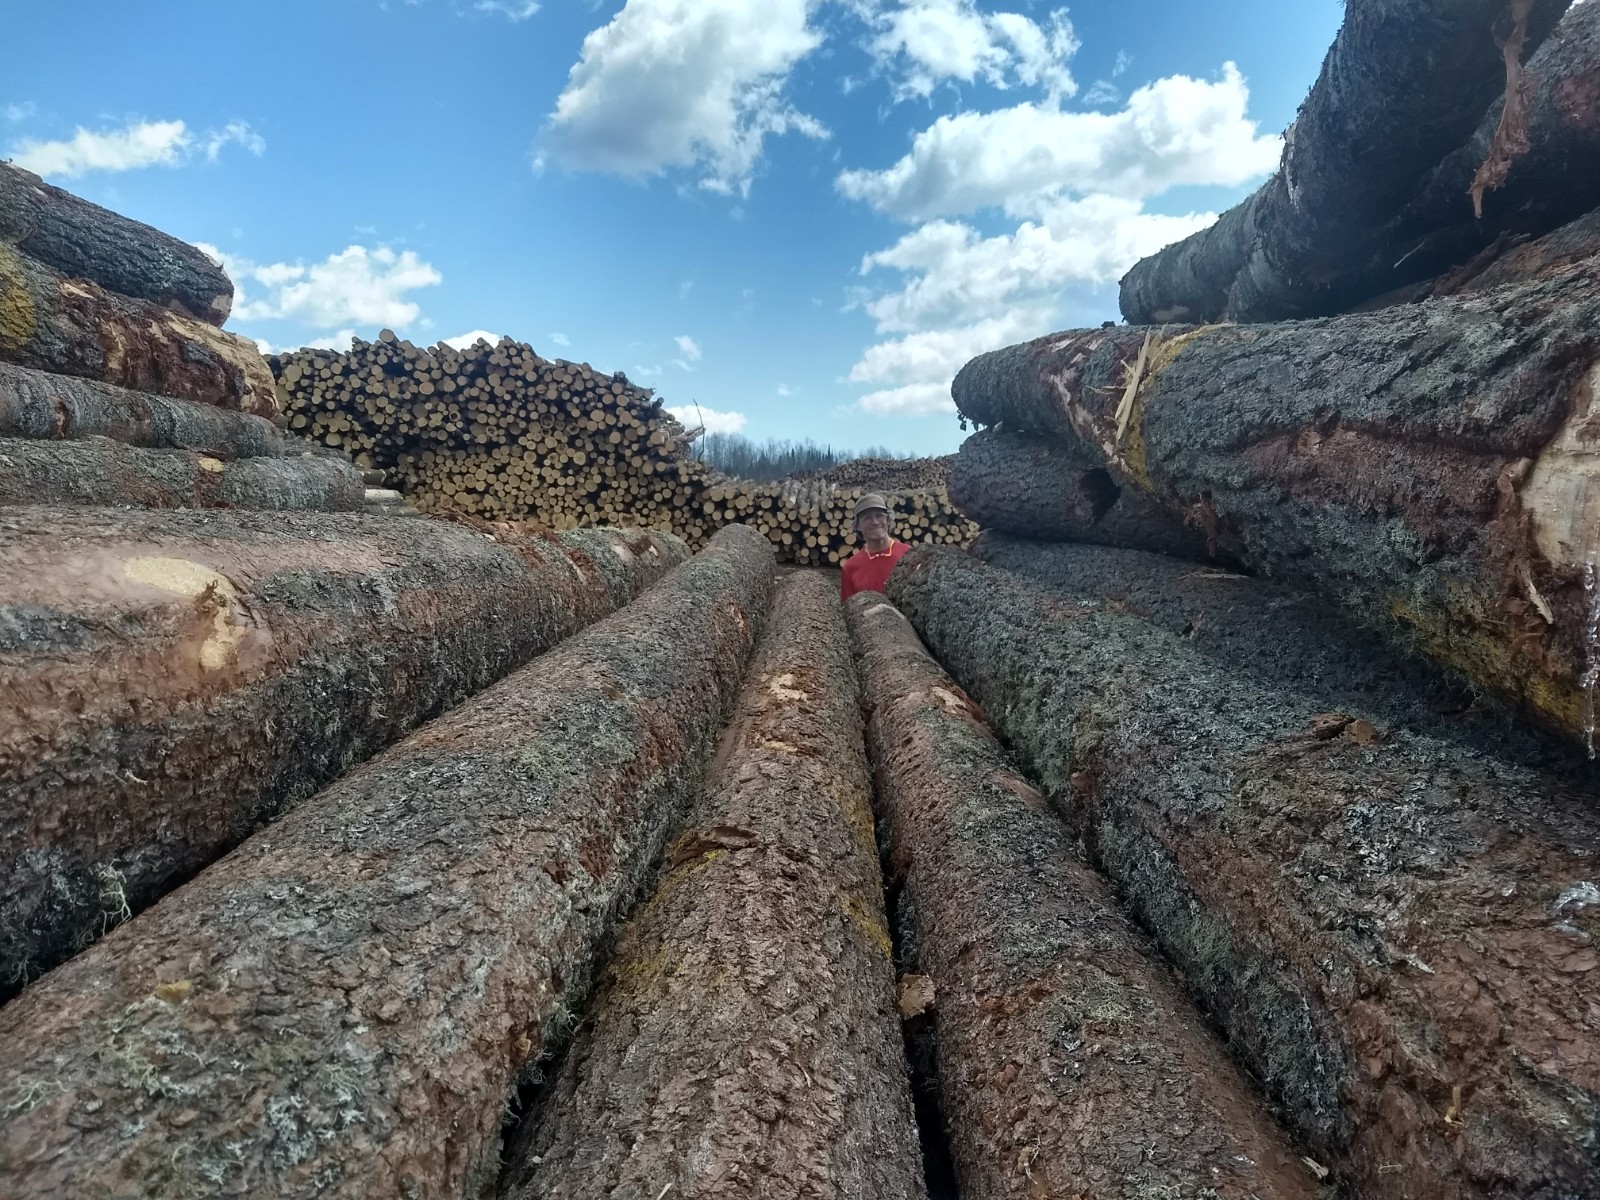
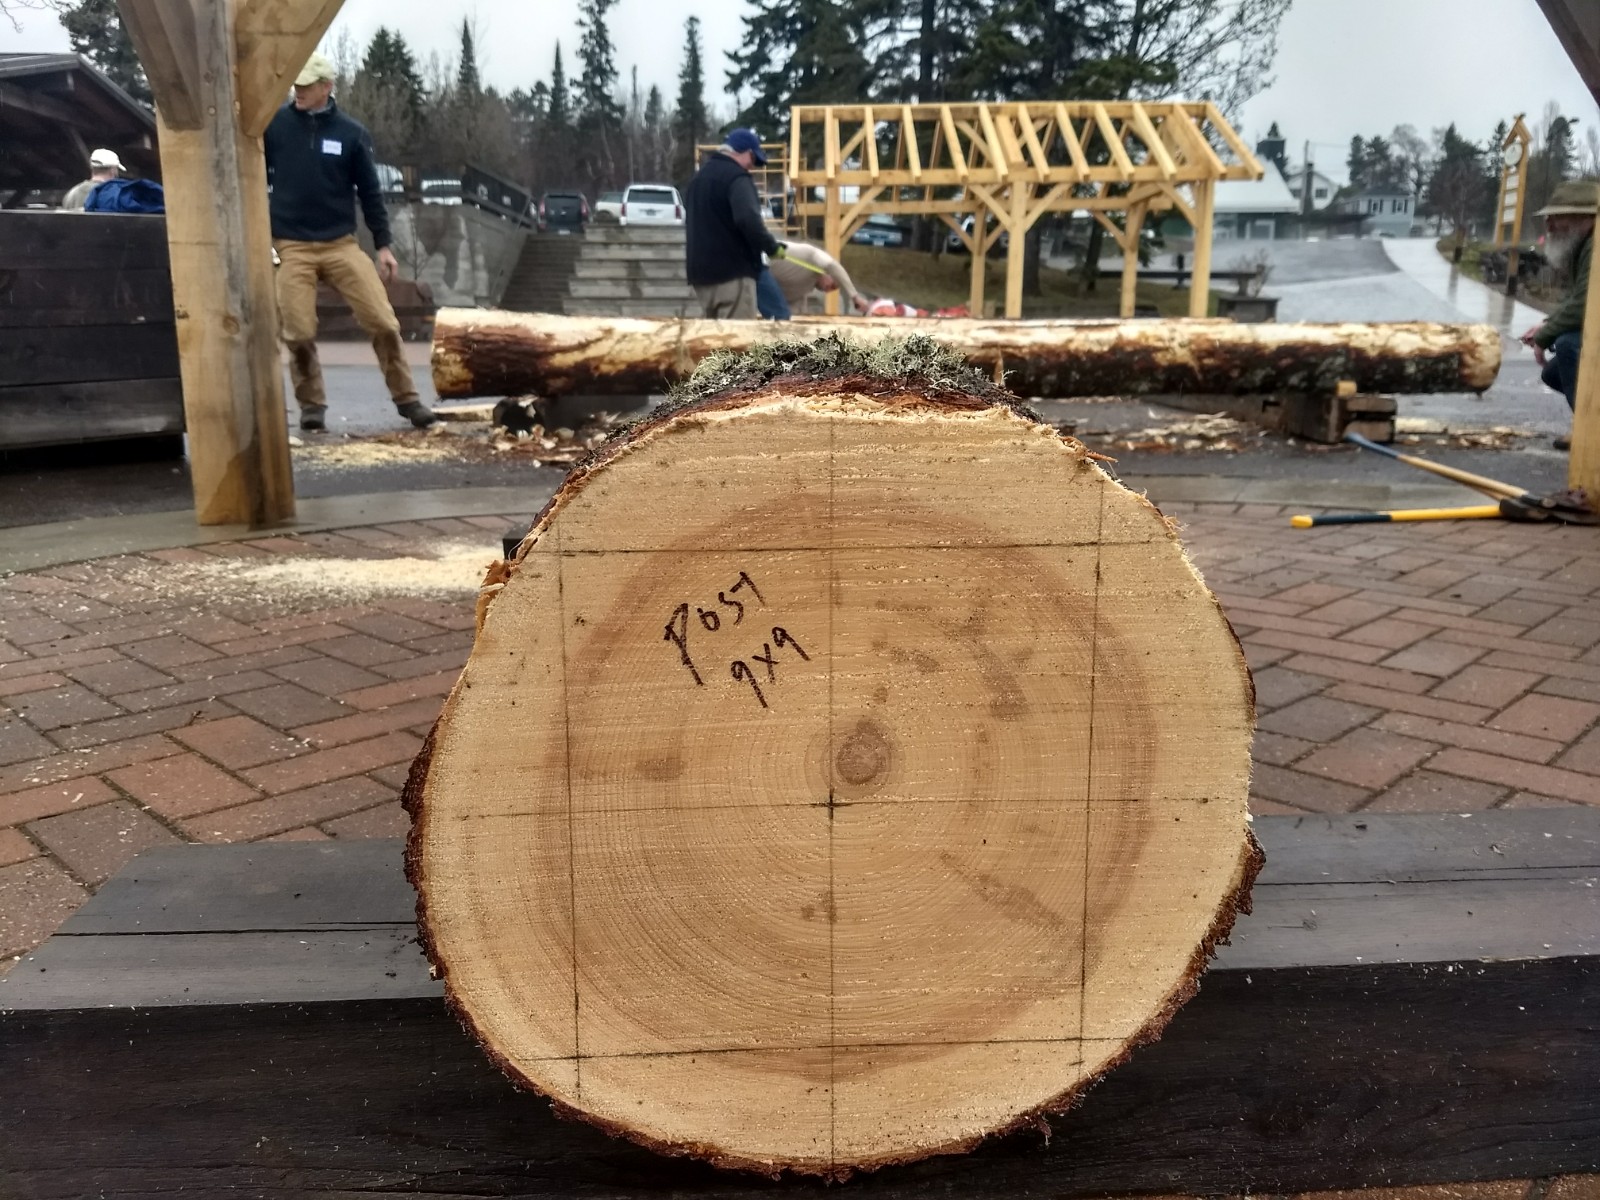
The largest dimensional pieces we needed for the project were 9x9 material so we searched through the stack of logs for relatively straight and knot-free logs. For the tie beams we sought out some naturally crowned pieces in order to give the tie beams a nice subtle arching form.
To process the logs, measurements were made on the ends defining the dimensions of the to-be-squared timber and the bark was removed in order to snap chalk lines on the surface of the wood.
Once laid out, we used a felling axe to make a series of notches down the length of the log. These stop cuts break up the fibers making it easier to remove the remaining material in a process called joggling.
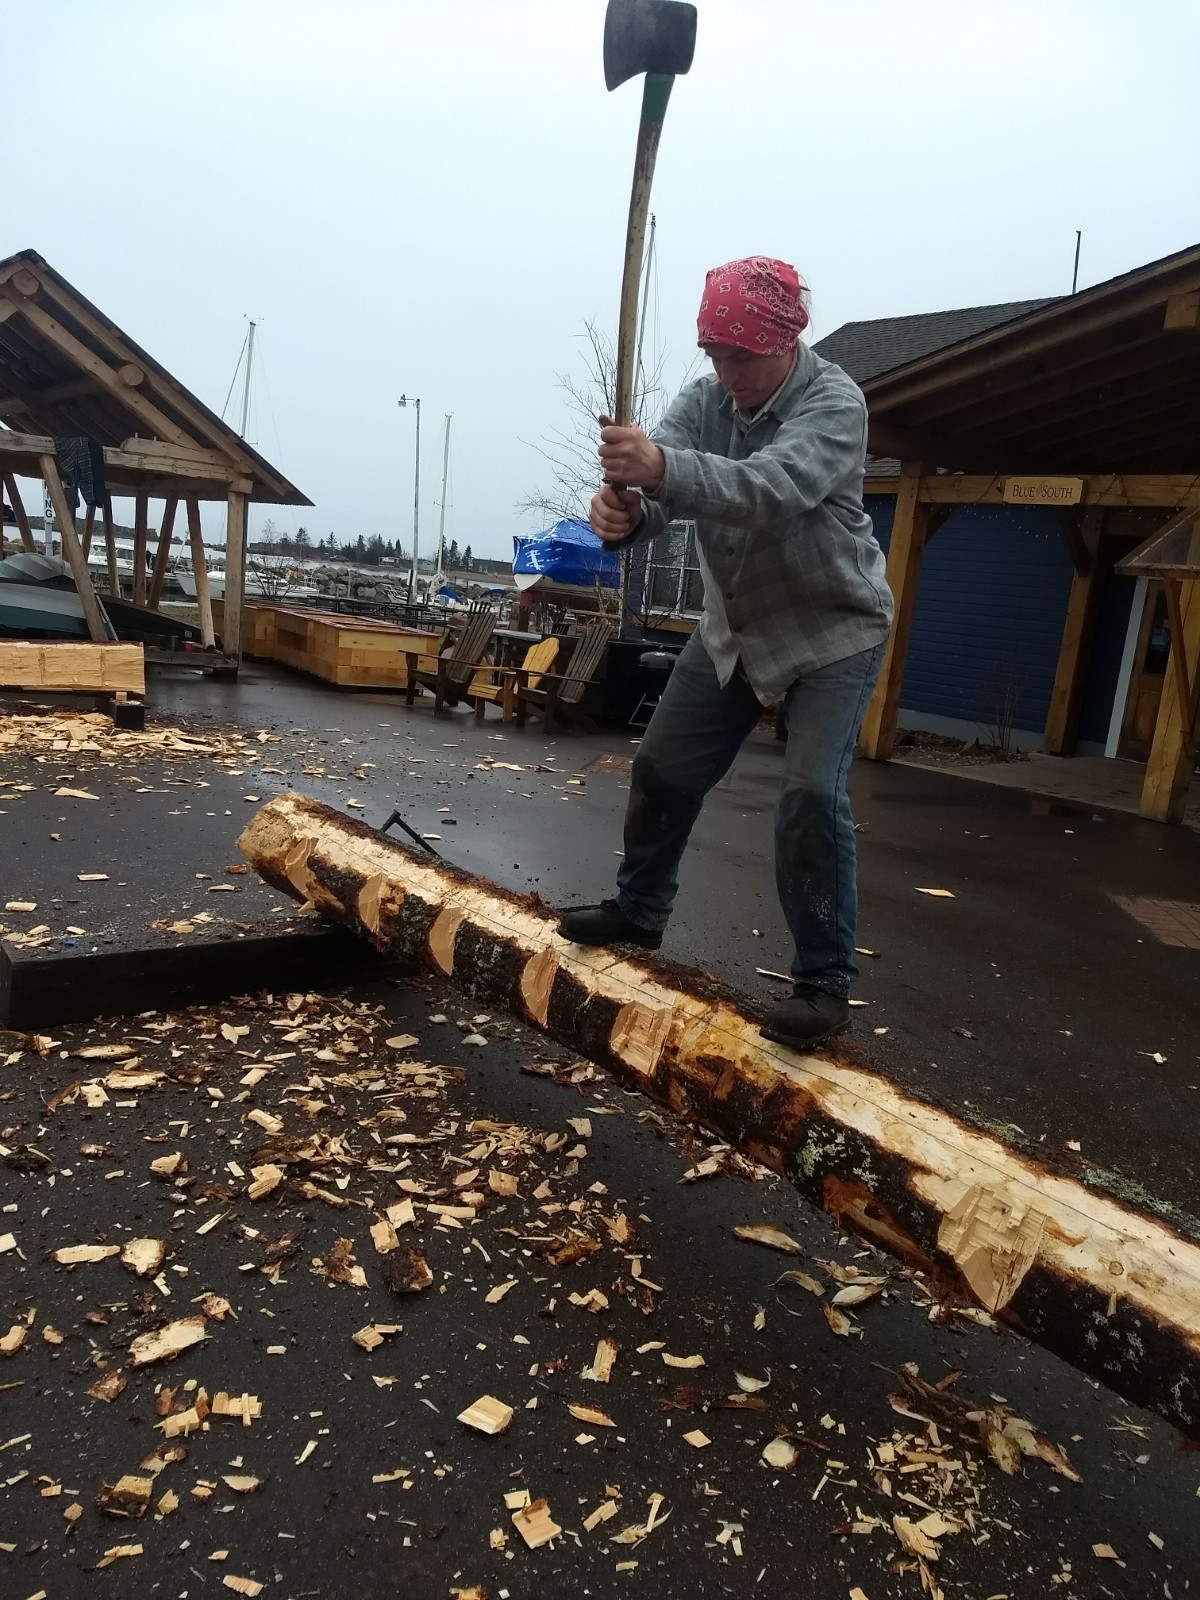
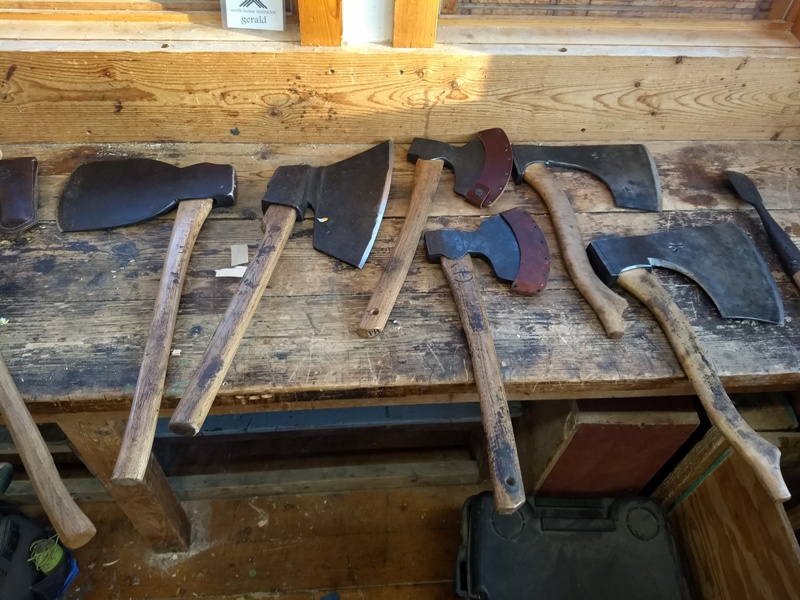
With the bulk of the wood removed the timber is refined using a hewing ax. Hewing axes are shaped differently than other common axes. Their larger size and shape of the bevel allow a person to create a flat or, more accurately, a flattish continuous plane. There are many styles of hewing axe and we had varieties from all over the globe to choose from.
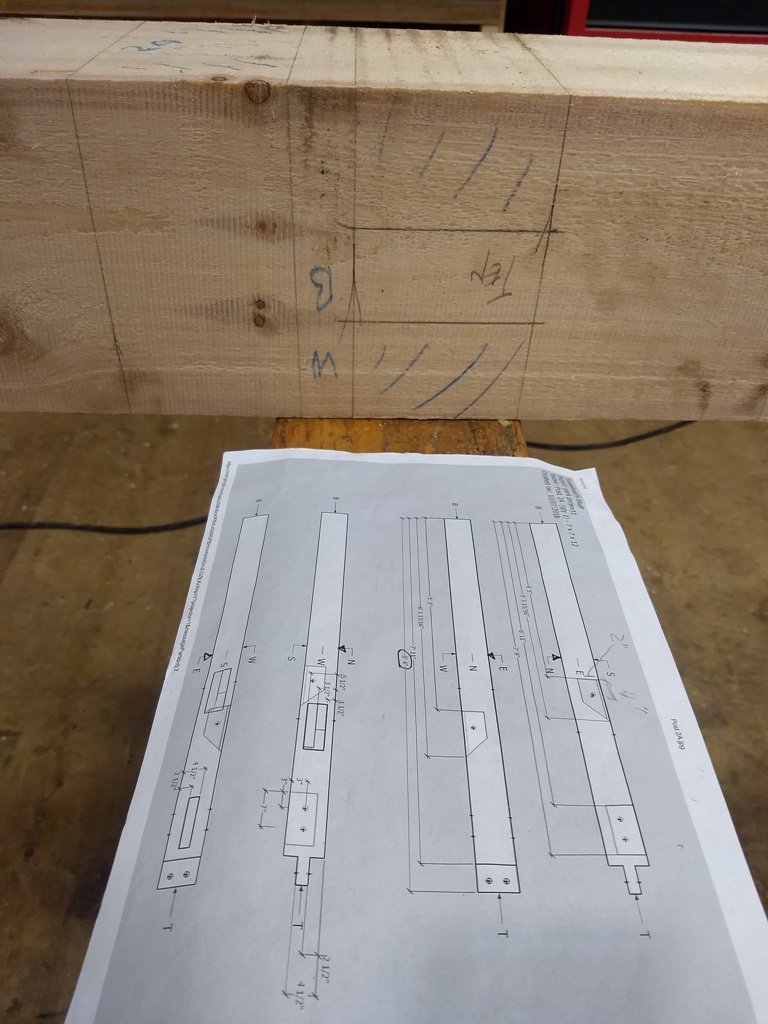
After the various timbers were hewn and a nice layer of sunscreen infused salty sweat was stinging the eyes, the process of layout and cutting joinery began.
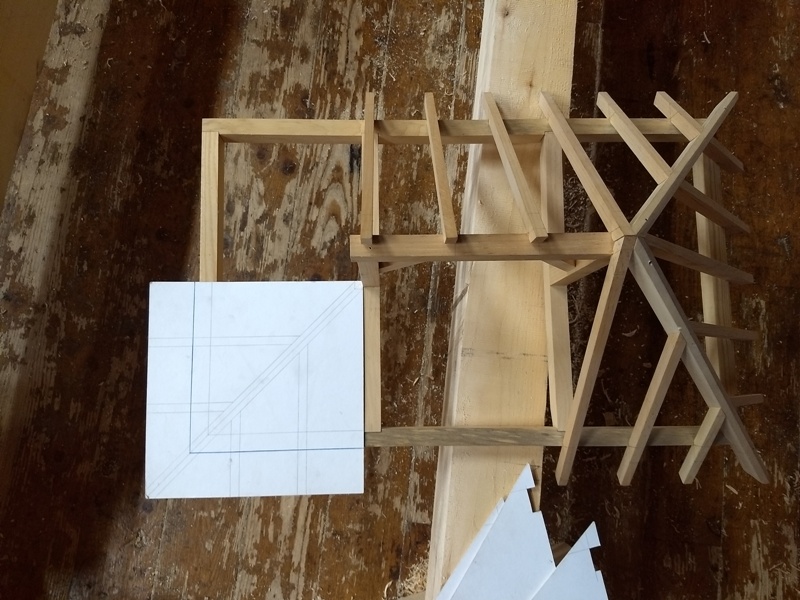
The timbers are only relatively square and quite varied, therefore, a different approach for measuring and laying out joinery is required. Center lines are snapped with a chalk line to create a reference representing the theoretical center of the timber. By measuring off of these centerlines and various pre-established reference points we know that the joinery will fit together as it was designed to even though we are working with irregular shapes. Using this method is useful in joining round pieces as well.

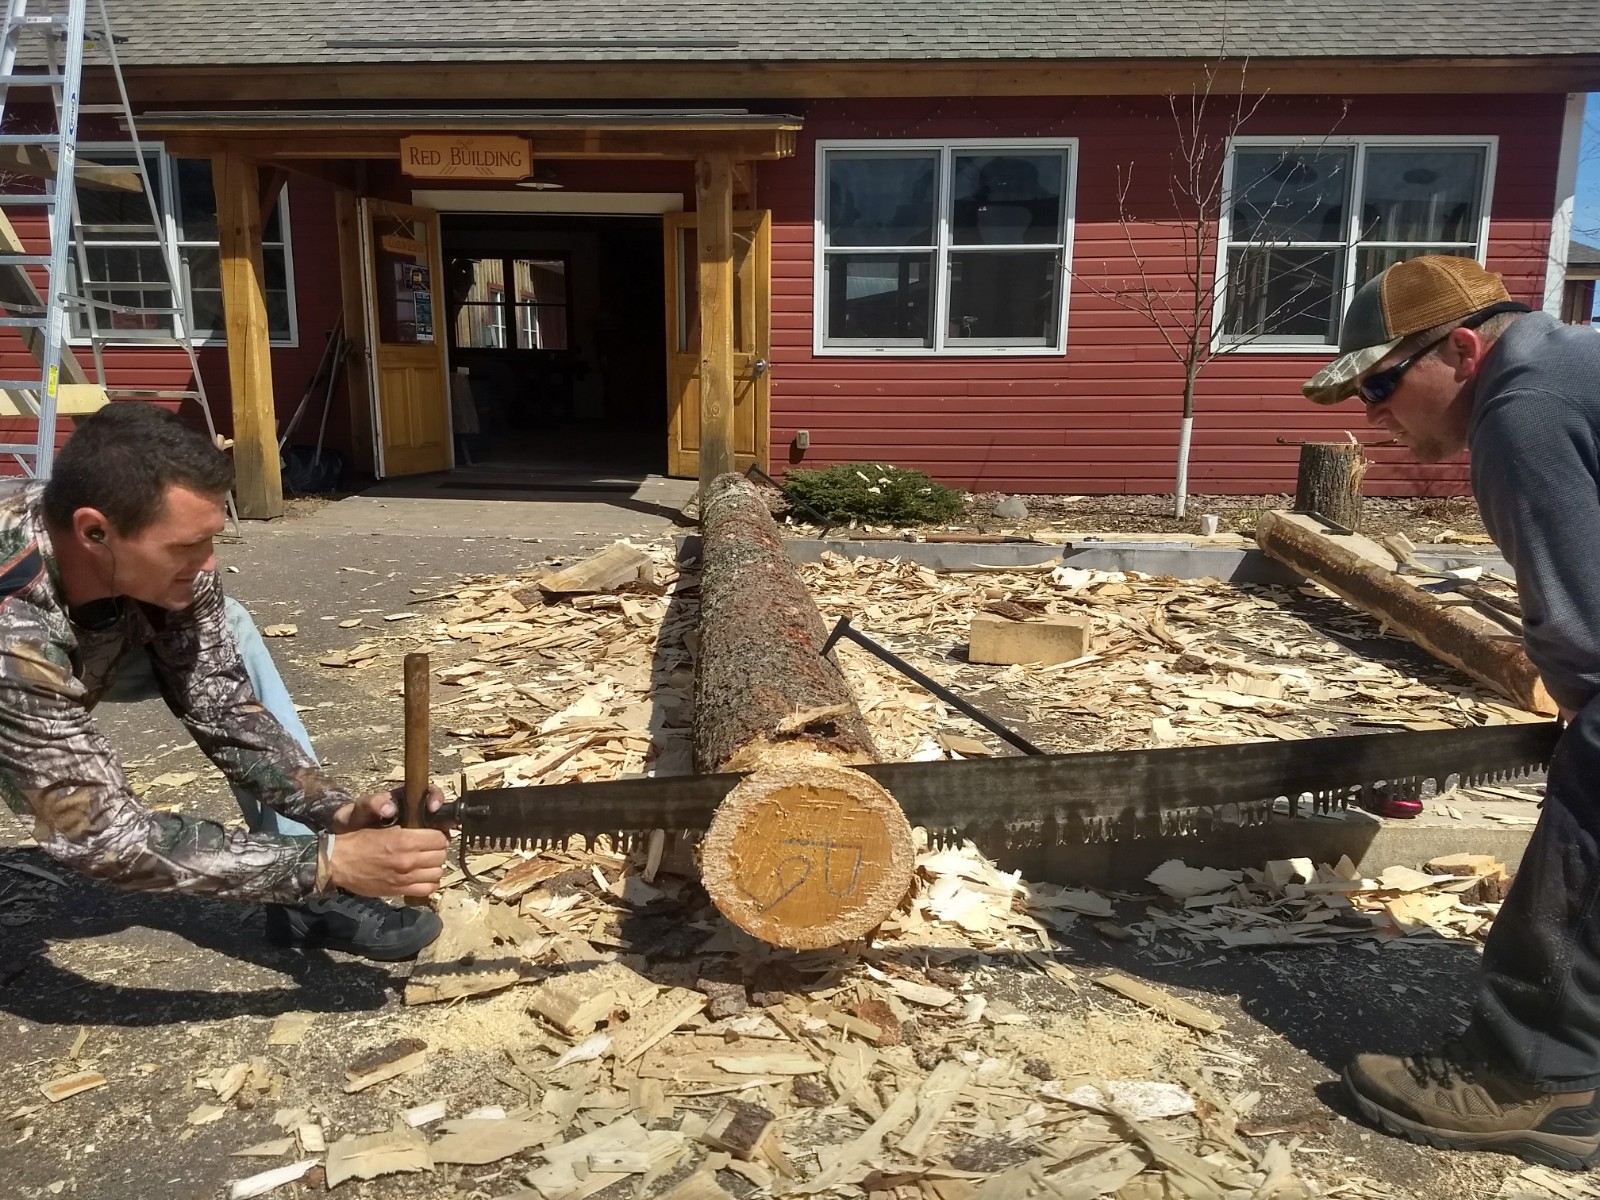
For the rafters and brace stock hewn 8x8s were placed on 6’ trestle horses and a two person pit saw was used to rip this larger timber into 4x4 pieces. The novelty factor was high and students and passersbys were equally fascinated with the process.
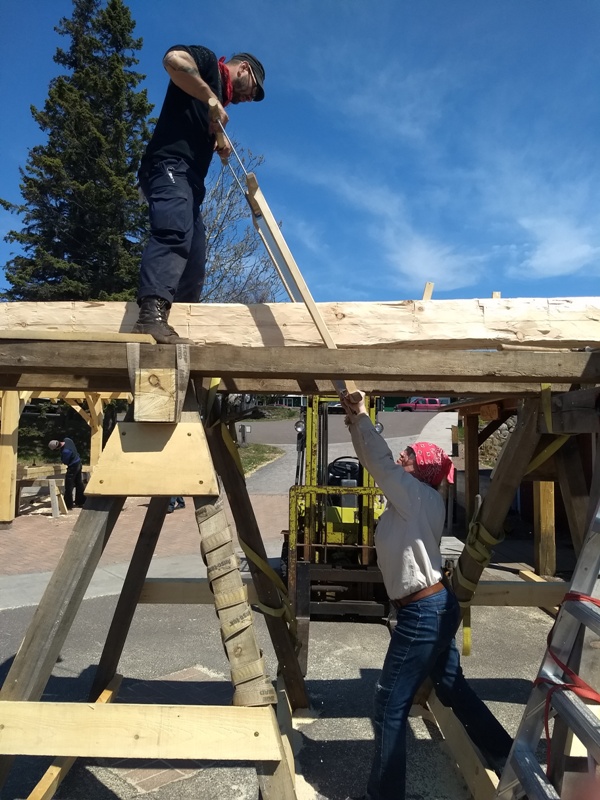
As frame components were laid out and cut we were able to make adjustments by test fitting the joints in order to make for a smoother rasing.
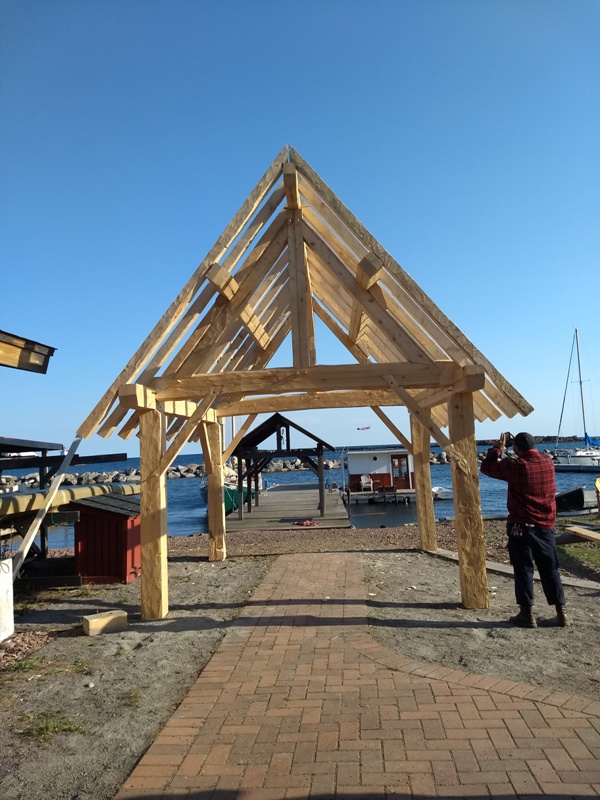
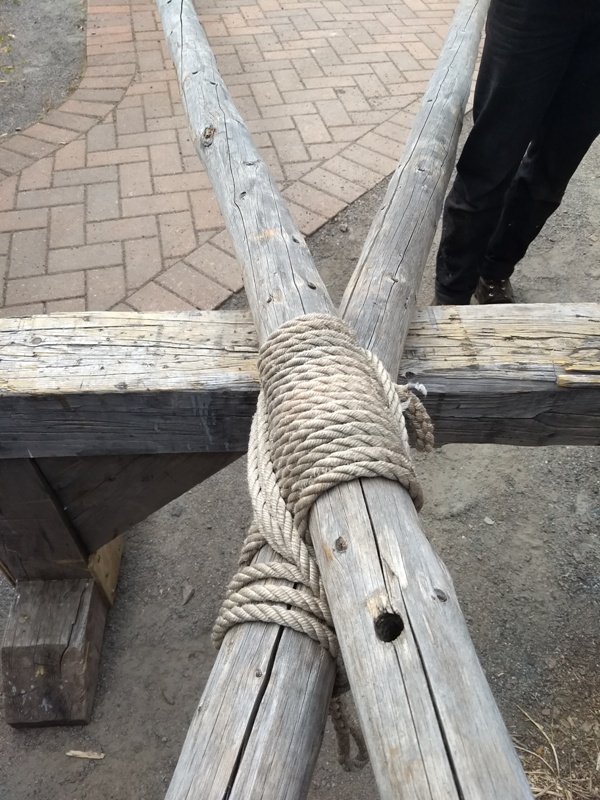
These freshly hewn green wood white pine timbers were heavy! In order to lighten the load and safely raise the heavy assemblies into place Peter rigged up an A- frame. What is that exactly? Just as the name suggests its an A-shaped site built crane. Using guy wires to attach to various anchors and using the mechanical advantage of a block and tackle system the lashed spruce pole crane effortlessly picked up our heavy trusses and set them gently into place. It was a thrill to watch and great reminder that simple machines are beautiful.
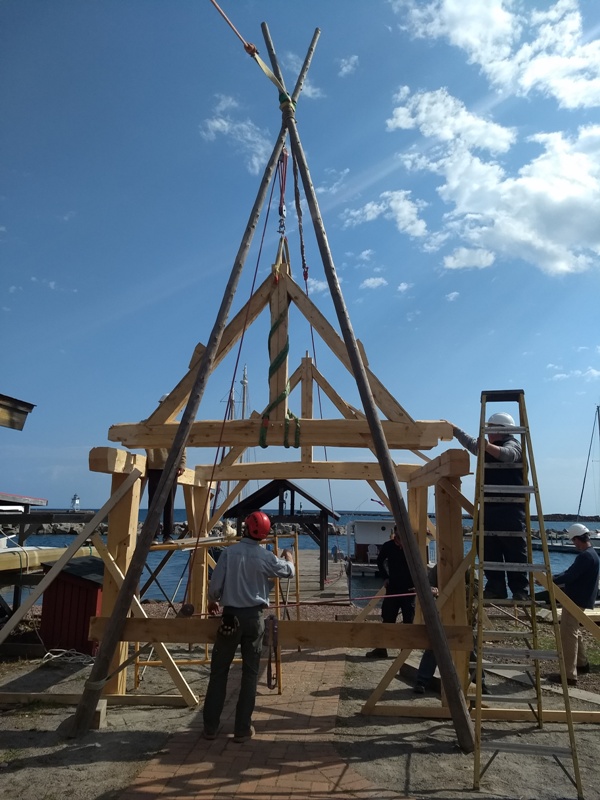
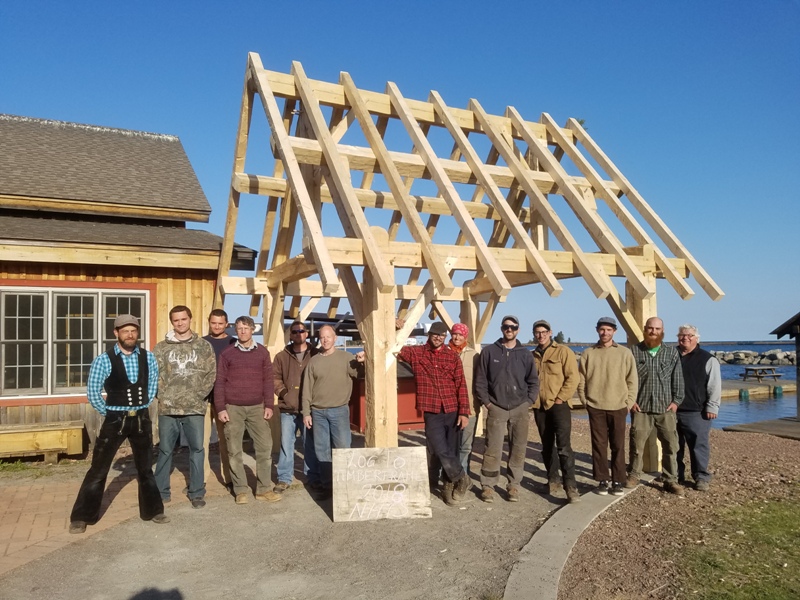
After a lot of sweat, blisters, and a significant amount of head scratching, students parted ways leaving a beautiful monument to craft, community, and time well spent. Keep your eyes peeled for your very own opportunity to labor strenuously, yet merrily, with axe and chisel on a hand hewn timber framing course next spring!
New to the blog? Learn more about Mike here