
Learning Curves: Trials and Tribulations of a Dough Bowl Carver
Cold winds and rain are upon us as Lake Superior swells with thirteen-foot waves. Brilliant red maples are letting go of their leaves and the aspen trees are a marigold yellow.
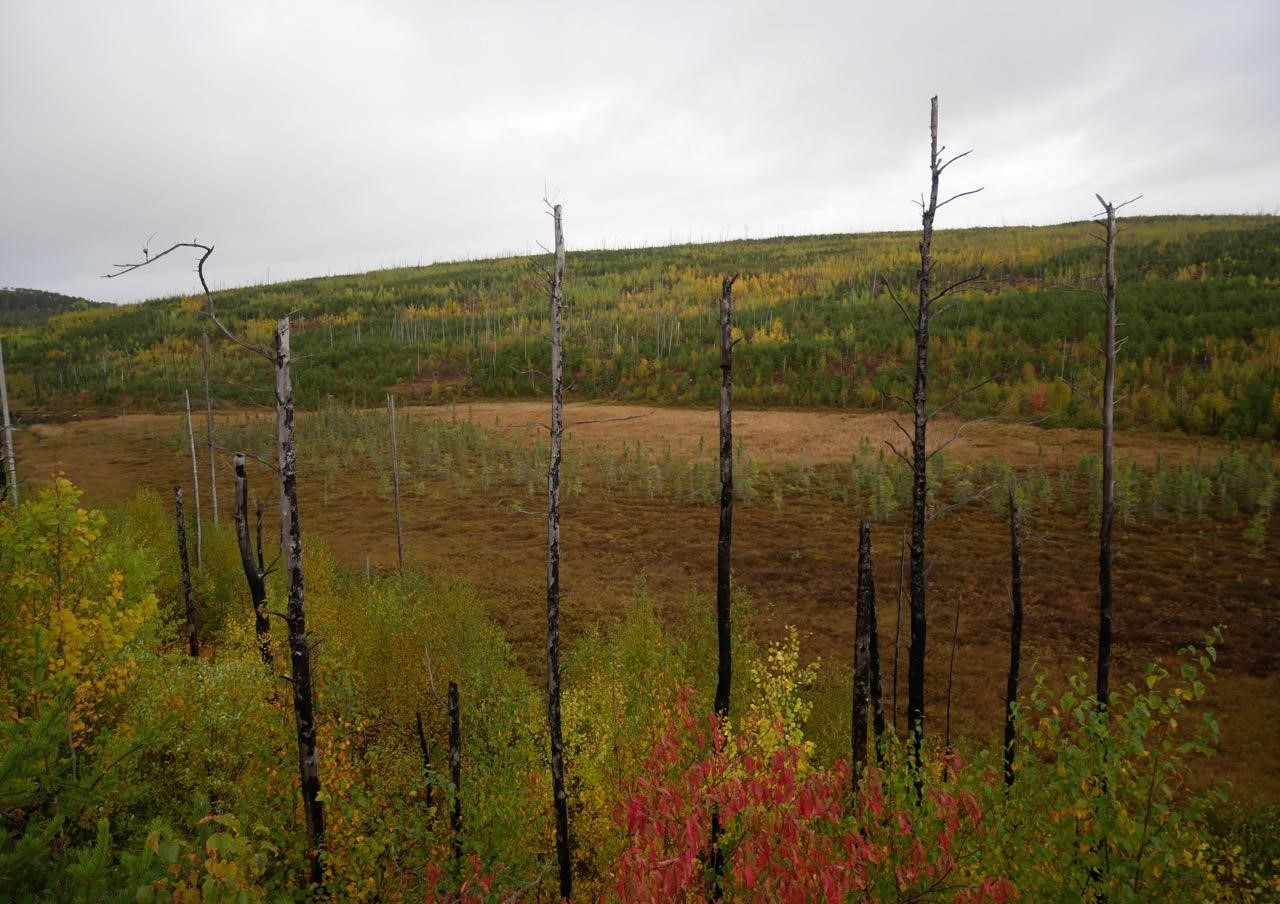
View from the Magnetic Rock trail, Grand Marais, MN.
Since getting back a month ago from traveling and studying in Scandinavia, I’ve taken a break from the lathe and picked up my axe. While in Sweden I took an invigorating seven-day bowl carving class at the crafts school, Säterglätan, with master woodworker Beth Moen.
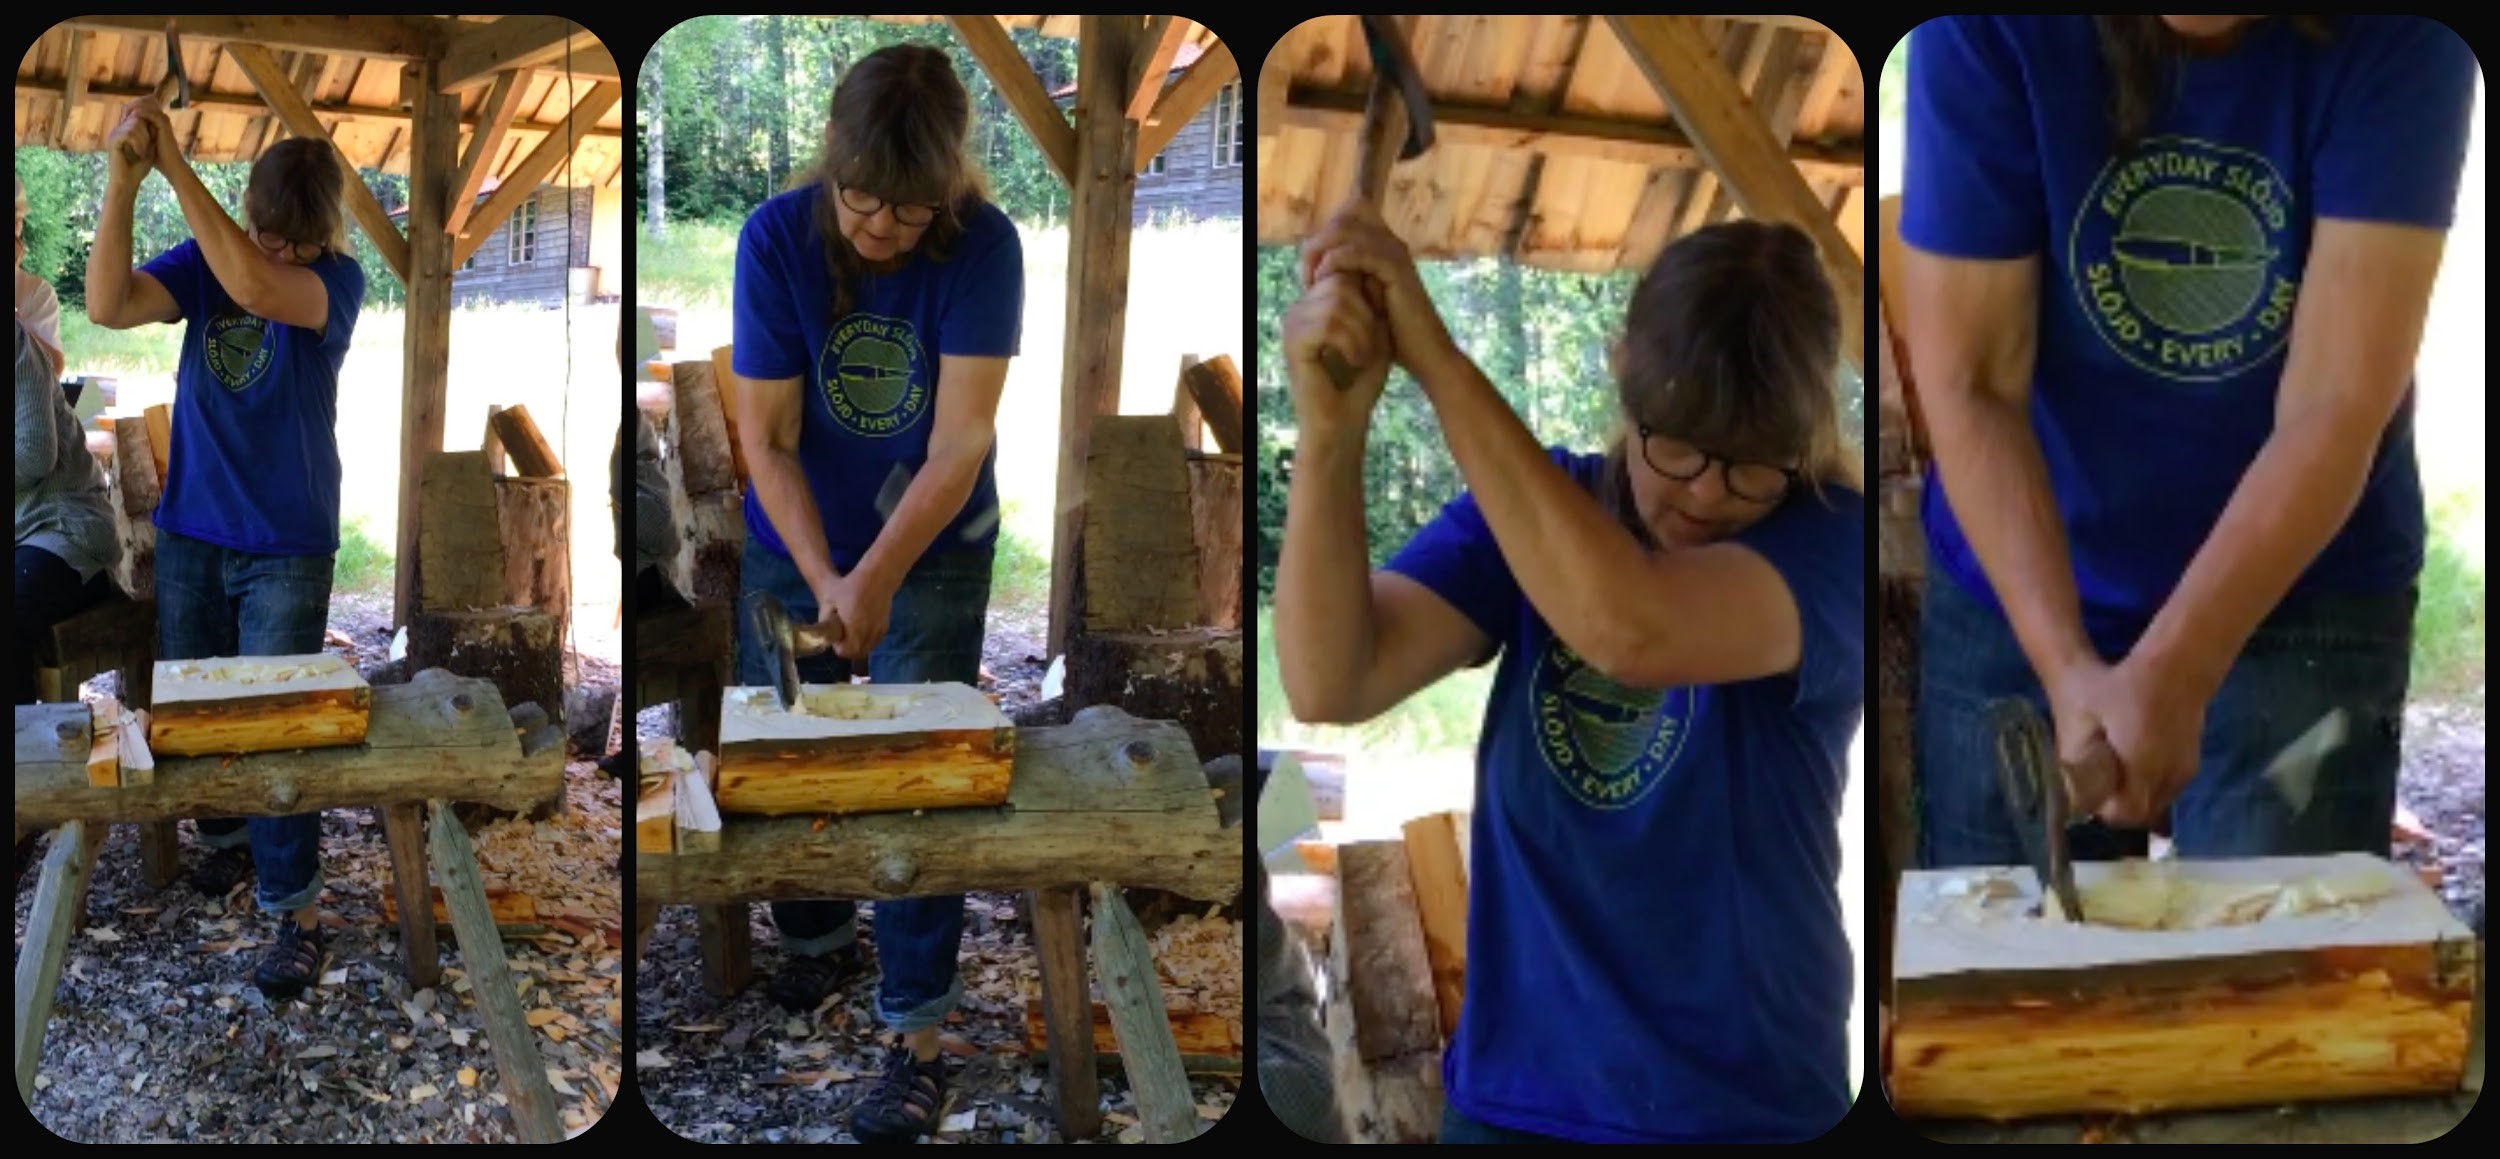
Beth Moen demonstrating how to start hollowing a bowl with an axe and proudly sporting one of Paul Linden’s special “Everyday Slöjd, Slöjd Every Day” T-shirts.
Learning how to flatten the top of the dough bowl using an axe. Säterglätan.
Beth taught us how to carve wooden dough bowls using only an axe, adze and gouge.
Axe & adze
At least that’s how I tend to describe it. But that’s an oversimplification.
Here is the actual list of tools & materials we used in the course:
| Prepping Materials | Workbench | Edge Tools | Sharpening |
|
Chainsaw |
Chopping block Shaving horse |
Axe |
High speed grinding wheel Waterstones Honing Comp |
But I guess I hesitate to show a handmade bowl and say, “yeah it only took fifteen different tools to make it!”
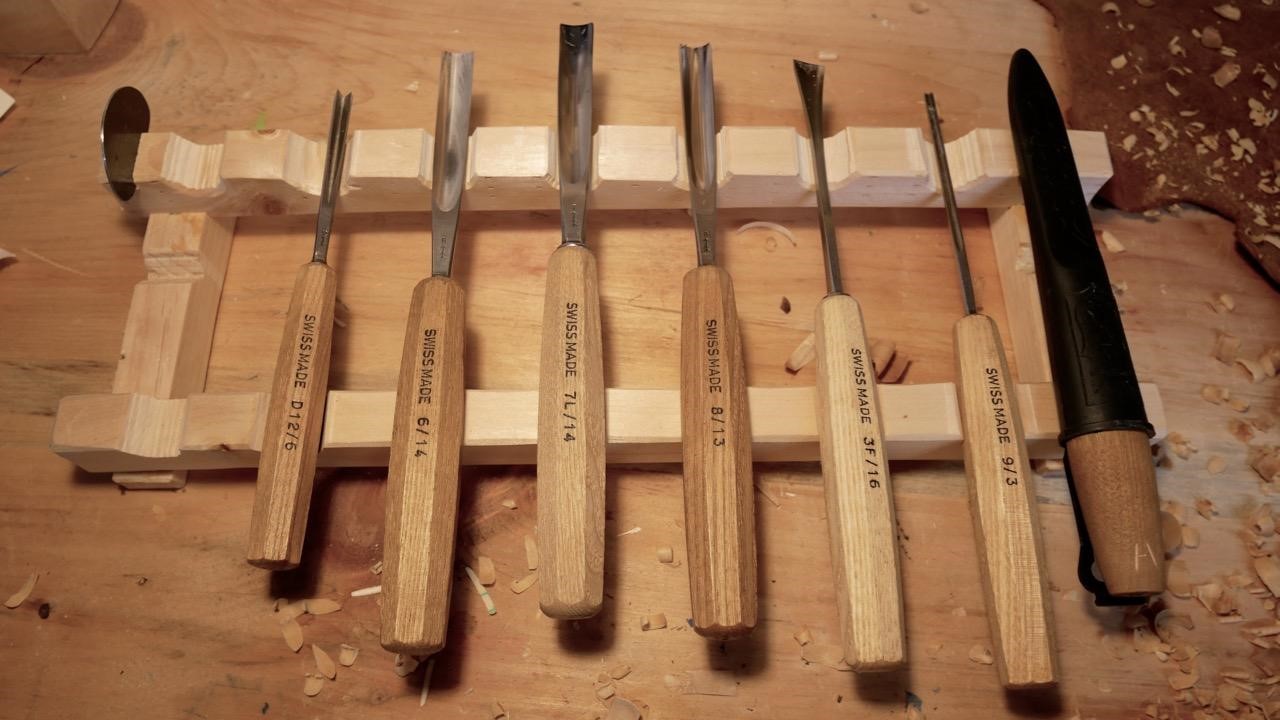
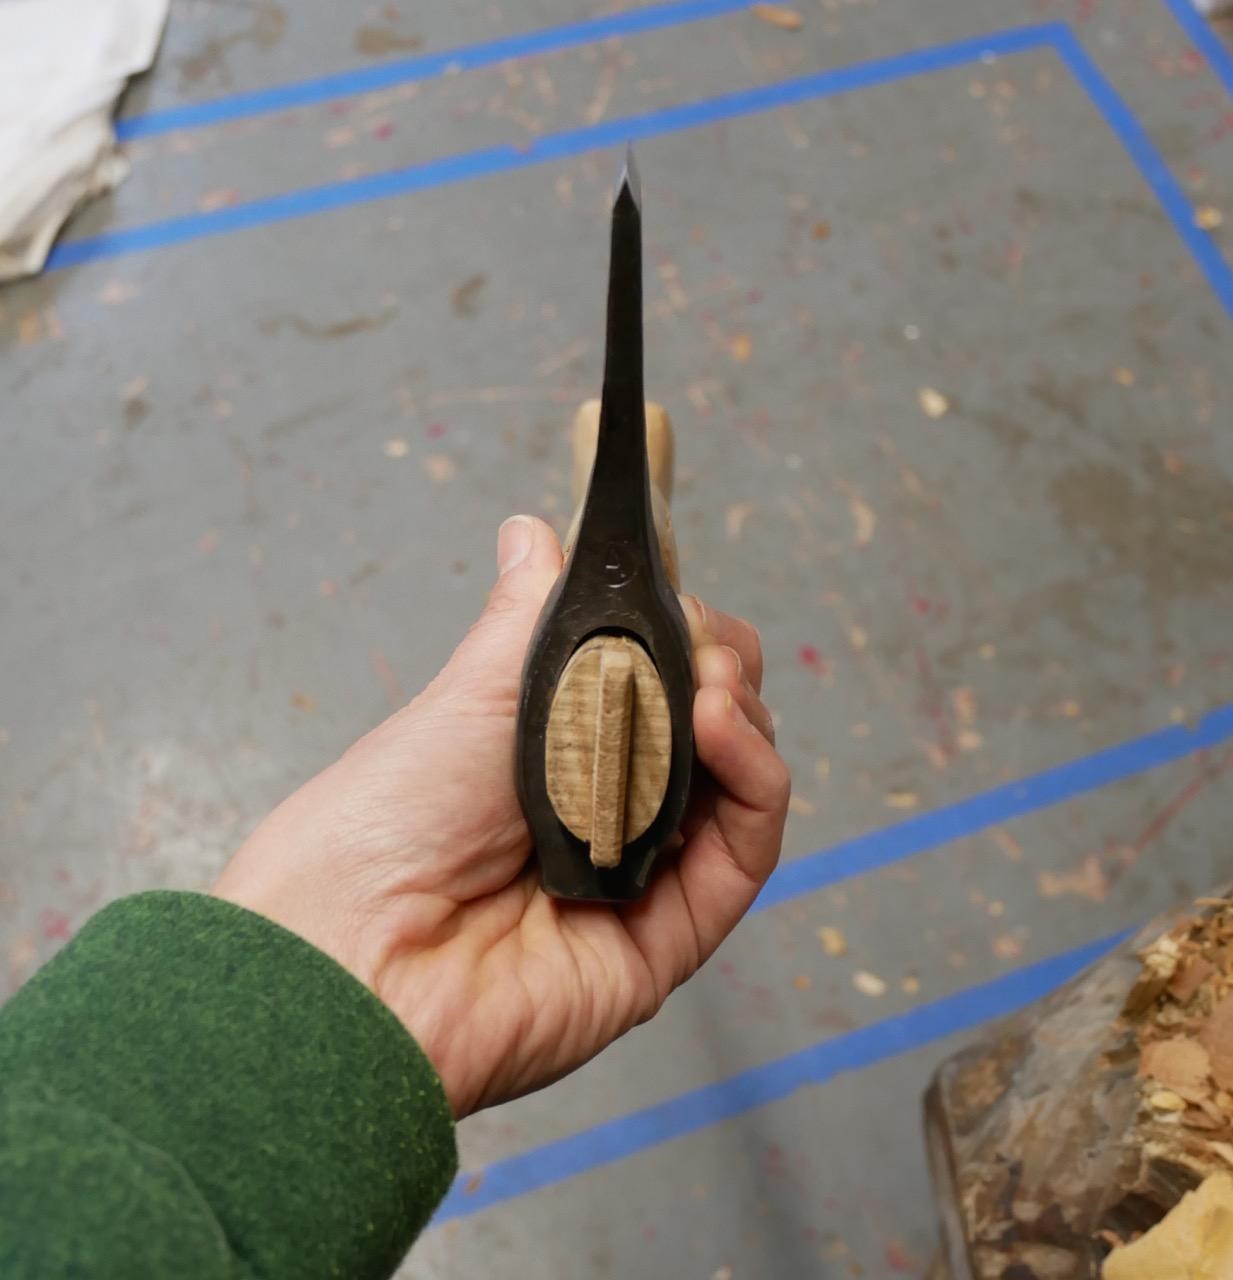
Some of my favorite carving gouges and knife. The color of the handle reveals how long I’ve had each tool.
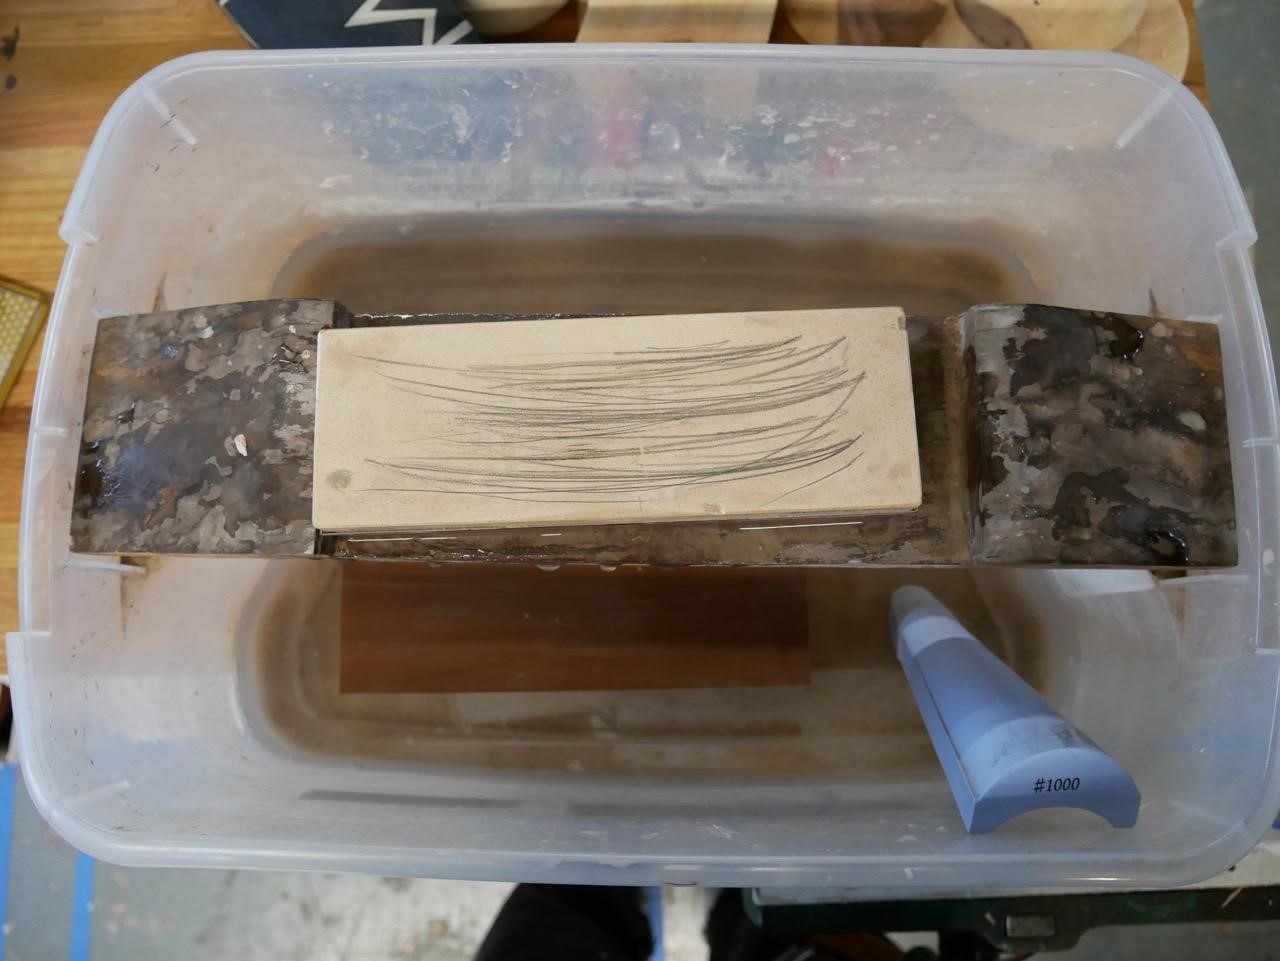
All of the waterstones I use for sharpening my carving gouges.
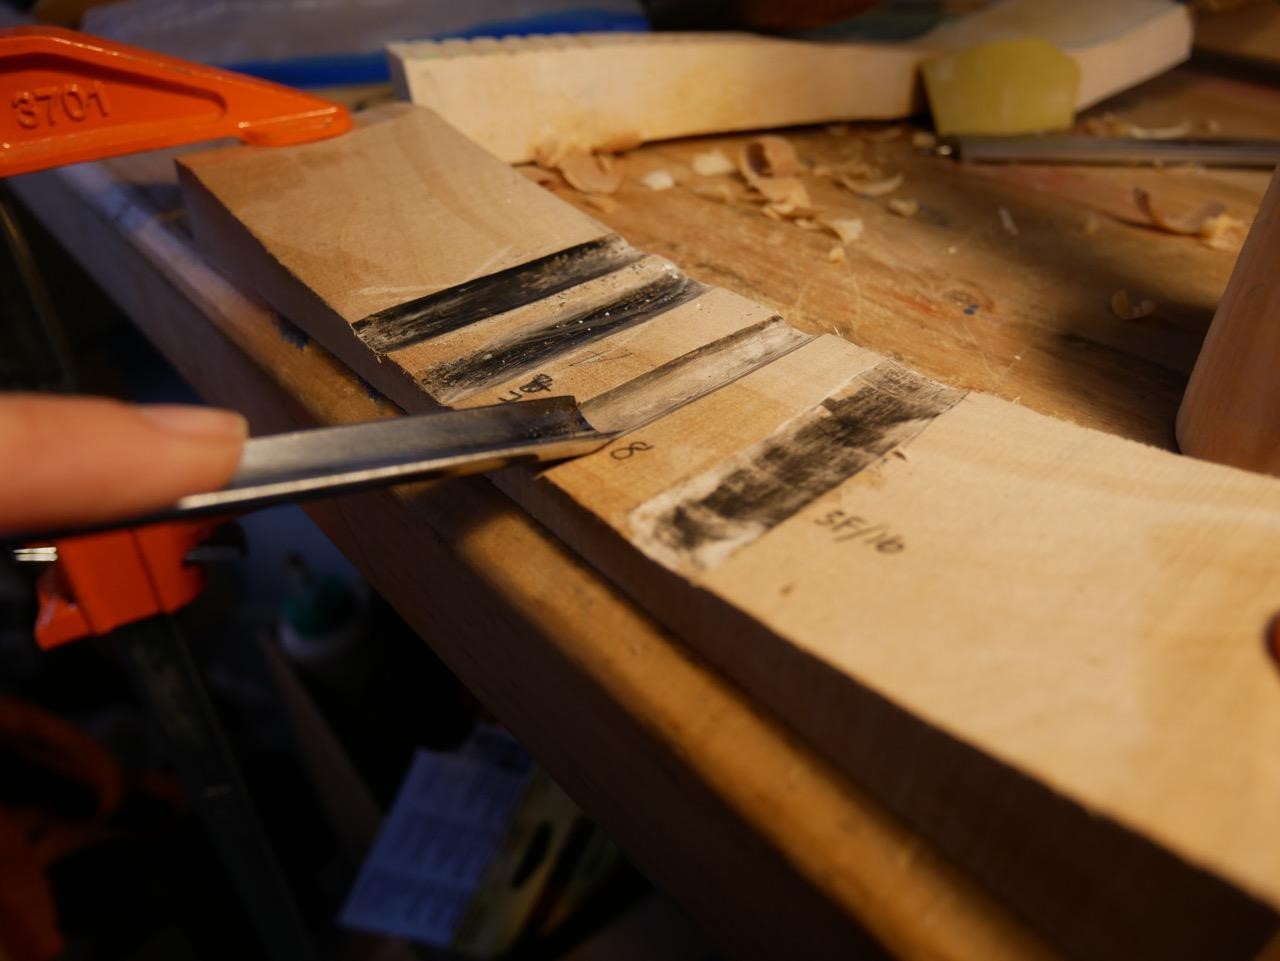
Honing a carving gouge on a groove that is covered with aluminum oxide. The grooves are numbered based on the corresponding gouge sweep.
Even a seemingly minimalist approach of using hand tools can still involve so many components. But when I point to a finished bowl I tend to emphasize that it took just three edge tools. But it’s not so simple. One of the funny things about using a social media platform like Instagram is that it’s hard to go deeper than surface level. Although I can easily post pretty pictures, it’s hard to capture the challenges, complexities and learning curve involved in a process.
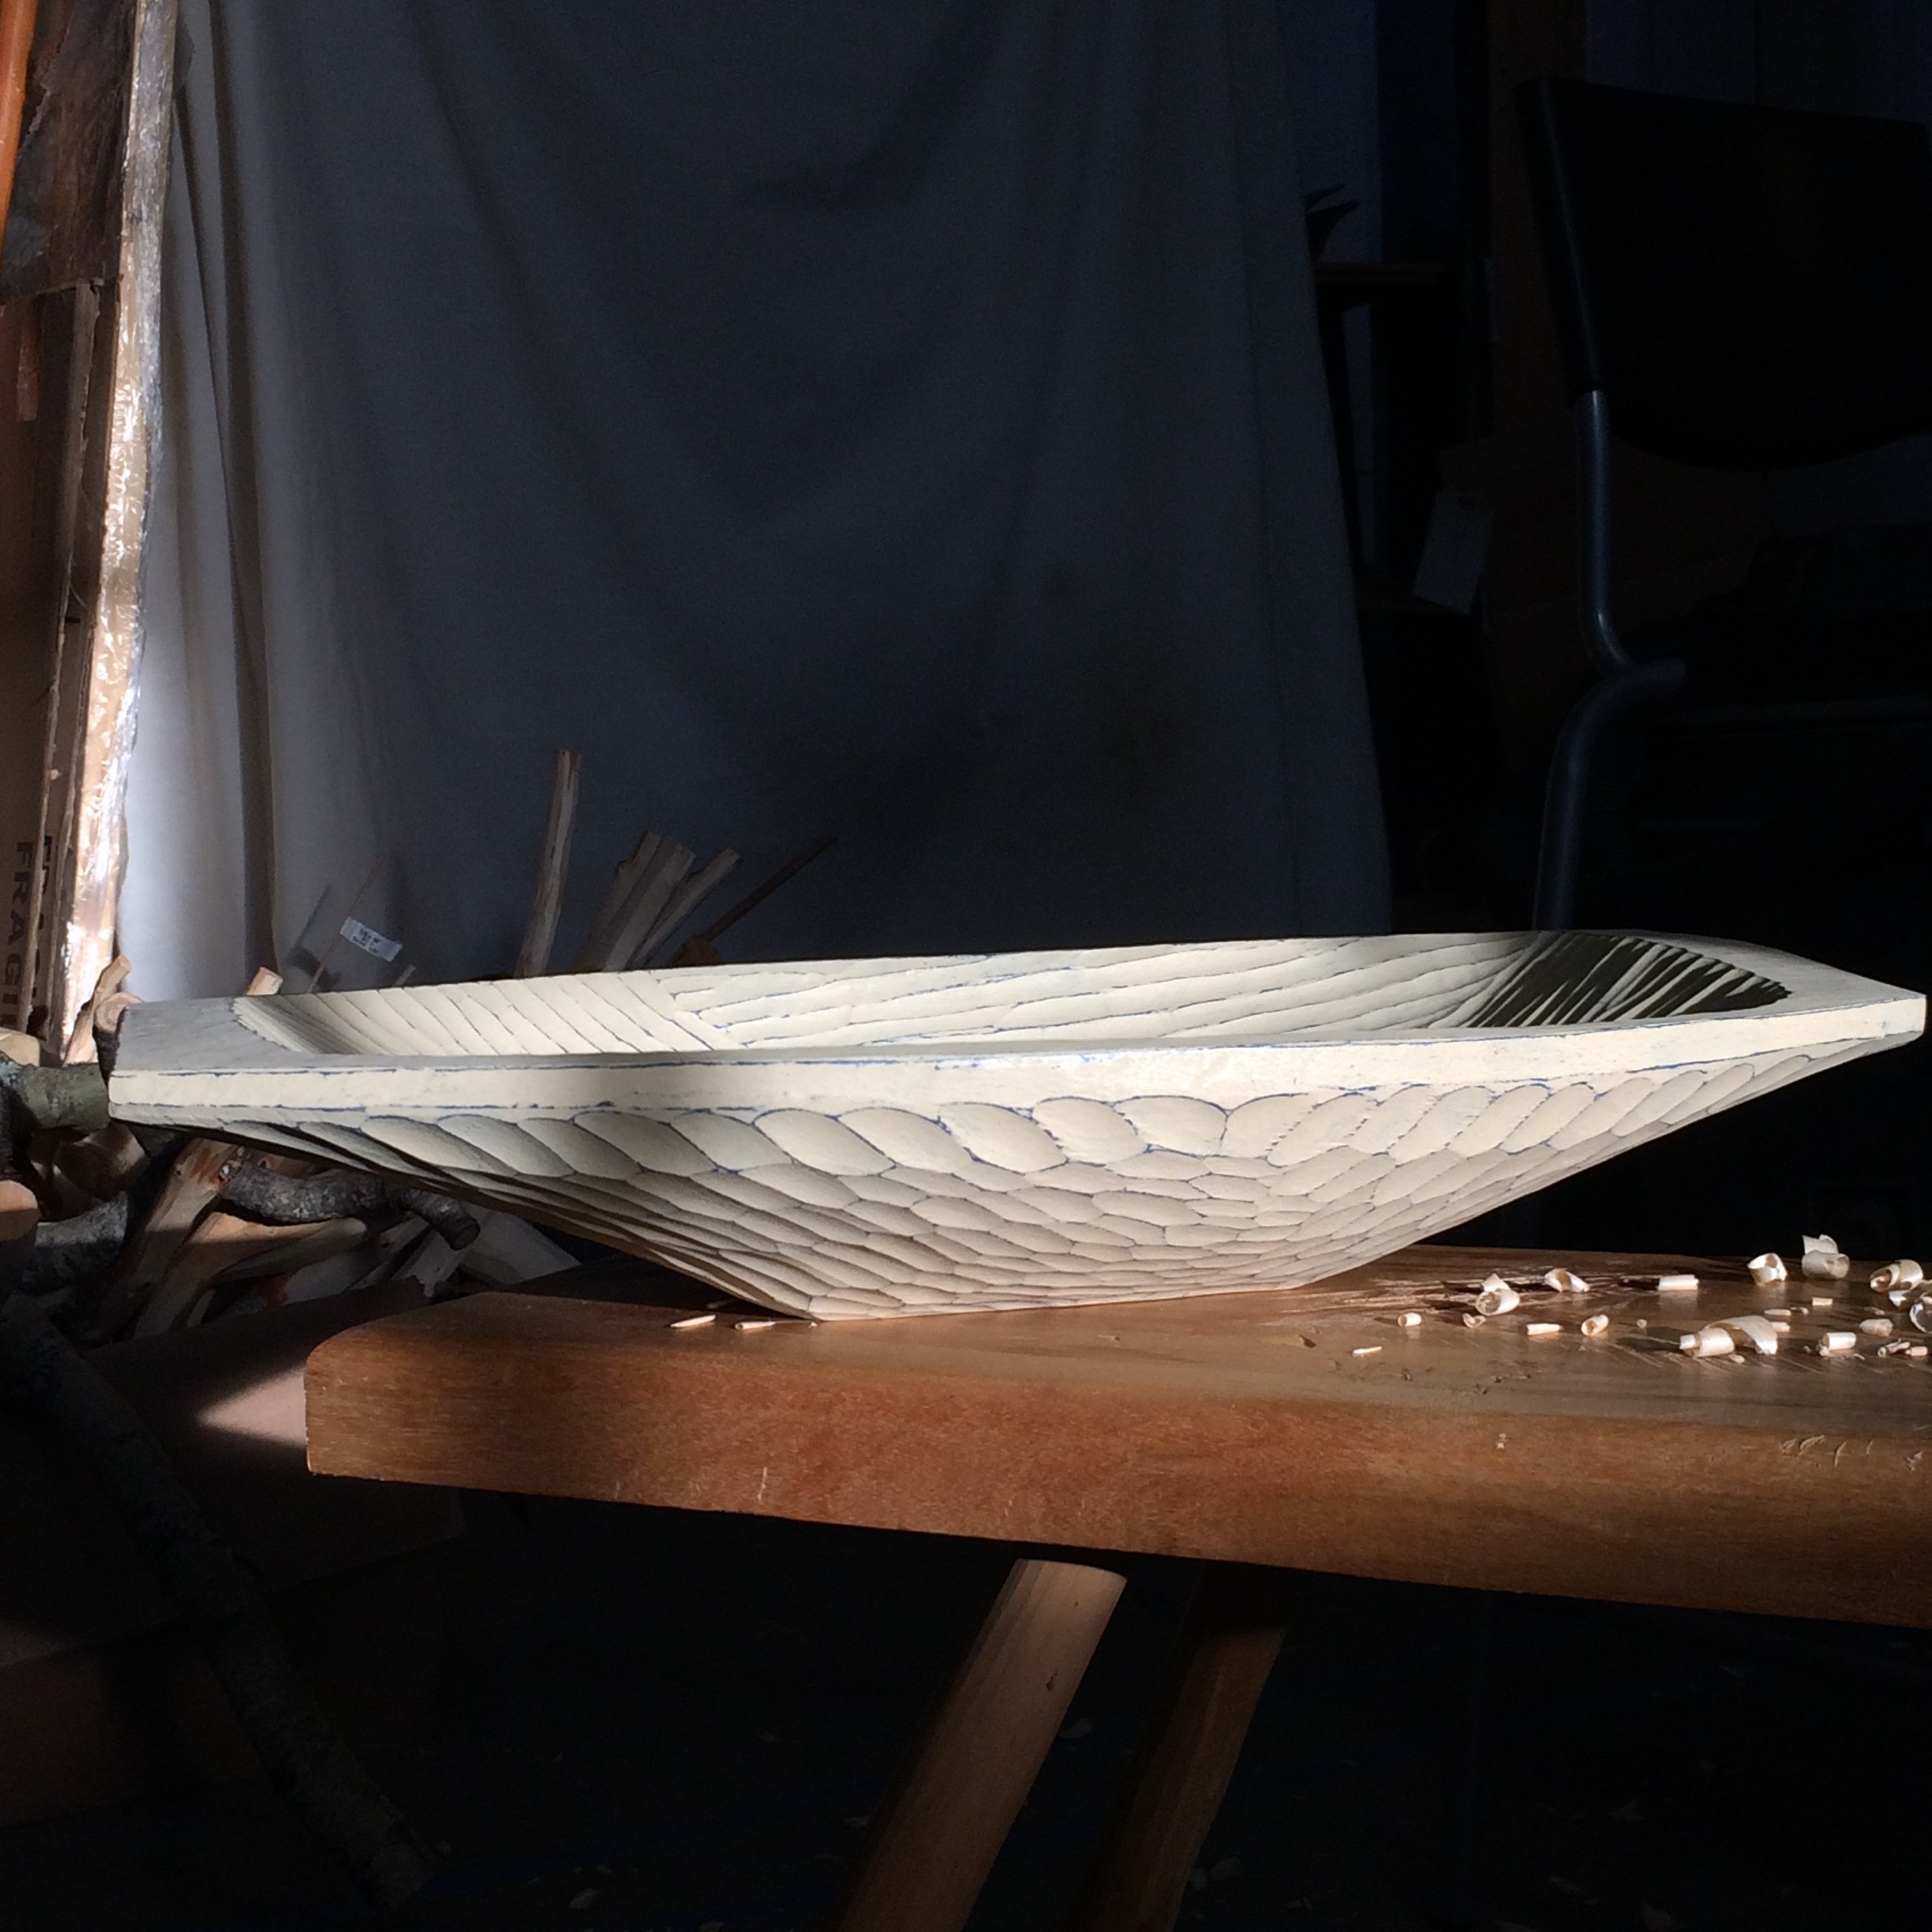
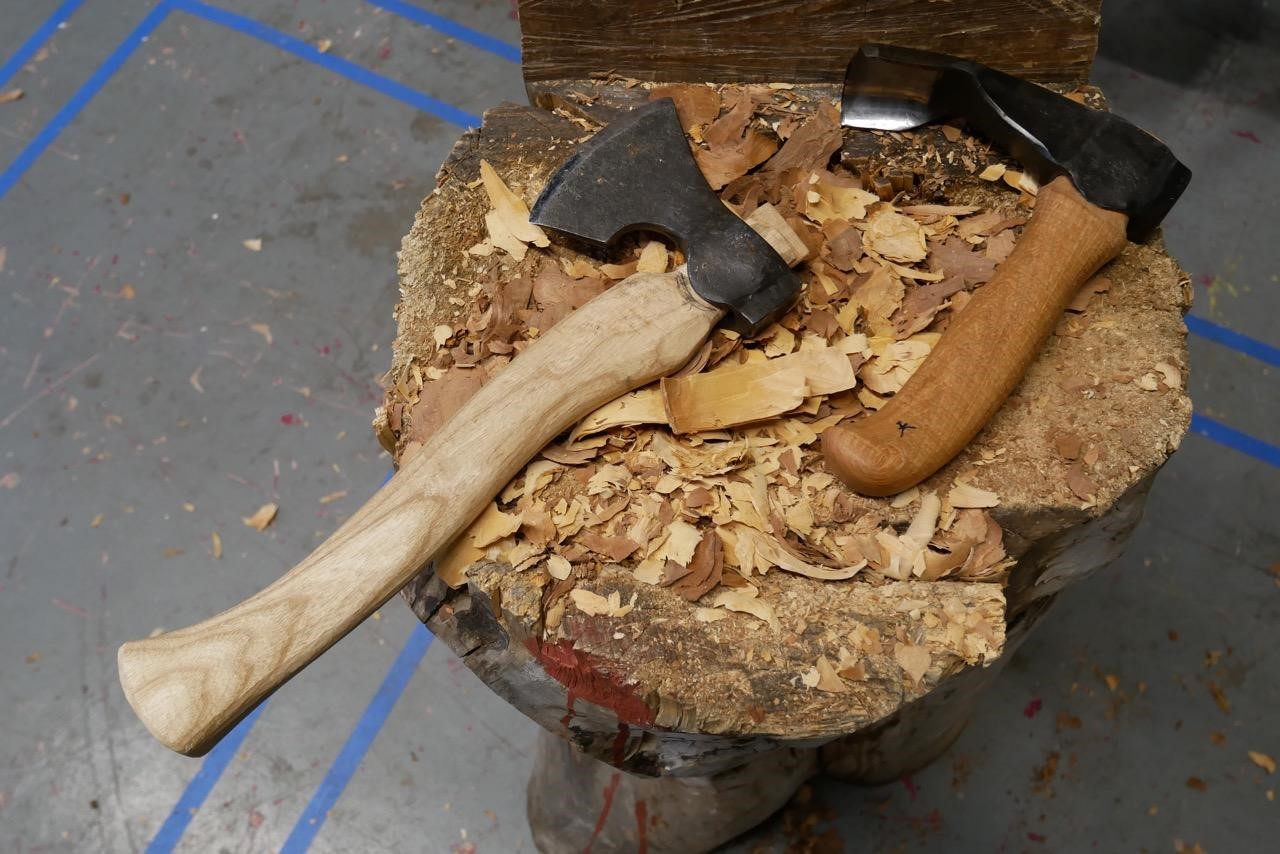
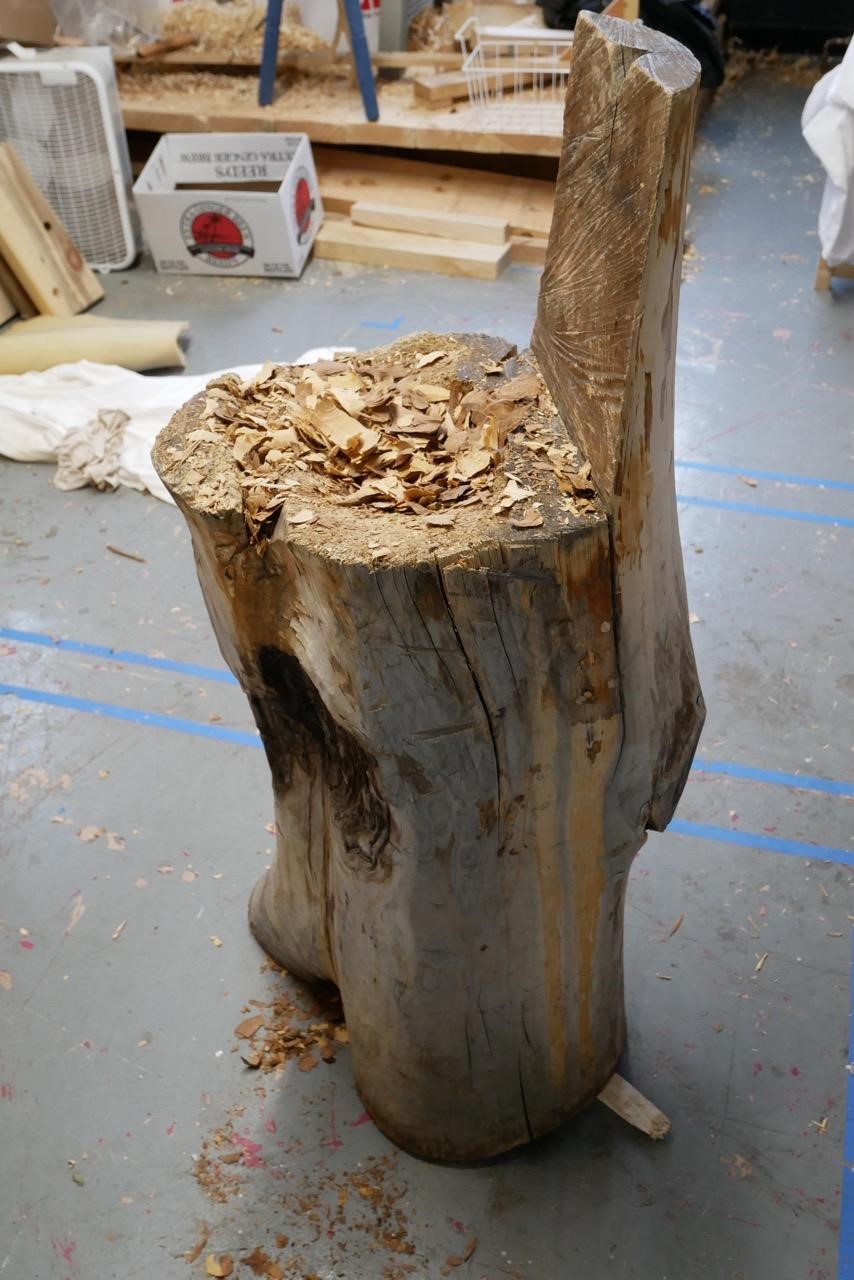
Ahhh, a finished dough bowl. No evidence of struggle.
In an attempt to create balance, below is a picture of the not-so-pretty challenges I’ve encountered along the way.
To start off, before I left for Scandinavia this summer, I accidentally broke my Hans Karlsson carving axe handle by pounding on the back of the axe head with a wooden club one to many times in order to try to split a log.
Lesson 1: Don’t use a nice carving axe to try to split a log.
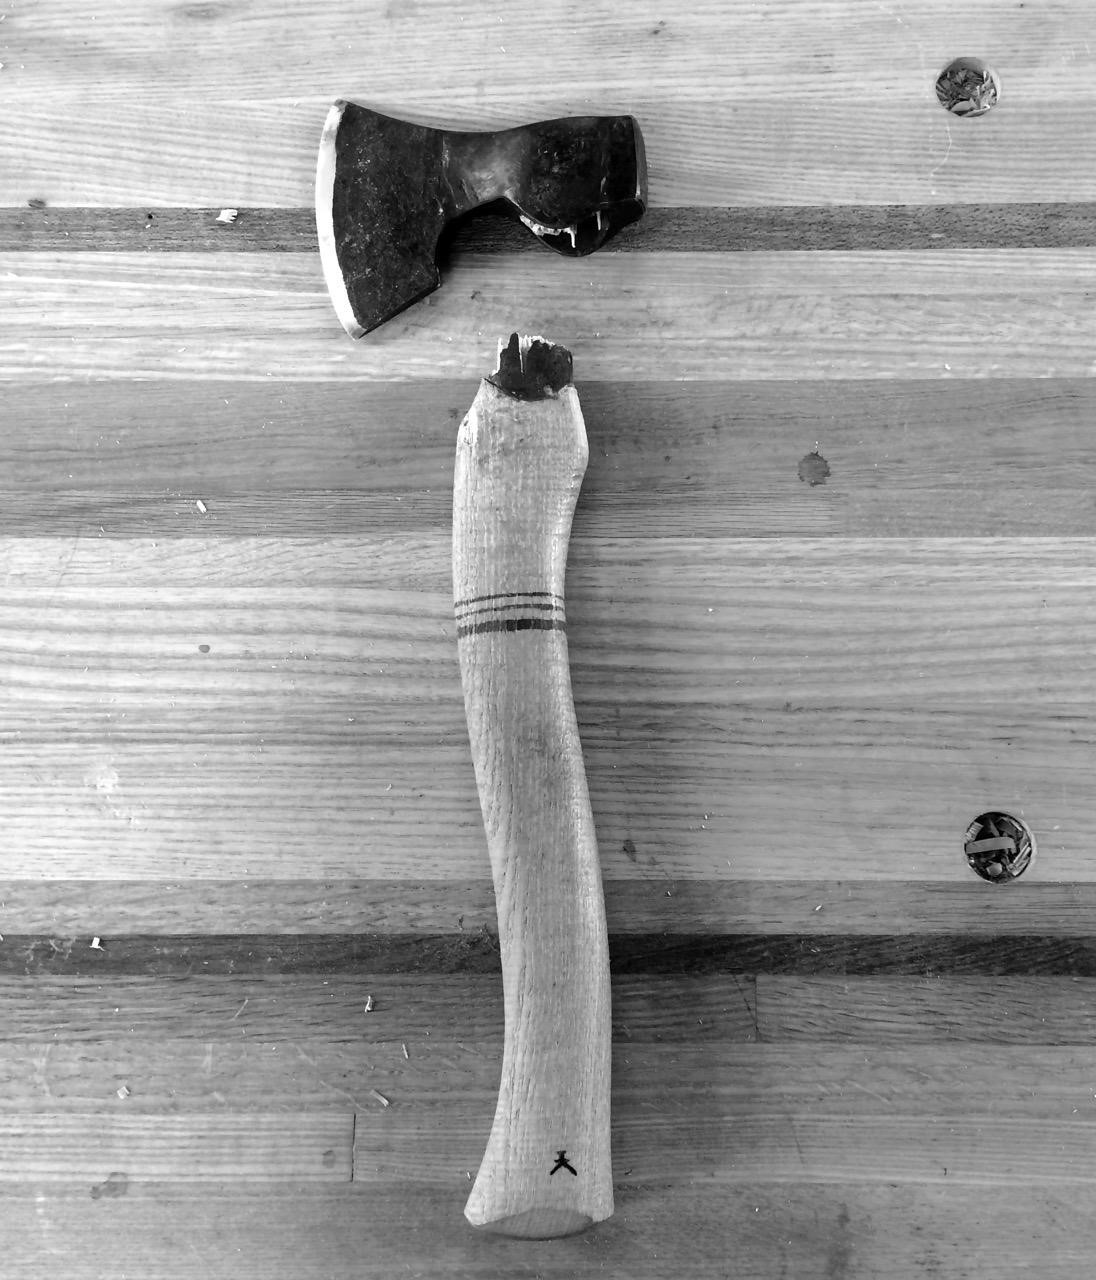
Upon returning to Minnesota with my newfound axe-carving knowledge, I was eager to make more dough bowls. However the first hurdle was making a new axe handle. I’d never done this before. My attempt looked really pretty in a photo and I was proud. However after using it on some projects, the axe head slowly started to crawl upwards on the tenon and tilt ever so slightly in two directions. My axe handle looked great on Instagram but not so great up close and personal.
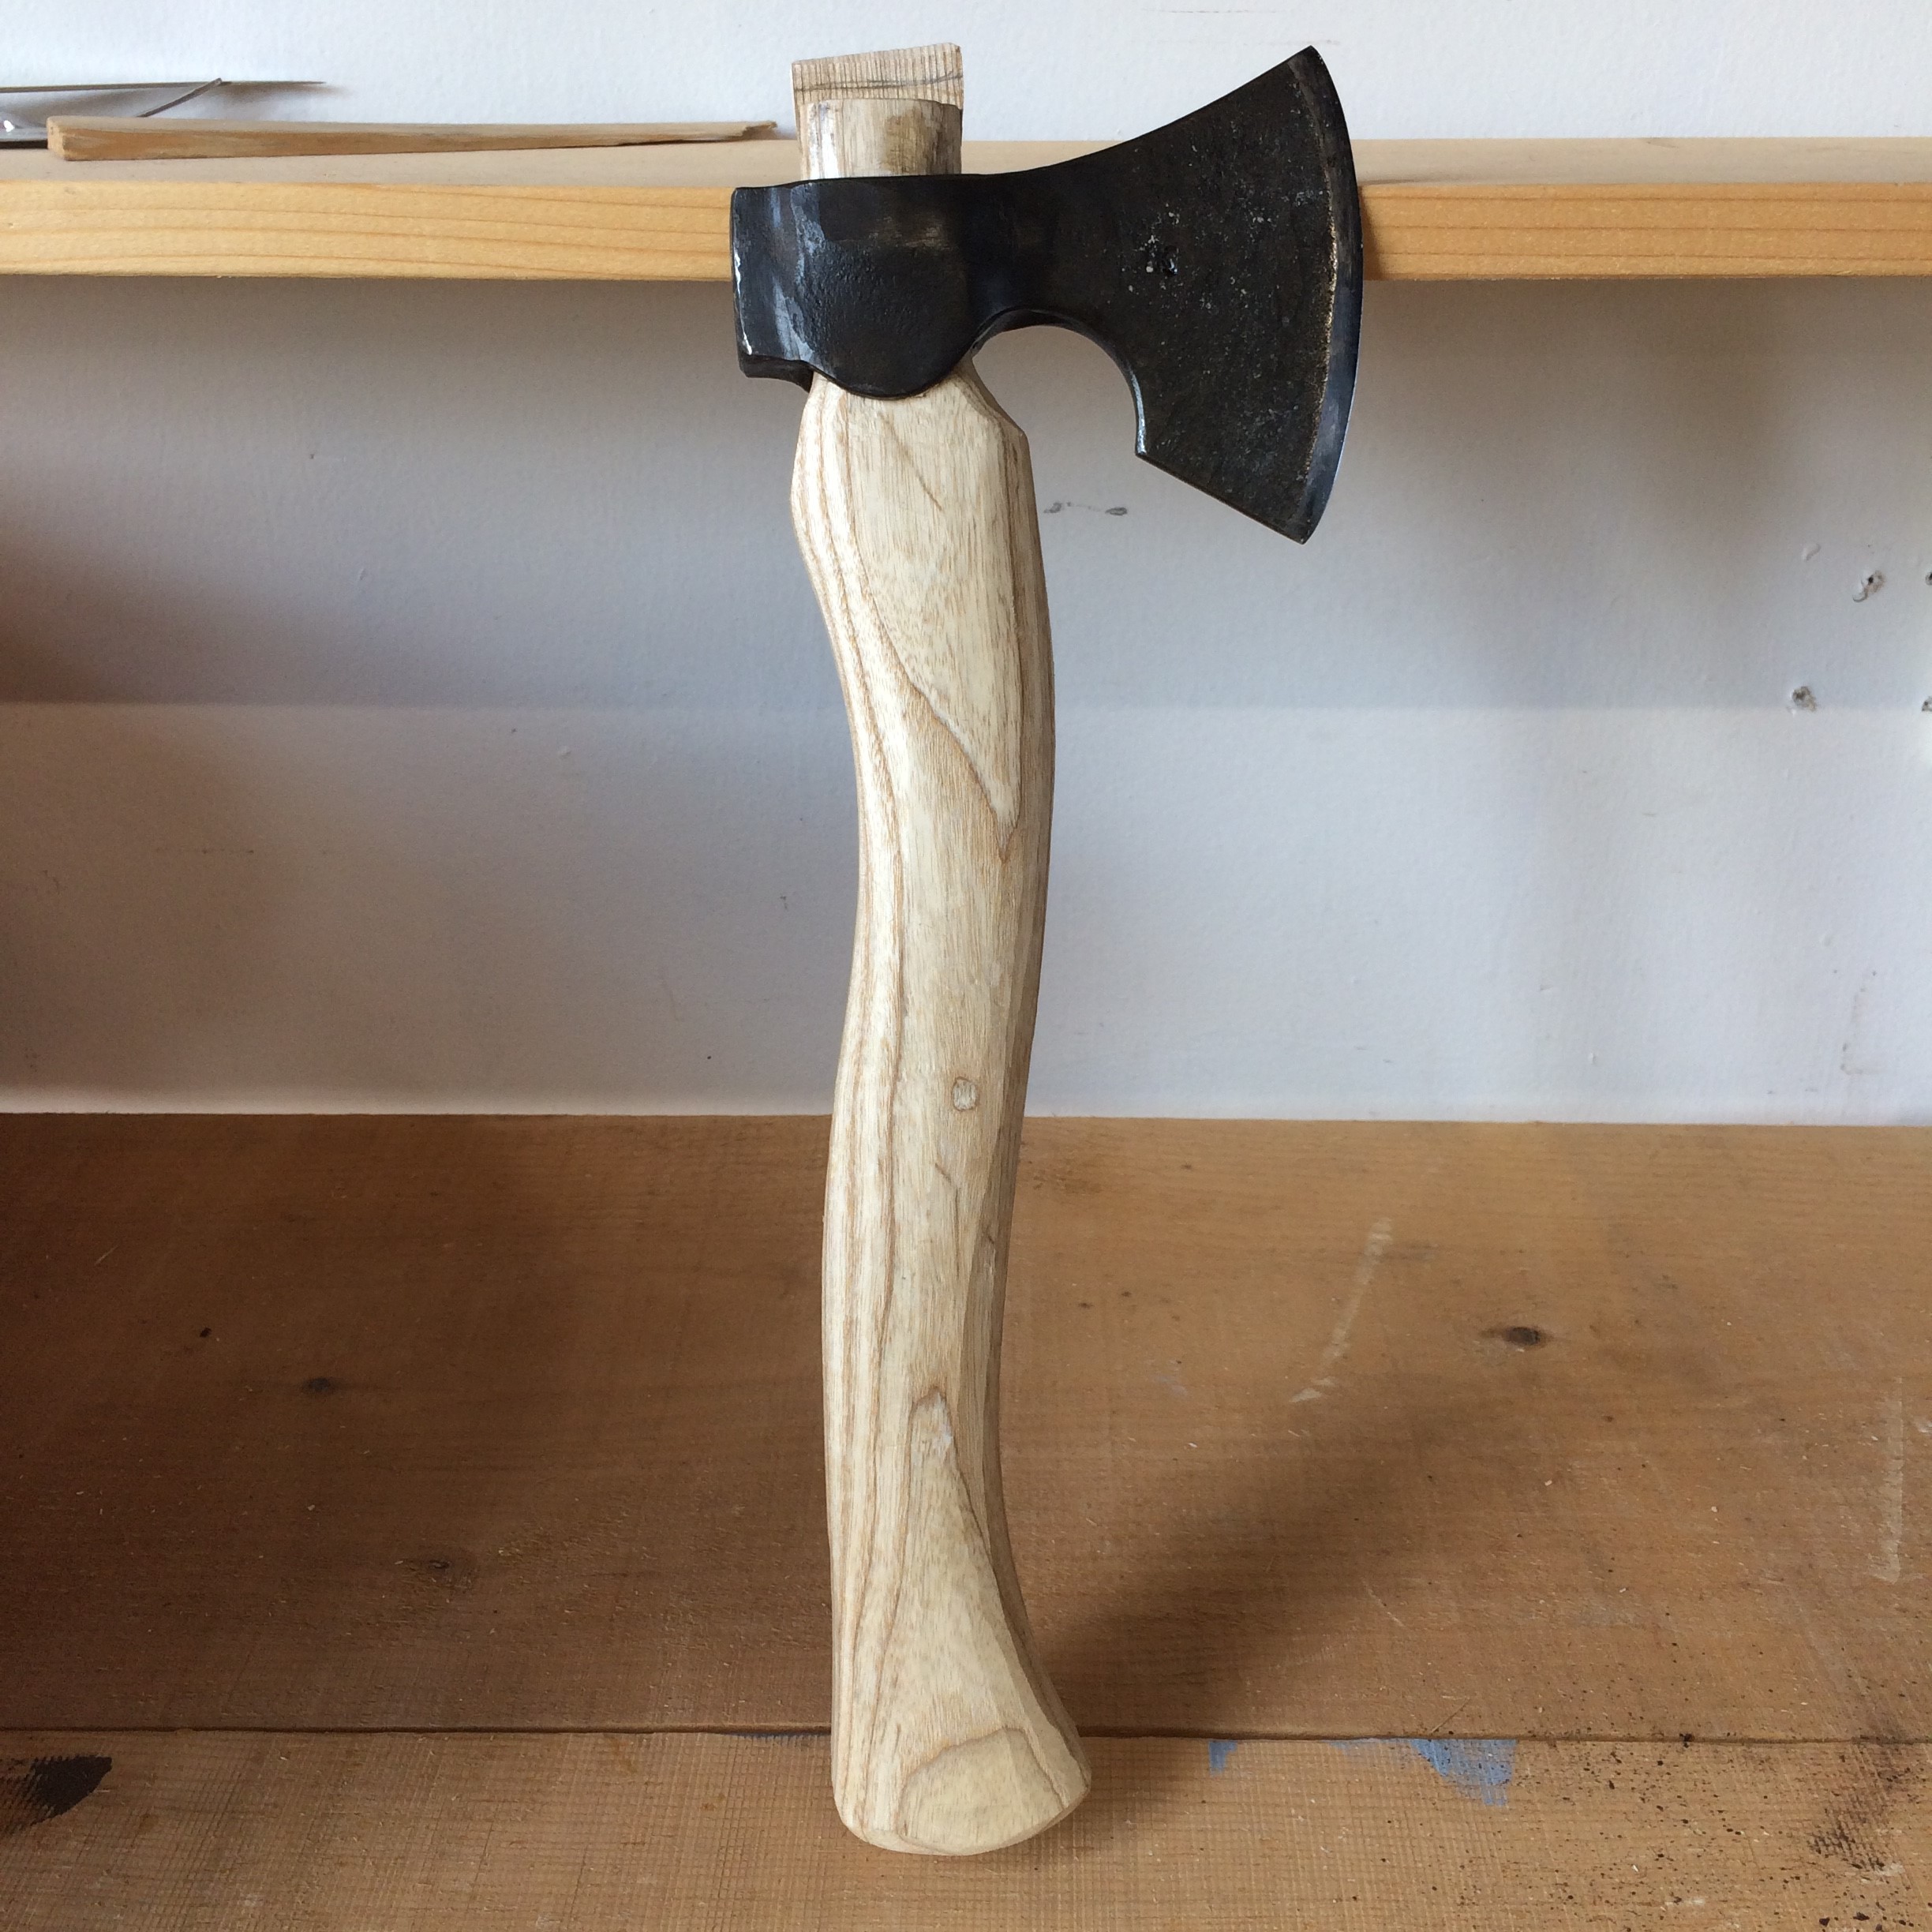
Nice and pretty axe handle.
Not so nice axe head orientation.
Lesson 2: Wait to glue in the wedge into the axe handle tenon. That way you can take the axe head off and keep carving the handle to adjust the design.
I’m still using the less than ideal axe, but need to fix it soon.
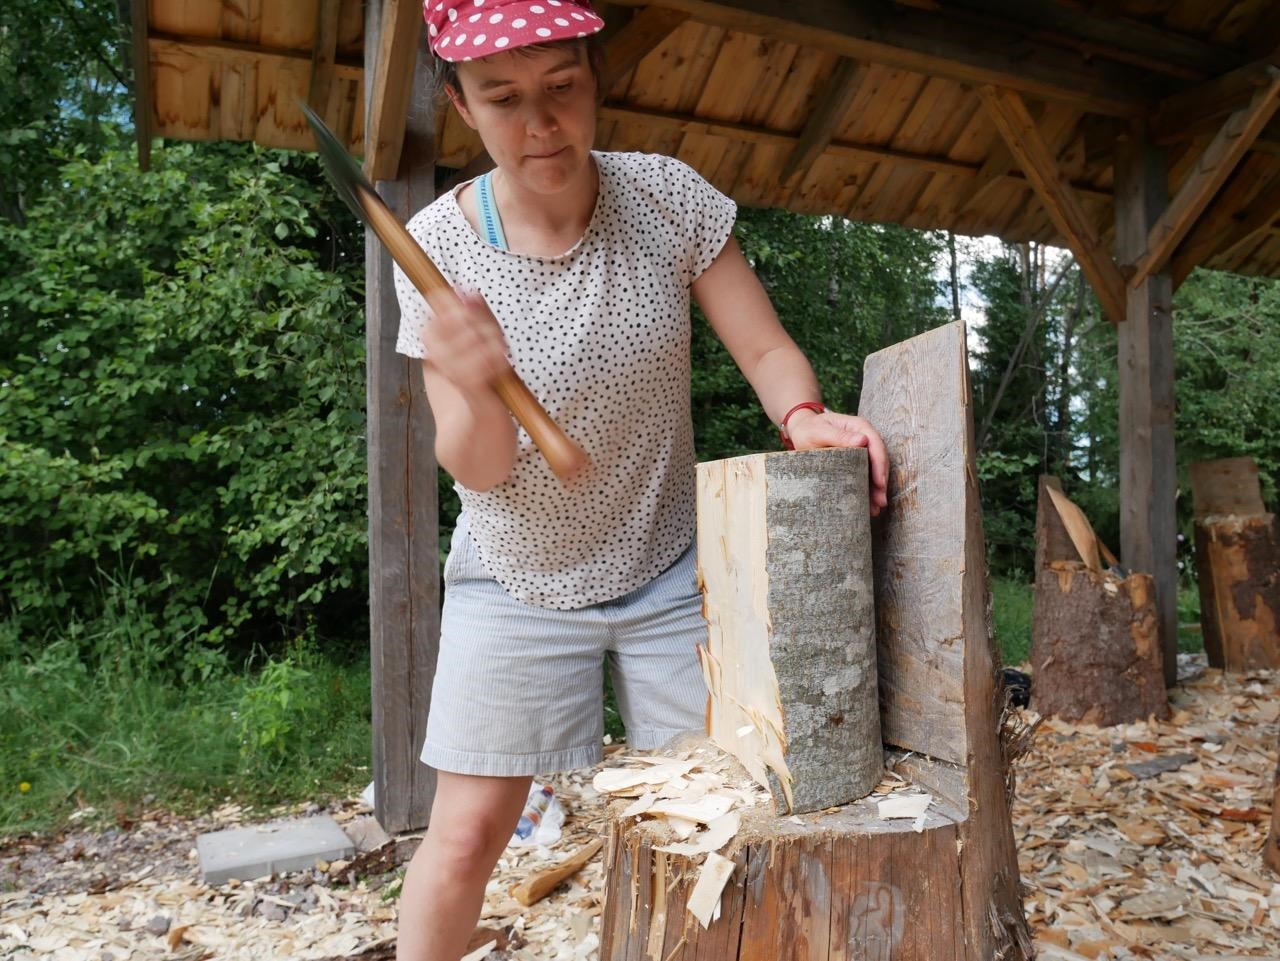
In order to carve dough bowls, I needed a chopping block or modified tree stump. I tried to use an old 9” diameter birch log, and not only was chainsawing it awkward and rough, it couldn’t even stand without wobbling. Without immediate access to larger logs, I drove down to North House and borrowed one of their elegant chopping blocks.
With its wide base and carving surface, it works like a charm.
Once I was finally up and running it felt pretty great – that is until I left my chopping block outside and uncovered for too long. I recently brought it indoors due to the lowering temperatures. Within an hour of carving, I noticed a large line showing up on every carved surface. I looked at my axe edge and it had the biggest nick I’ve found on one of my tools. I’m pretty sure a tiny rock on the carving block made friends with my axe edge. I’d always heard you should cover carving blocks and now after a square millimeter of metal is gone (and I’ll have to remove a millimeter along the entire edge) I know why.
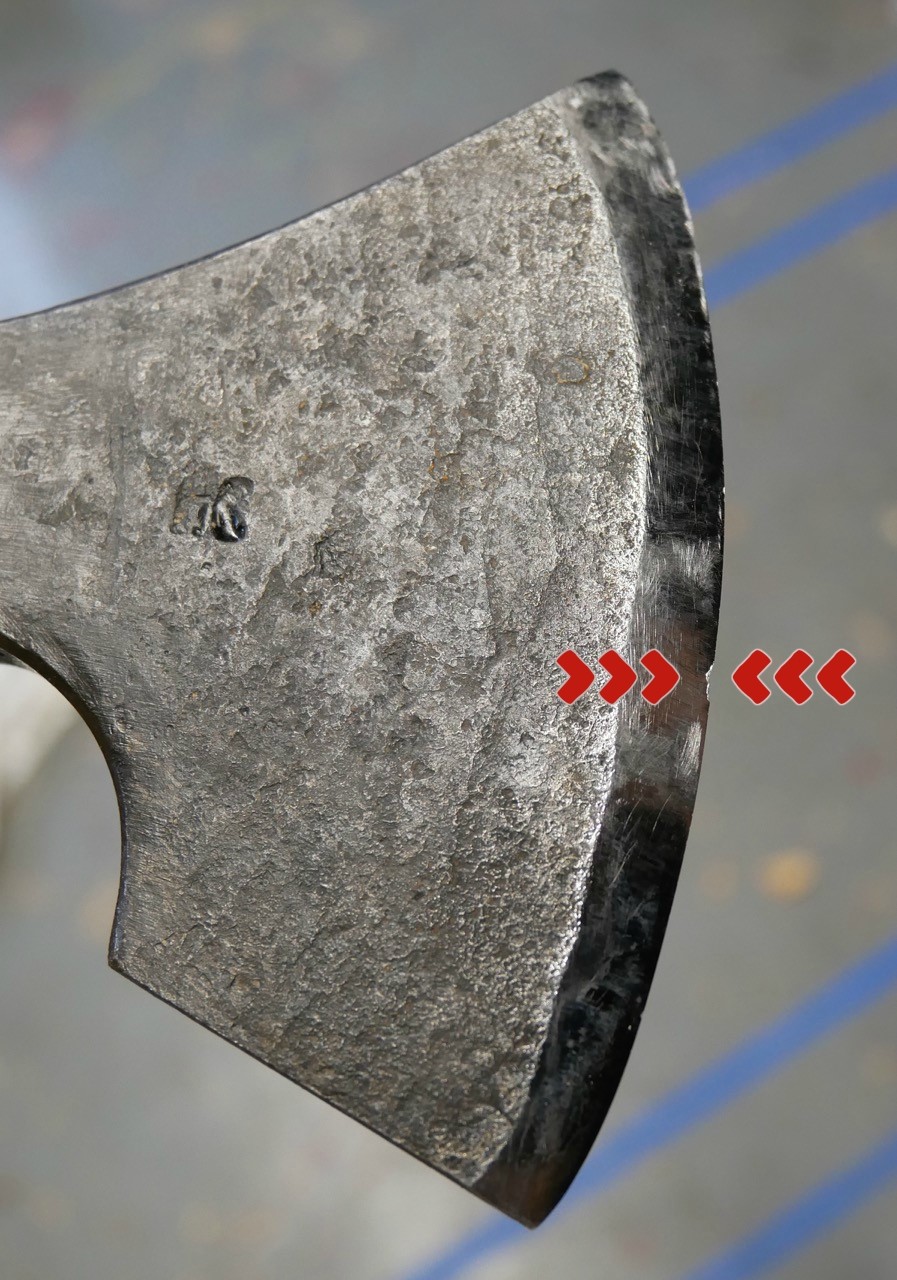
Lesson 4: Cover the carving block to avoid small rocks and rot.
The last lesson I’ll share is related to sharpening. I had to get comfortable carving curved gouges for the first time. They’re tricky because you have to consistently grind a concave and convex surface. As I dug in, I kept getting an edge that would curl over and break off; leaving the edge torn up and worse than when I started. A week later, I learned the simple trick of taking the tool to a soft piece of wood, and slicing just the edge through the grain to remove the wire edge. I spent hours sharpening multiple gouges and failing, so I was so relieved to get that cleared up.
Lesson 5: Remove the wire edge on a tool before taking it to the next sharpening step.
There are many more lessons I’ve learned since being out of the comfort of the classroom, but I’ll leave it at that for now.
What is perhaps more important is the fact that I like making these dough bowls! I love chasing the curves of their sculptural forms and creating grooves with my gouges. Once I start one I can’t stop. There is a great flow that I get into when carving with an axe and adze – it’s a full body experience with a wonderful rhythm.
Below are some of the dough bowls that I’ve made since returning.
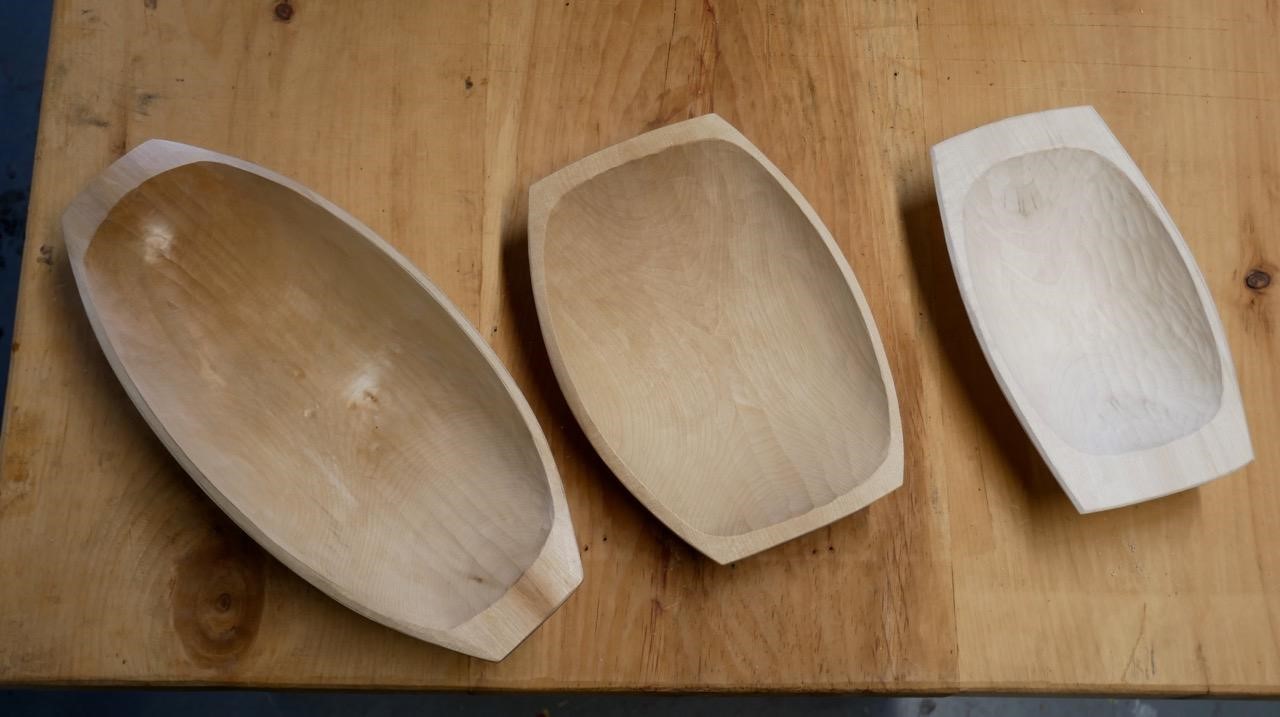
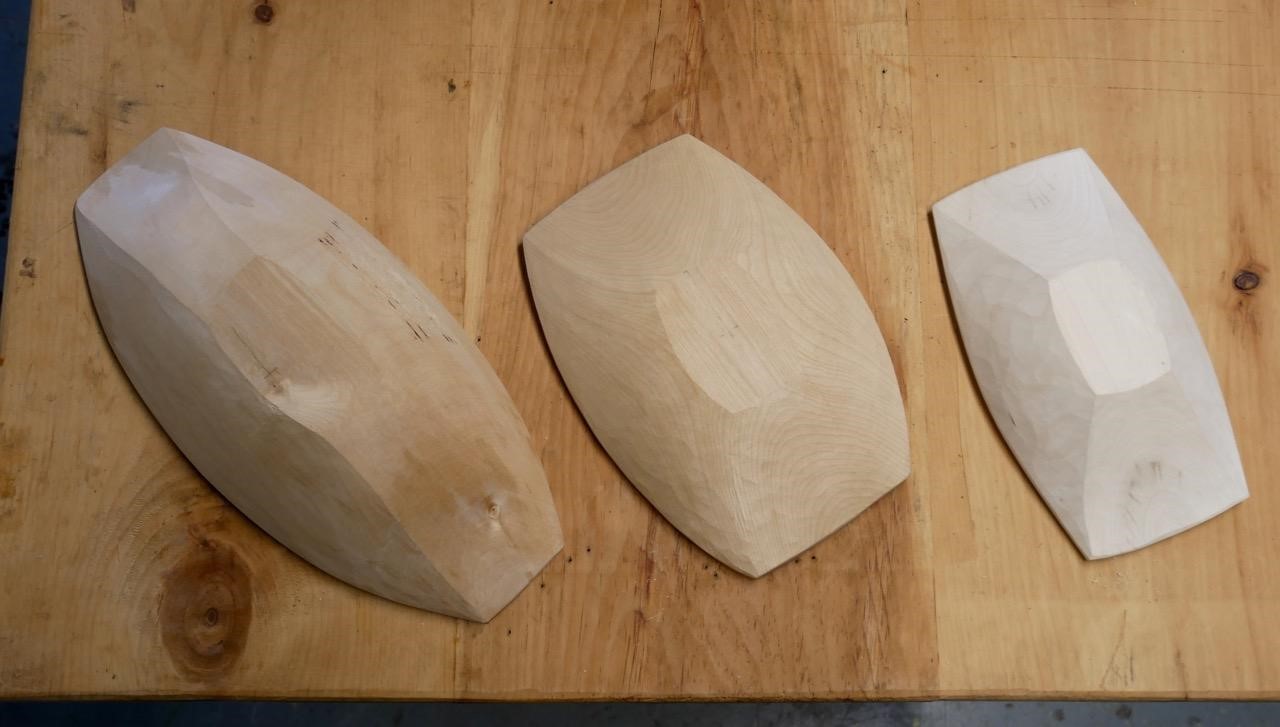
The shapes are complete and I’m currently contemplating surface decoration. While I love the traditional forms, I’m also interested in taking the shapes in wild and wacky directions. I’ll be sharing the results as well as other projects at my final exhibit, which will run from November 30 – December 15th at North House Folk School. I hope many of you can come!

Work in progress, tools galore and a special Lucy mug.
To learn more about Angela’s work you can check out her website at www.angelarobins.com & see pretty pictures on her Instagram.