
Shrink Box Exploration
Summer is quickly winding down, the colors of fall are covering the hillsides, and my wood stove is again warming the chill from my cabin’s hand-hewn timbers. With the cooler weather and shortening days, I’m finally finding more time to hole up in my corner of the studio and play with the ideas that have been floating through my mind all summer. To further my skills in embellishment carving, one of my main goals while in the Artisan Development Program, I’ve decided to spend some time in the world of shrink boxes. Though many people in the traditional craft world are familiar with these amazing little containers, many are not, so in a nutshell, these canisters are created by hollowing out a recently cut log, cutting a groove on the inside of one end, and popping a base made from a dry piece of wood into that groove. As the hollowed log dries, it shrinks around the dry base and creates a tight seal. Carve a tightly fitting lid and you have a perfect container for various food items, storing craft supplies, or whatever else you can imagine. Since my main focus with these containers is embellishing them, I’m trying to find some ways to make the process quicker so I can break out my chip carving knives and gouges for relief carving and explore to my heart’s content.
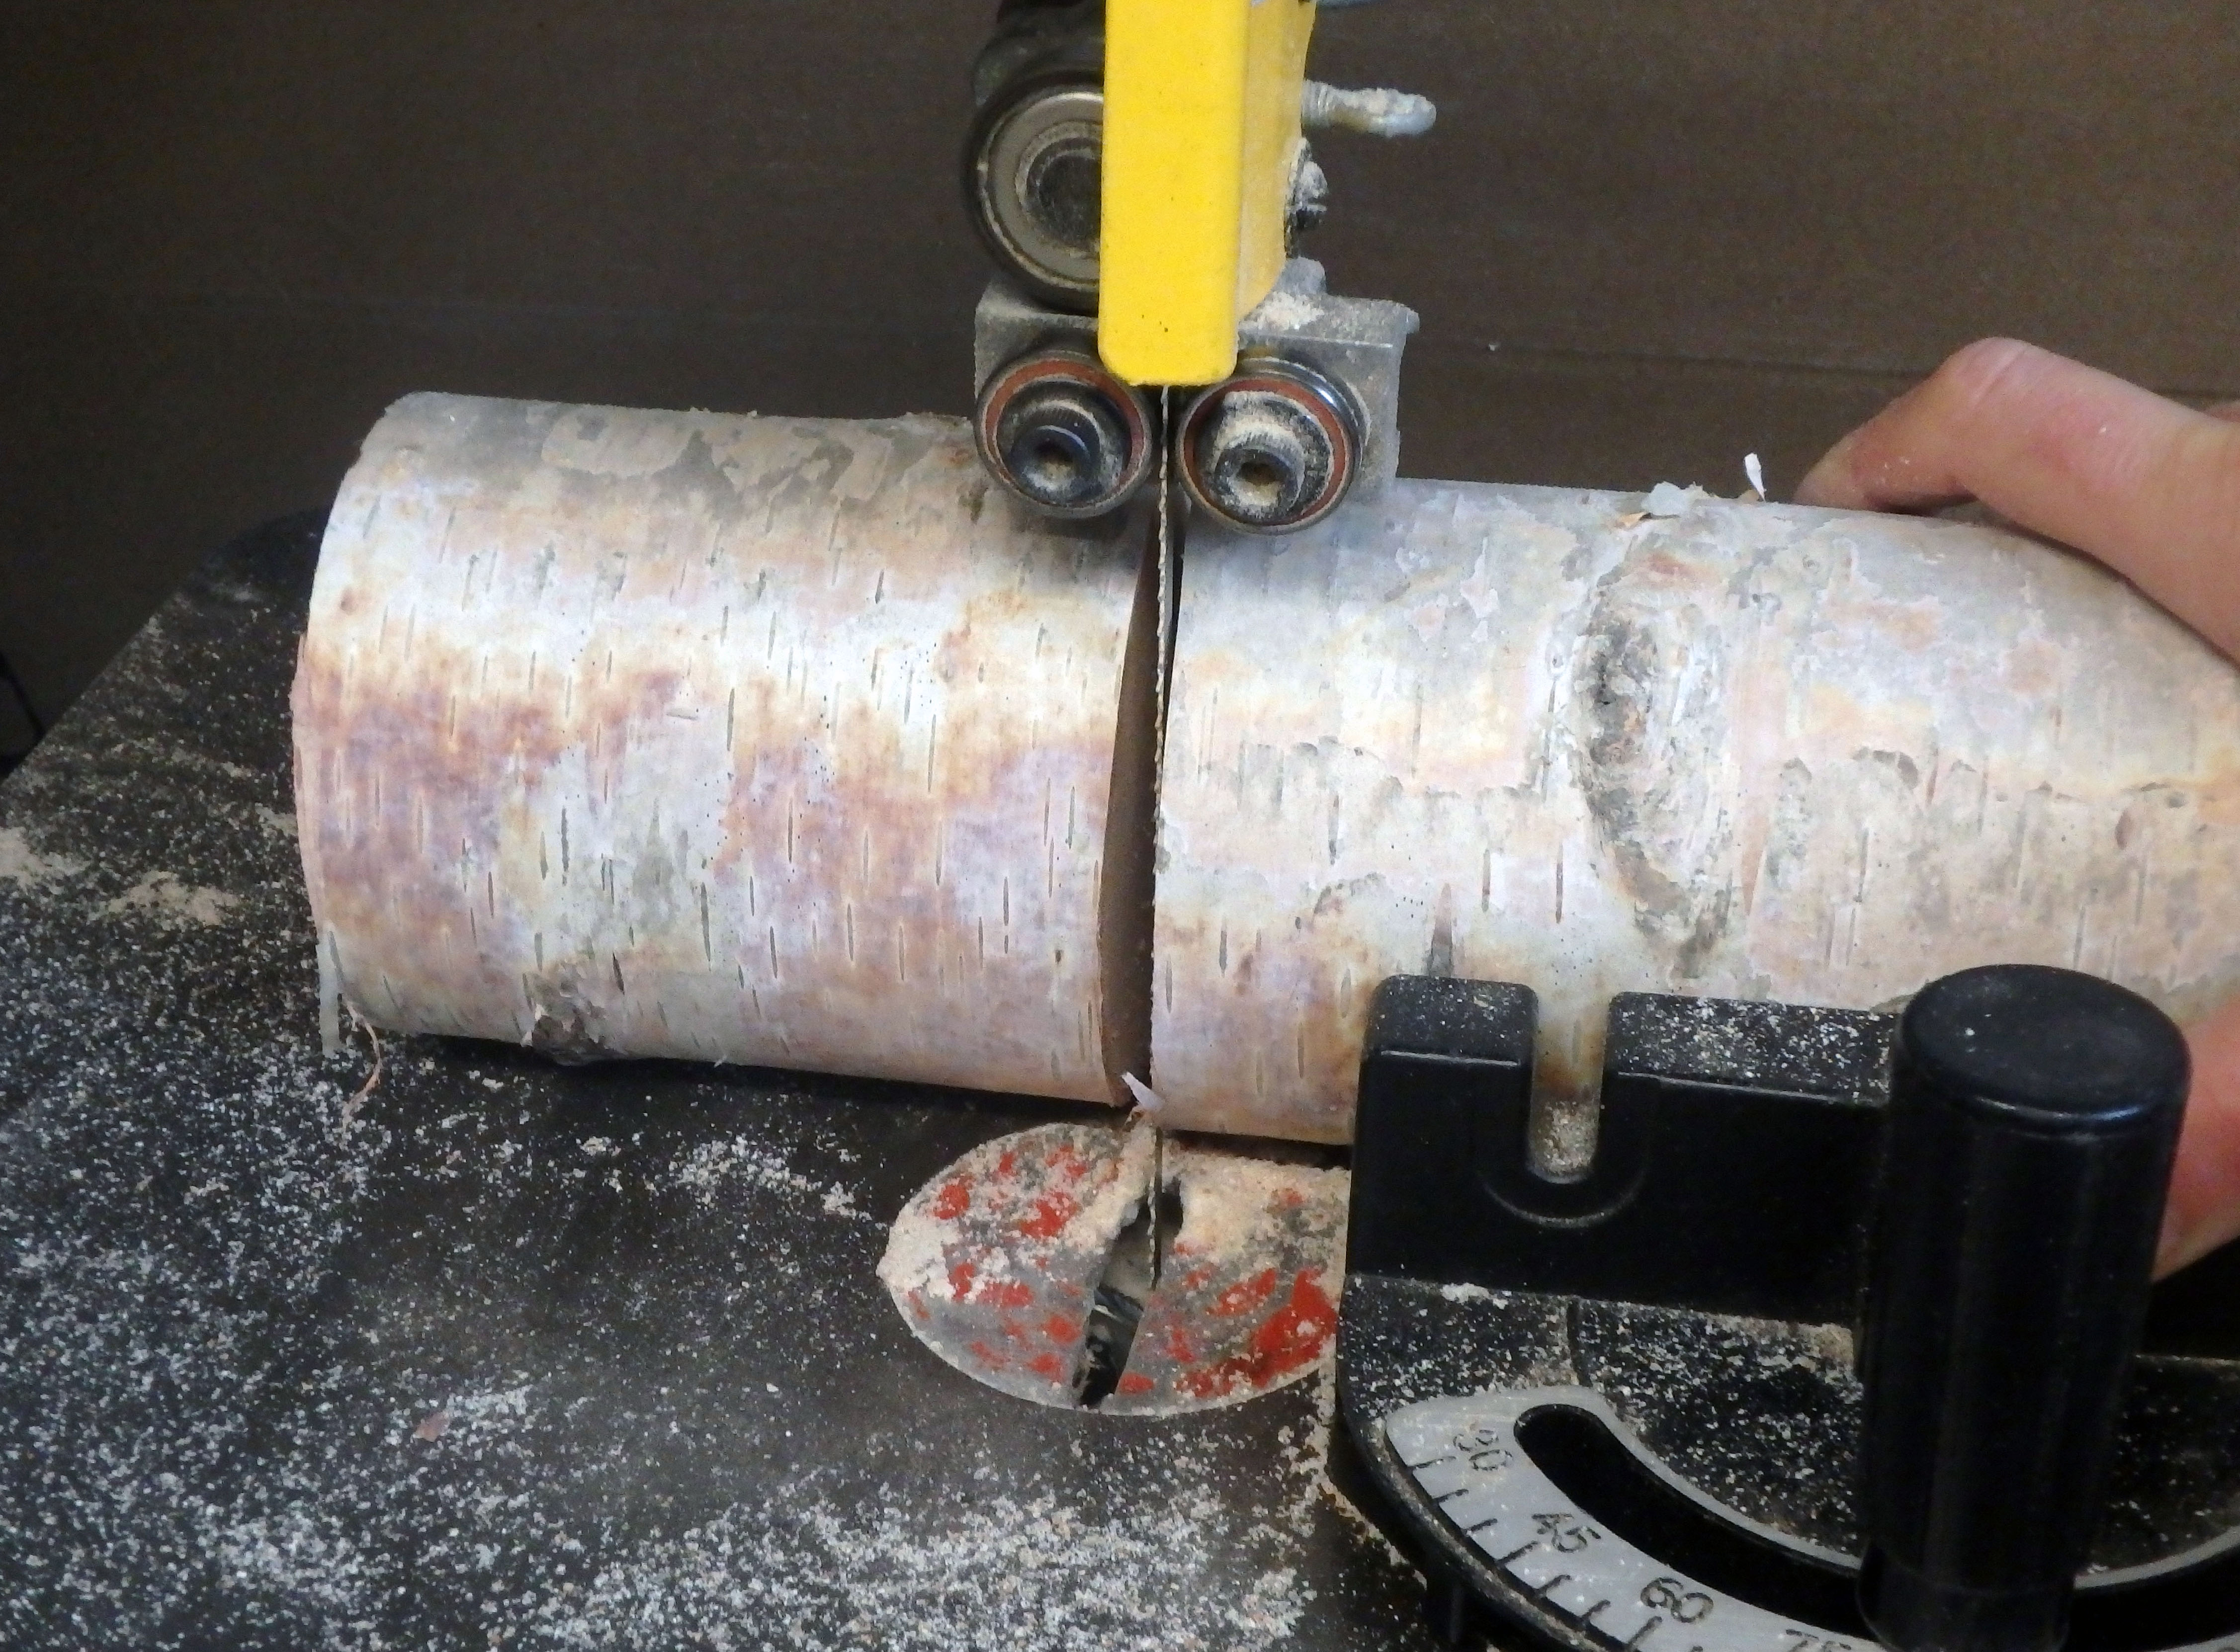
After felling a small birch tree, I take it back to the shop to cut to length.
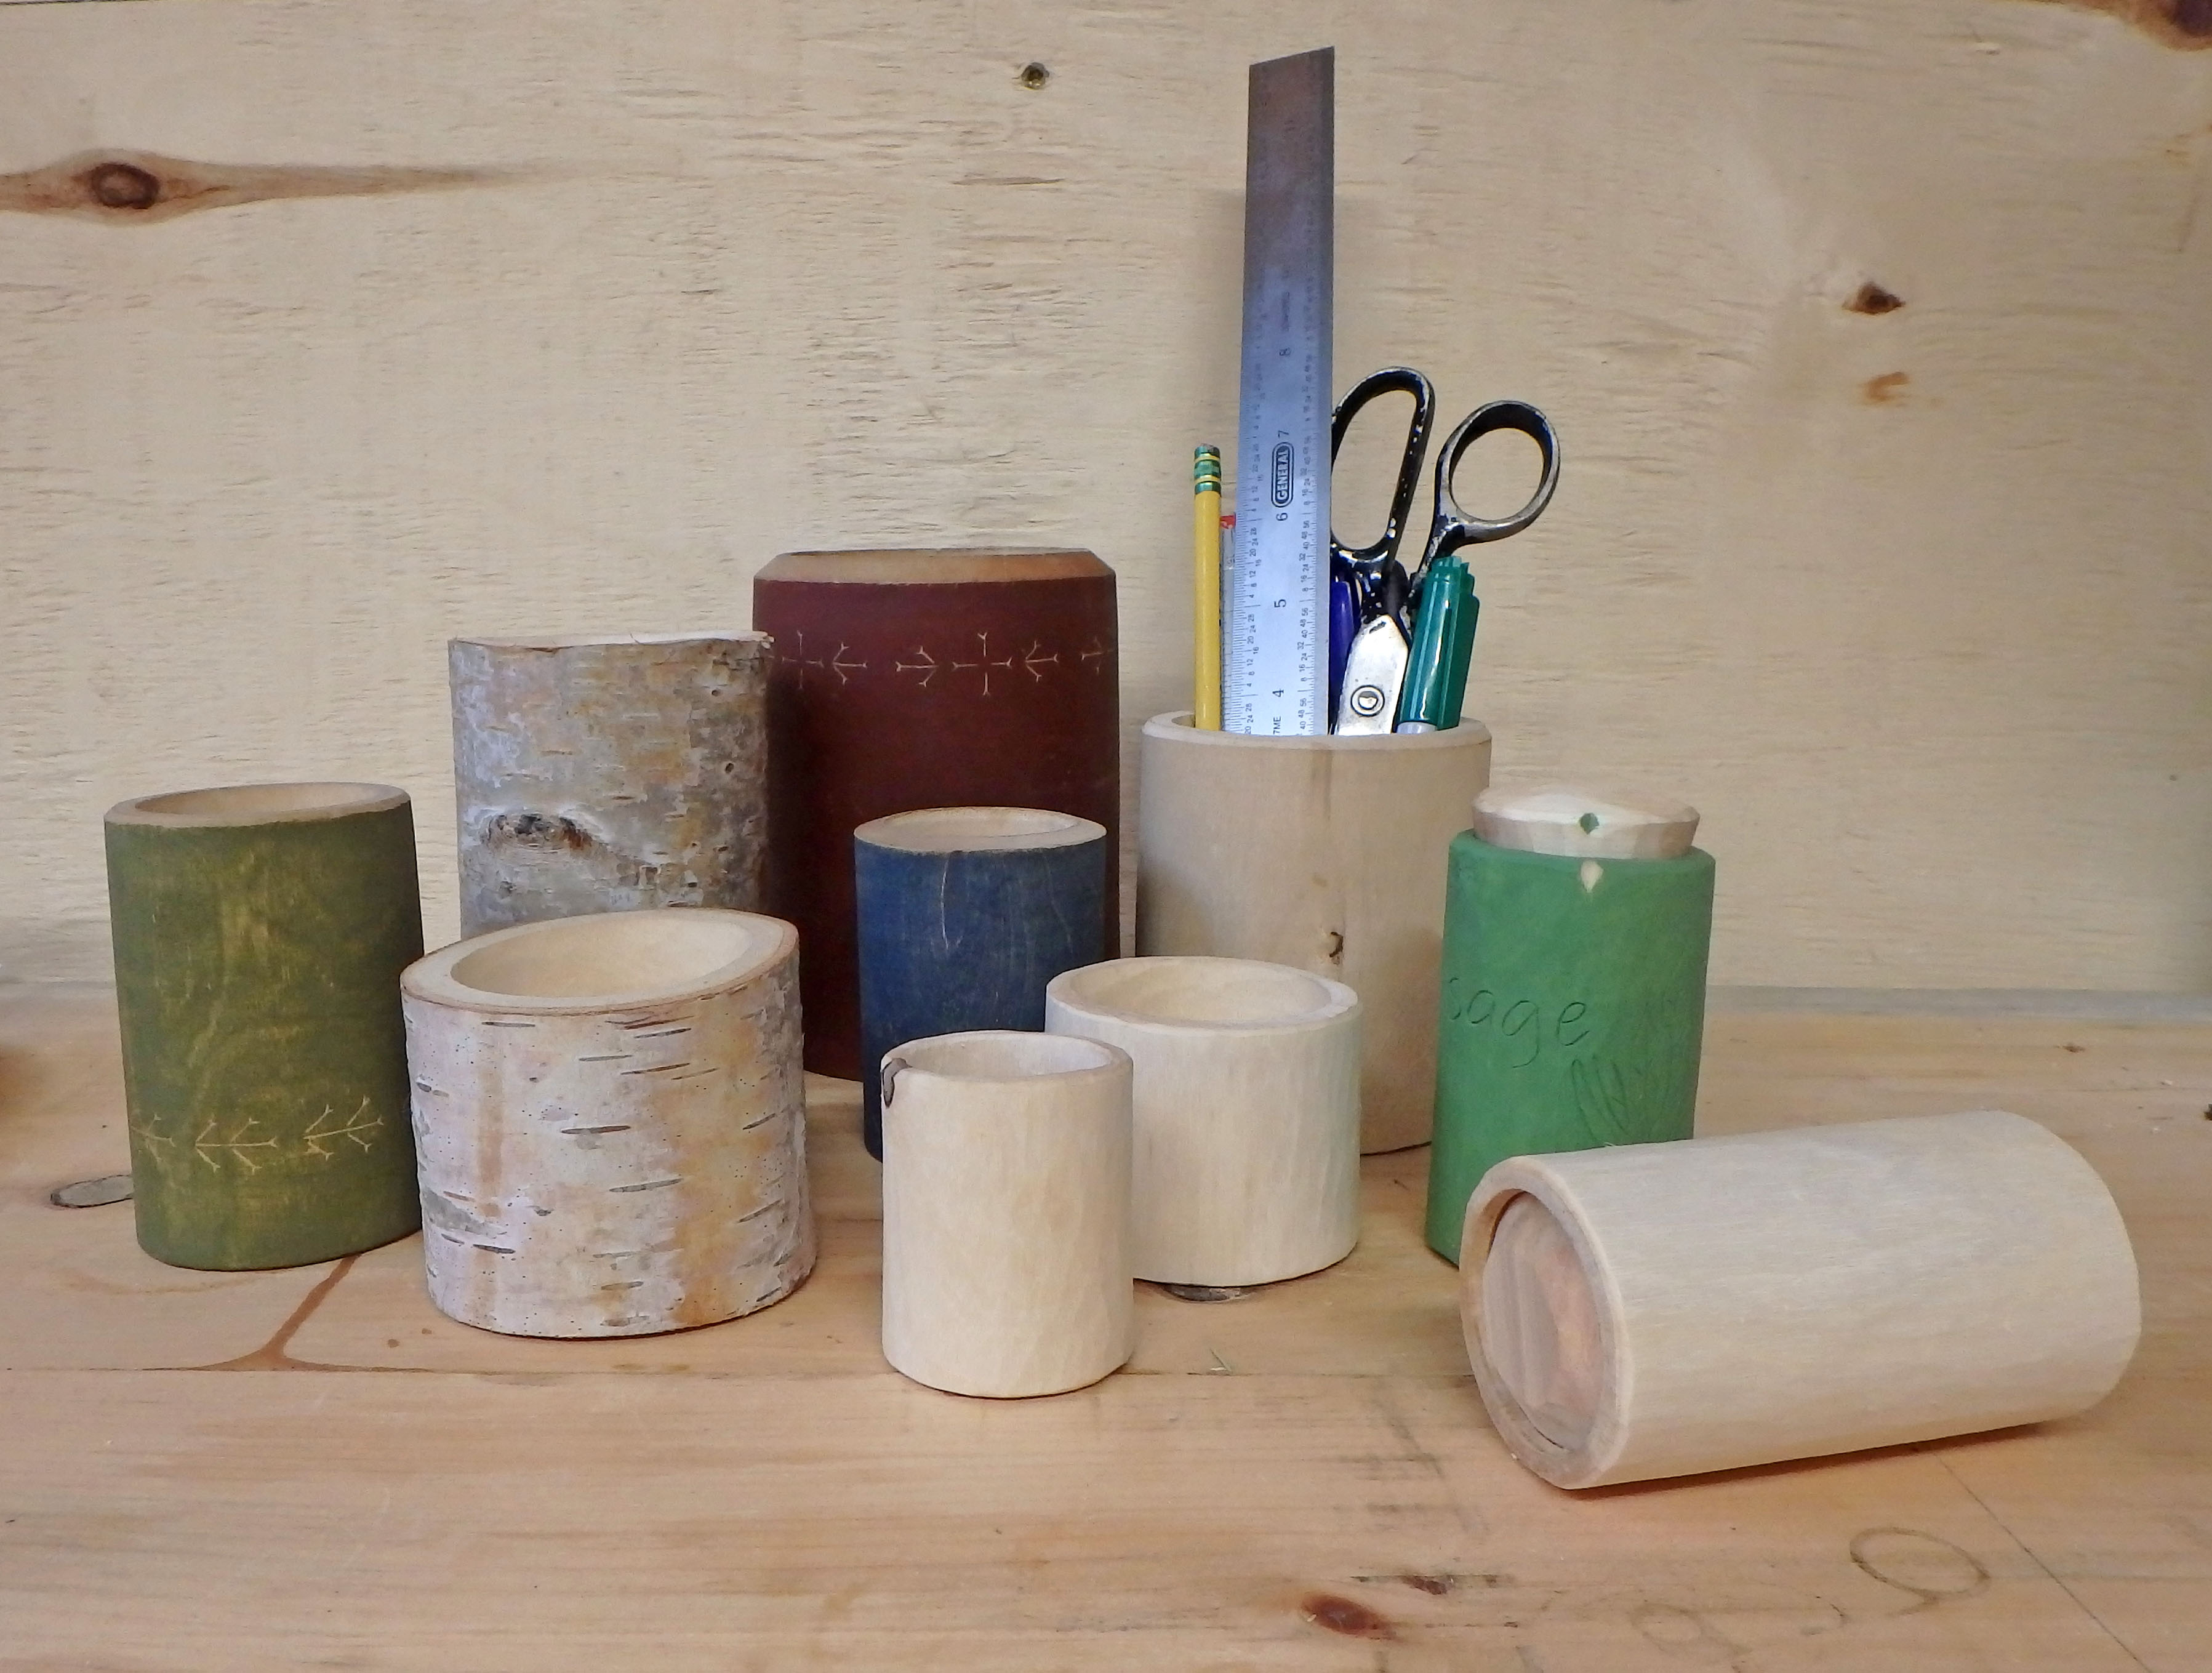
The project I’m currently excited about is creating a set of spice jars, each with the name and image of the spice carved into it. This sage spice jar is the first I’ve completed.
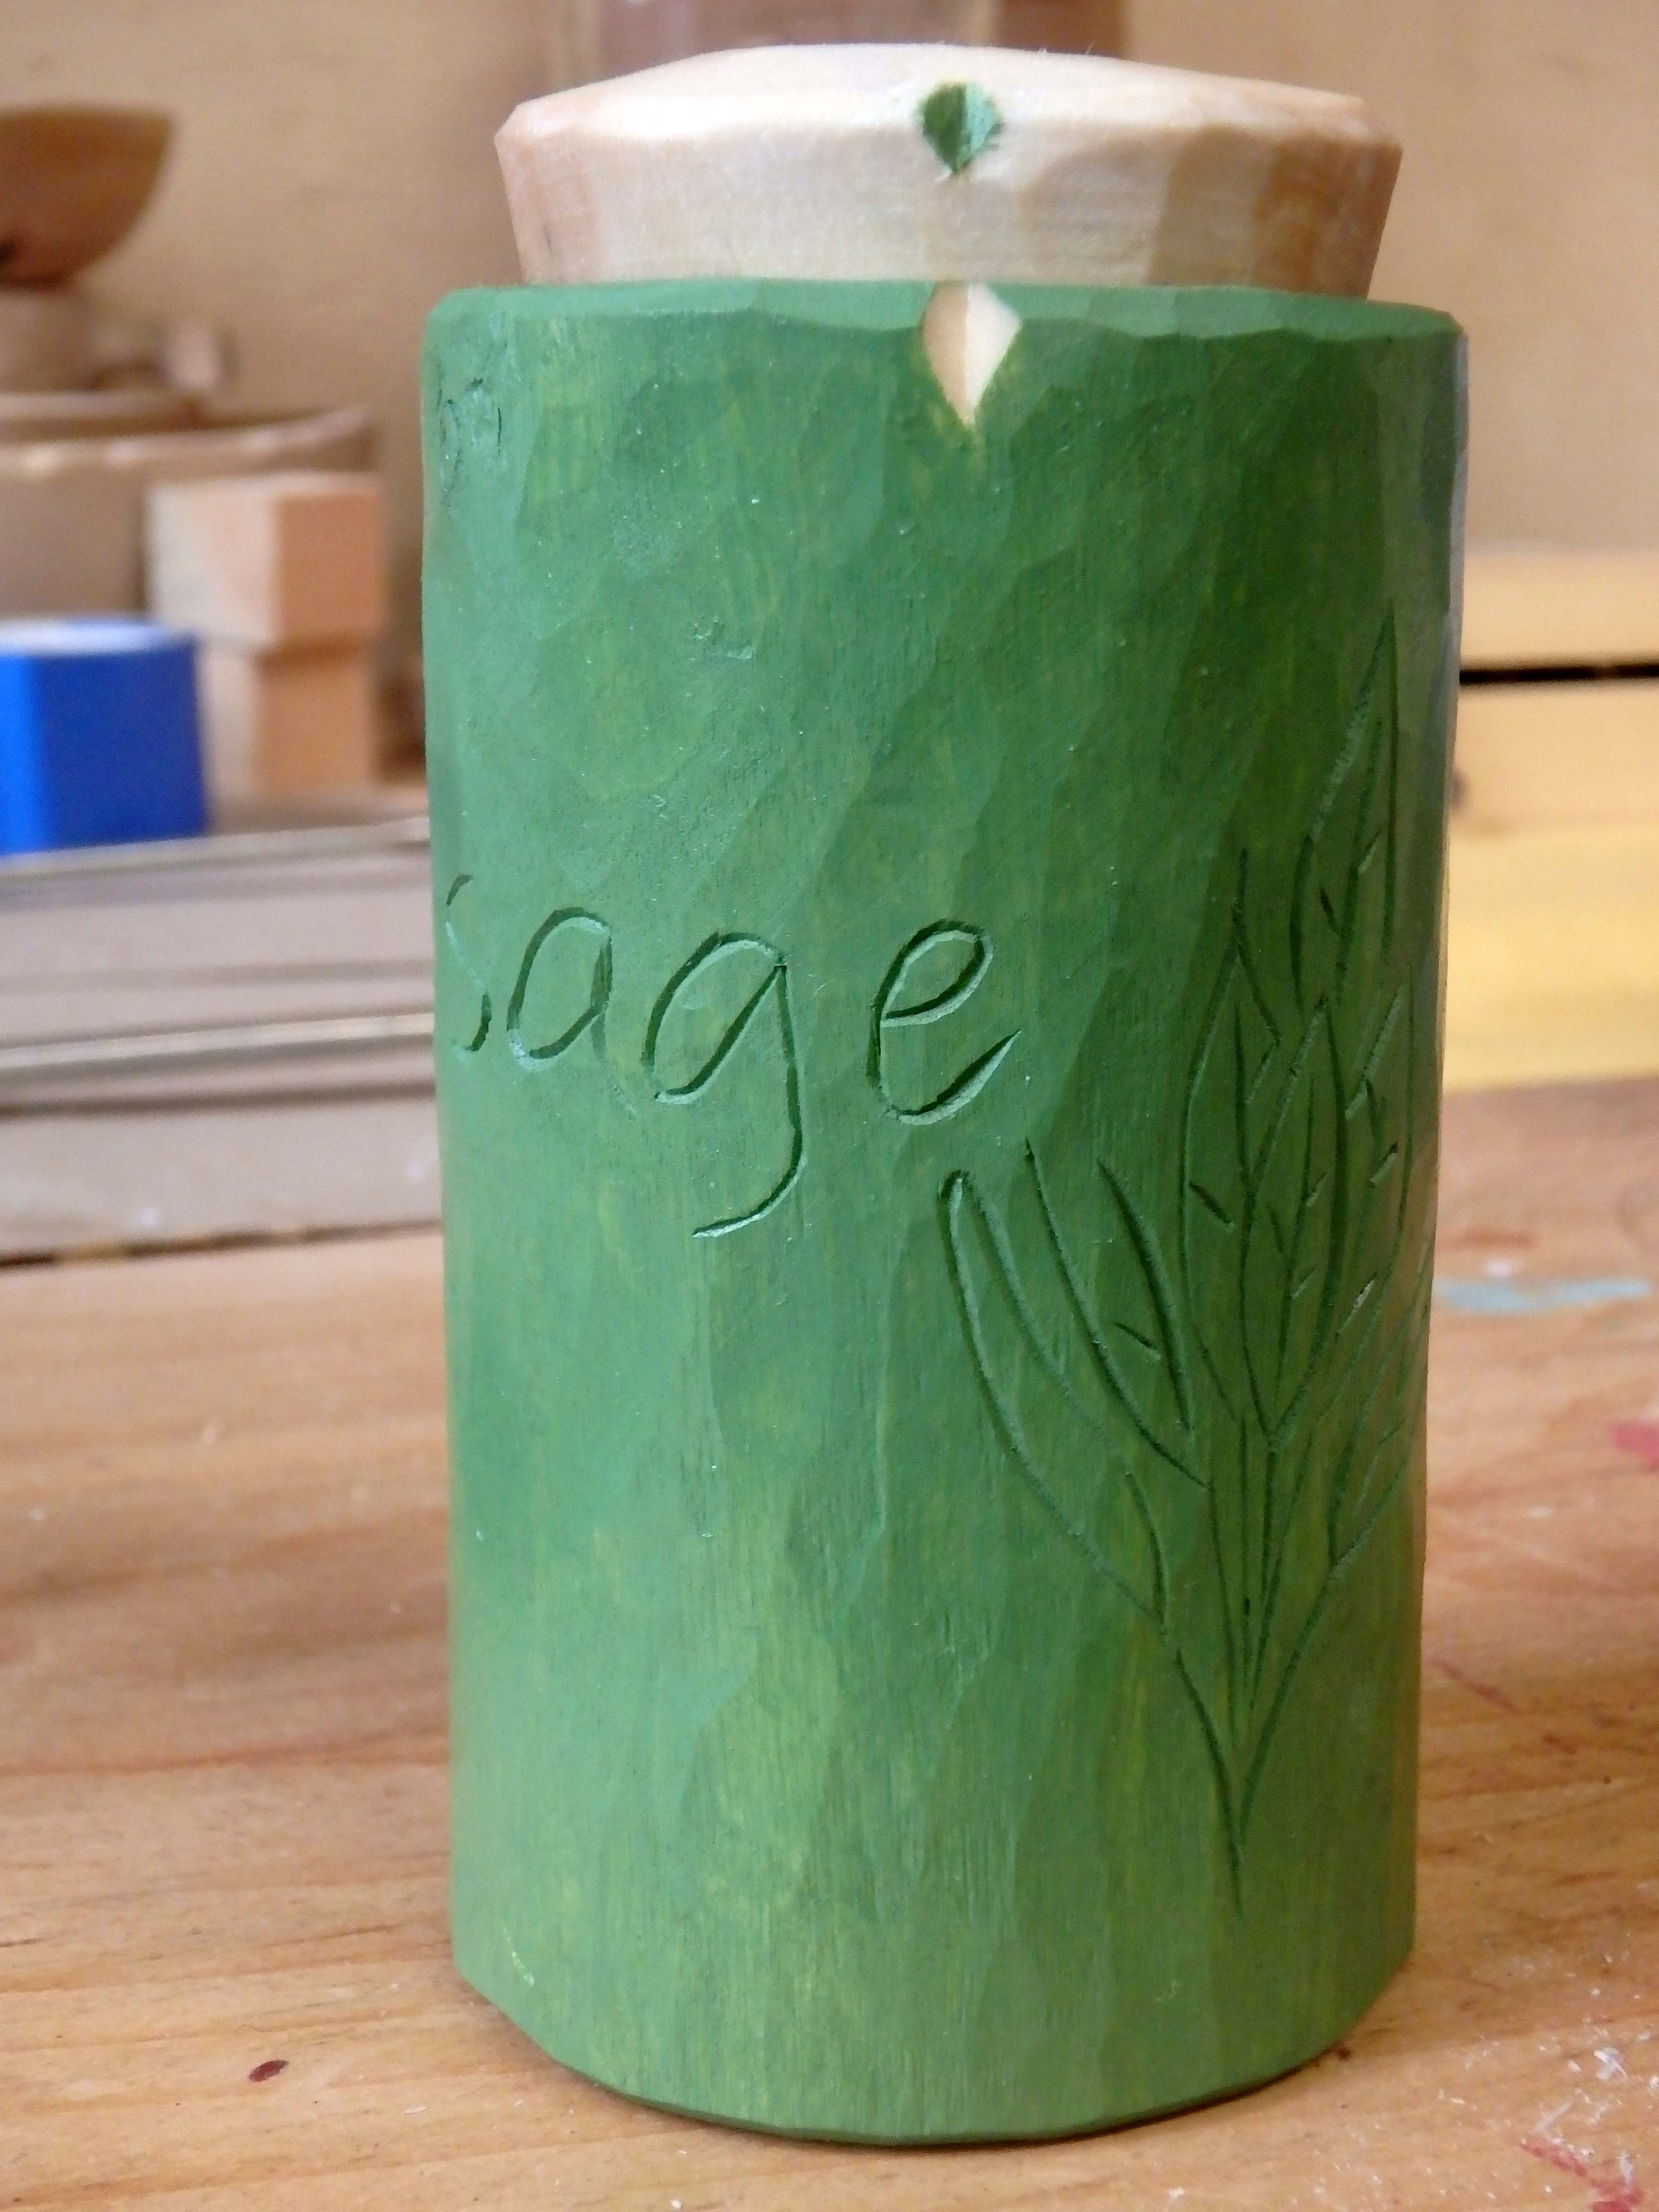
and I’m planning to try out different fonts, various carving methods, multiple lid styles, and a variety of paint combinations throughout this project. I like the approximate size of 3 ½” high and 2” in diameter for a standard spice jar but may go bigger for the ones I use a lot and smaller for the ones I don’t need much of. After cutting the log to length, I take it to the drill press and drill a hole through the middle with a forstner bit.
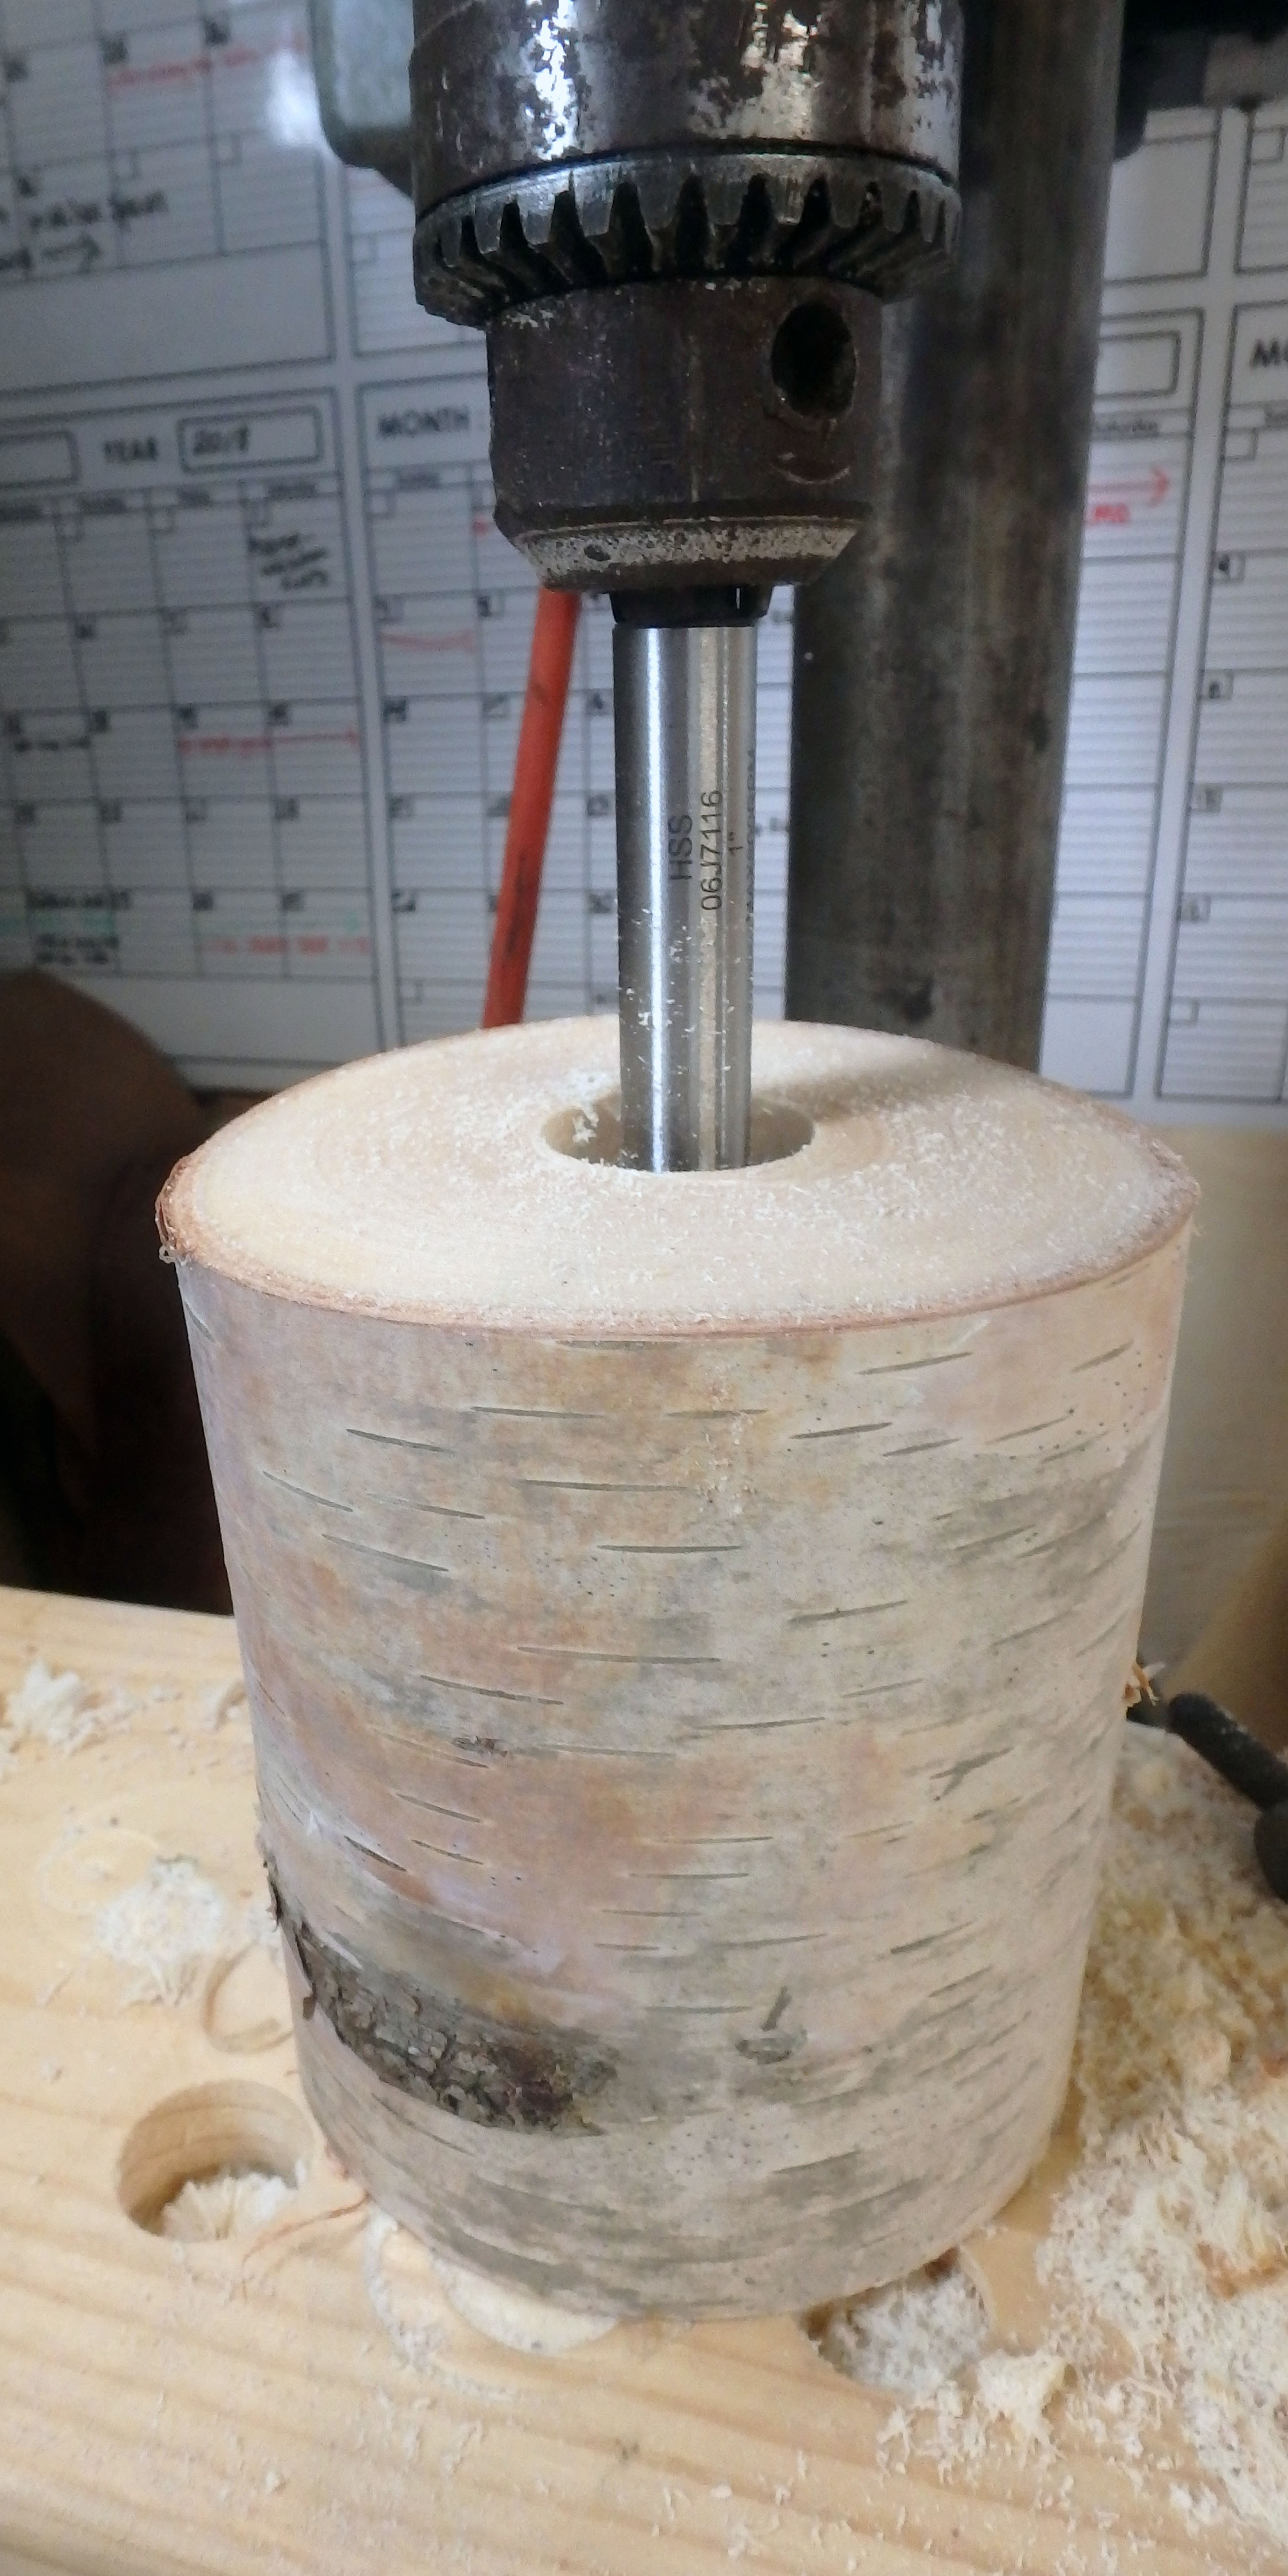
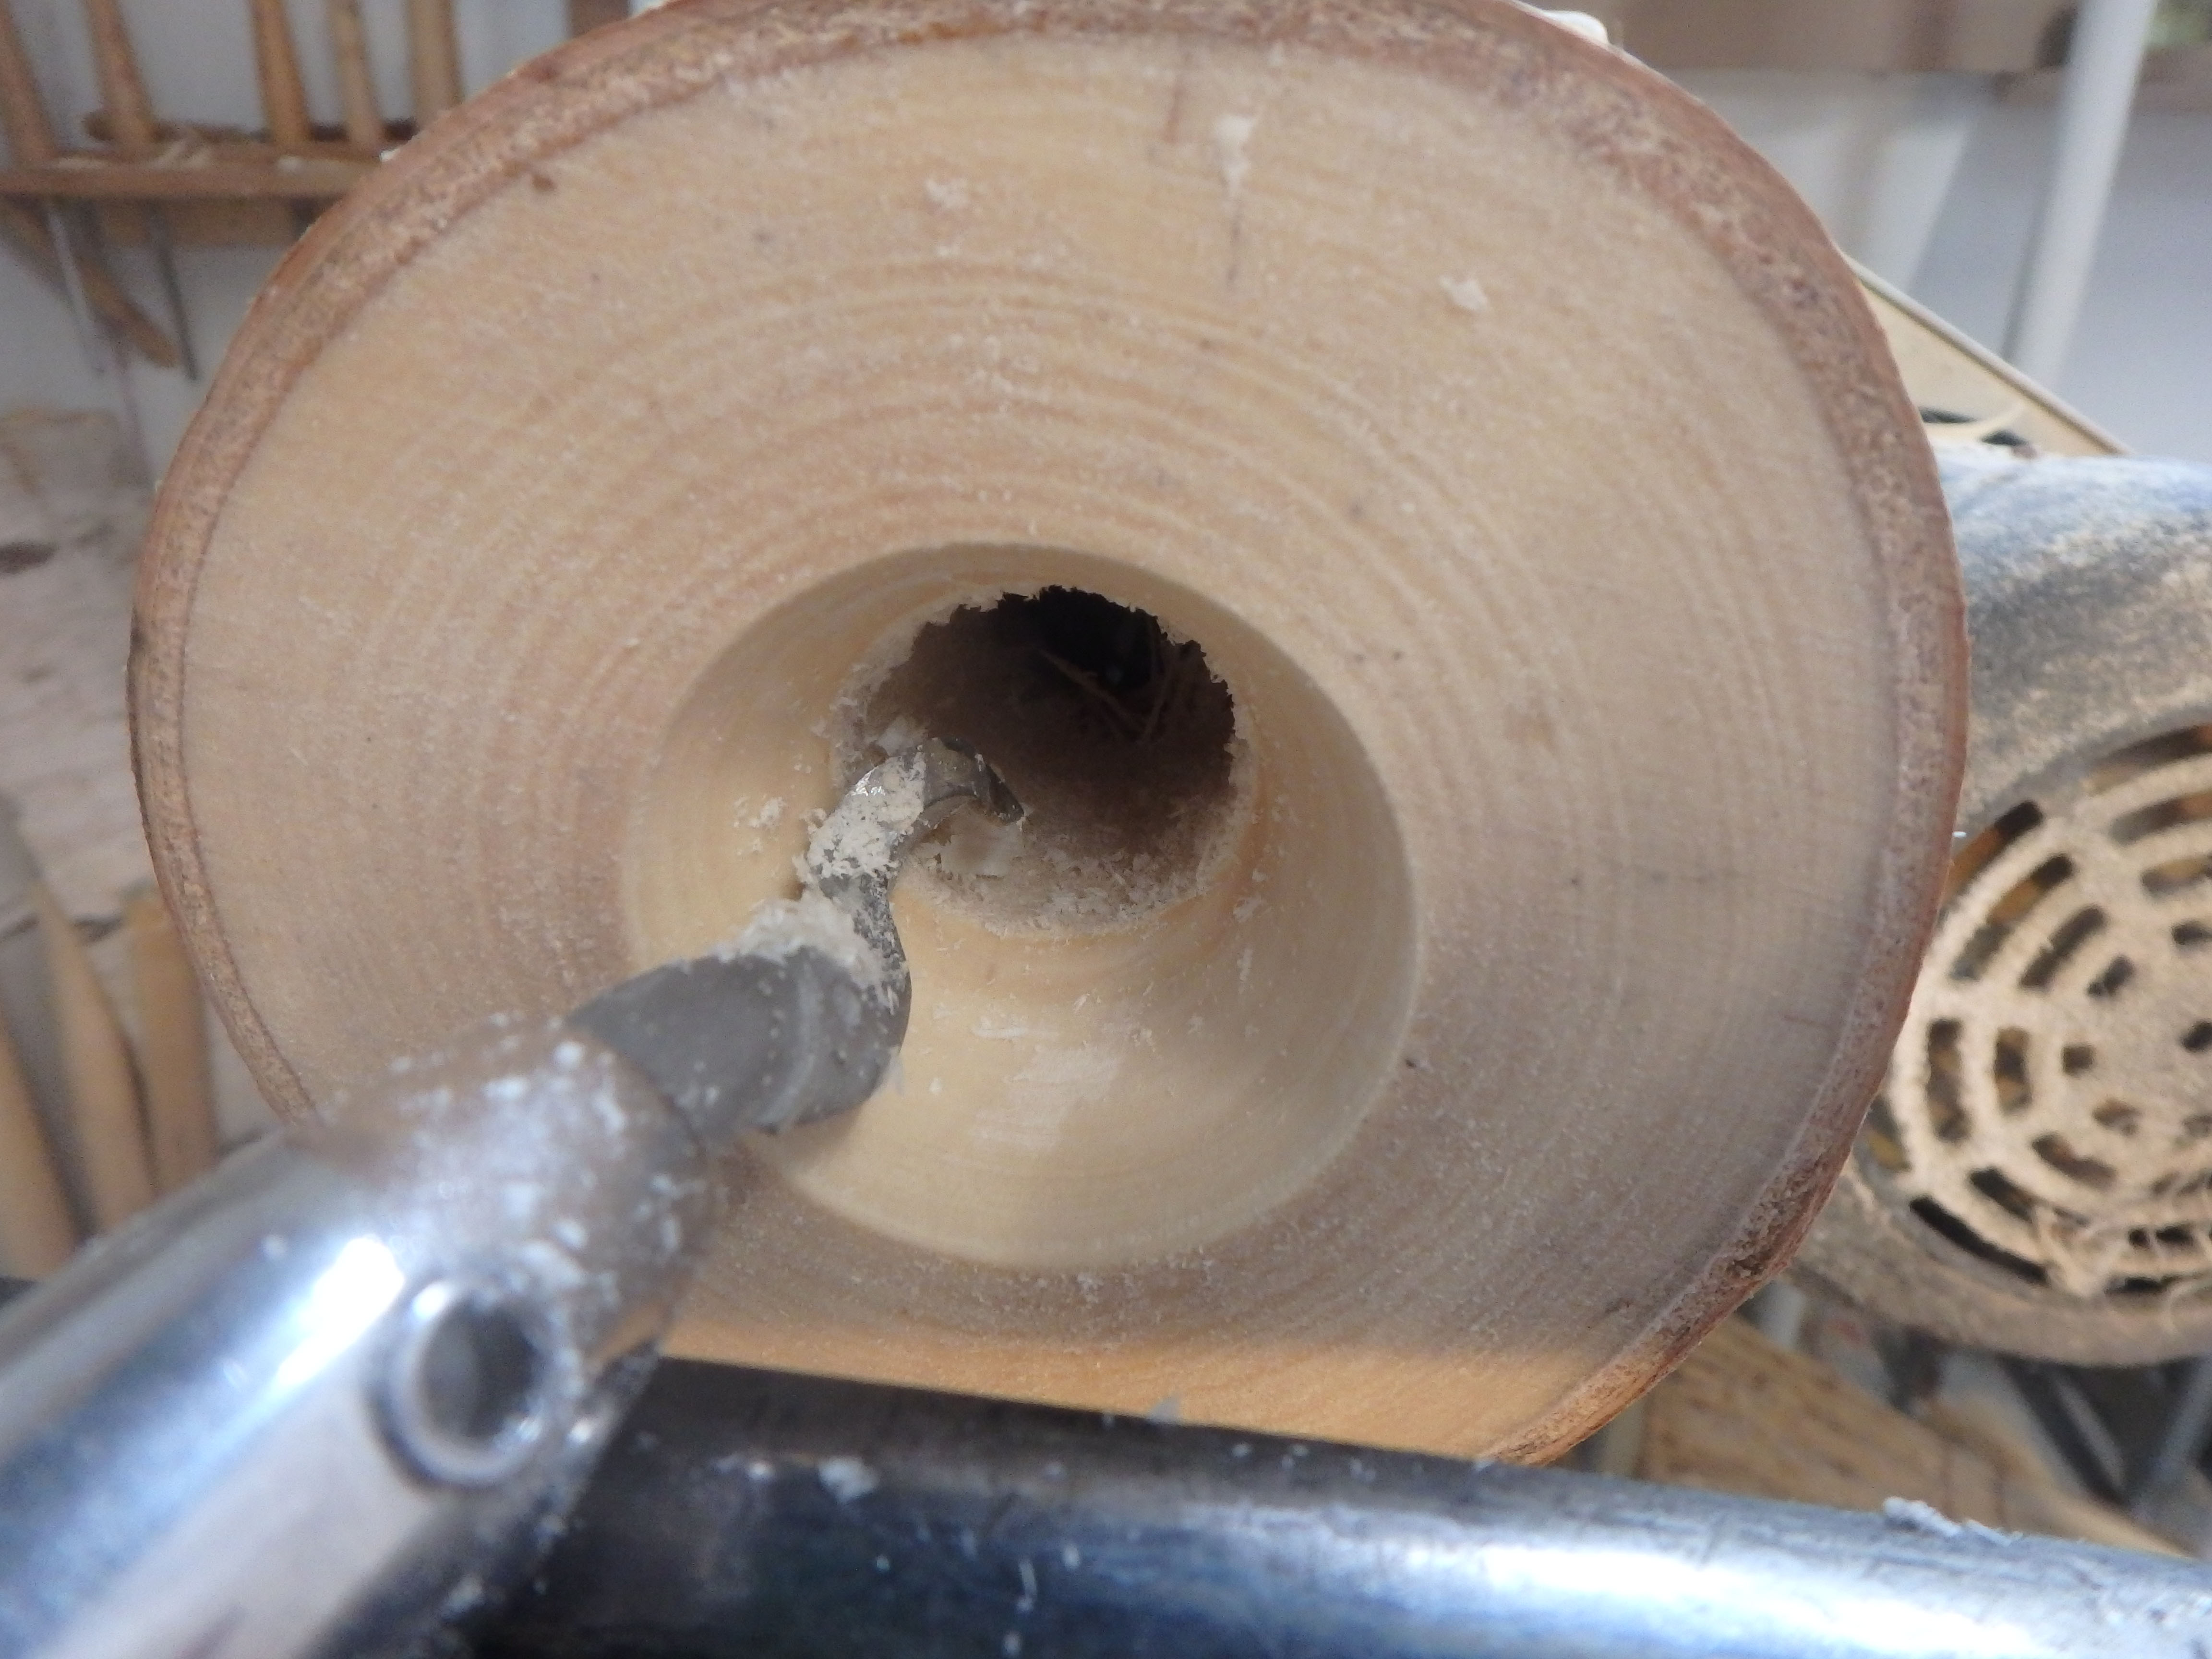
This allows me to mount the log on the lathe using expanding jaws that fit within the hole and widen to hold the log in place while I turn the main form of the shrink box. End grain hollowing can be more challenging for me than some other styles of turning, but the initial hole made by the forstner bit creates an easy start to further hollowing with a hook tool.
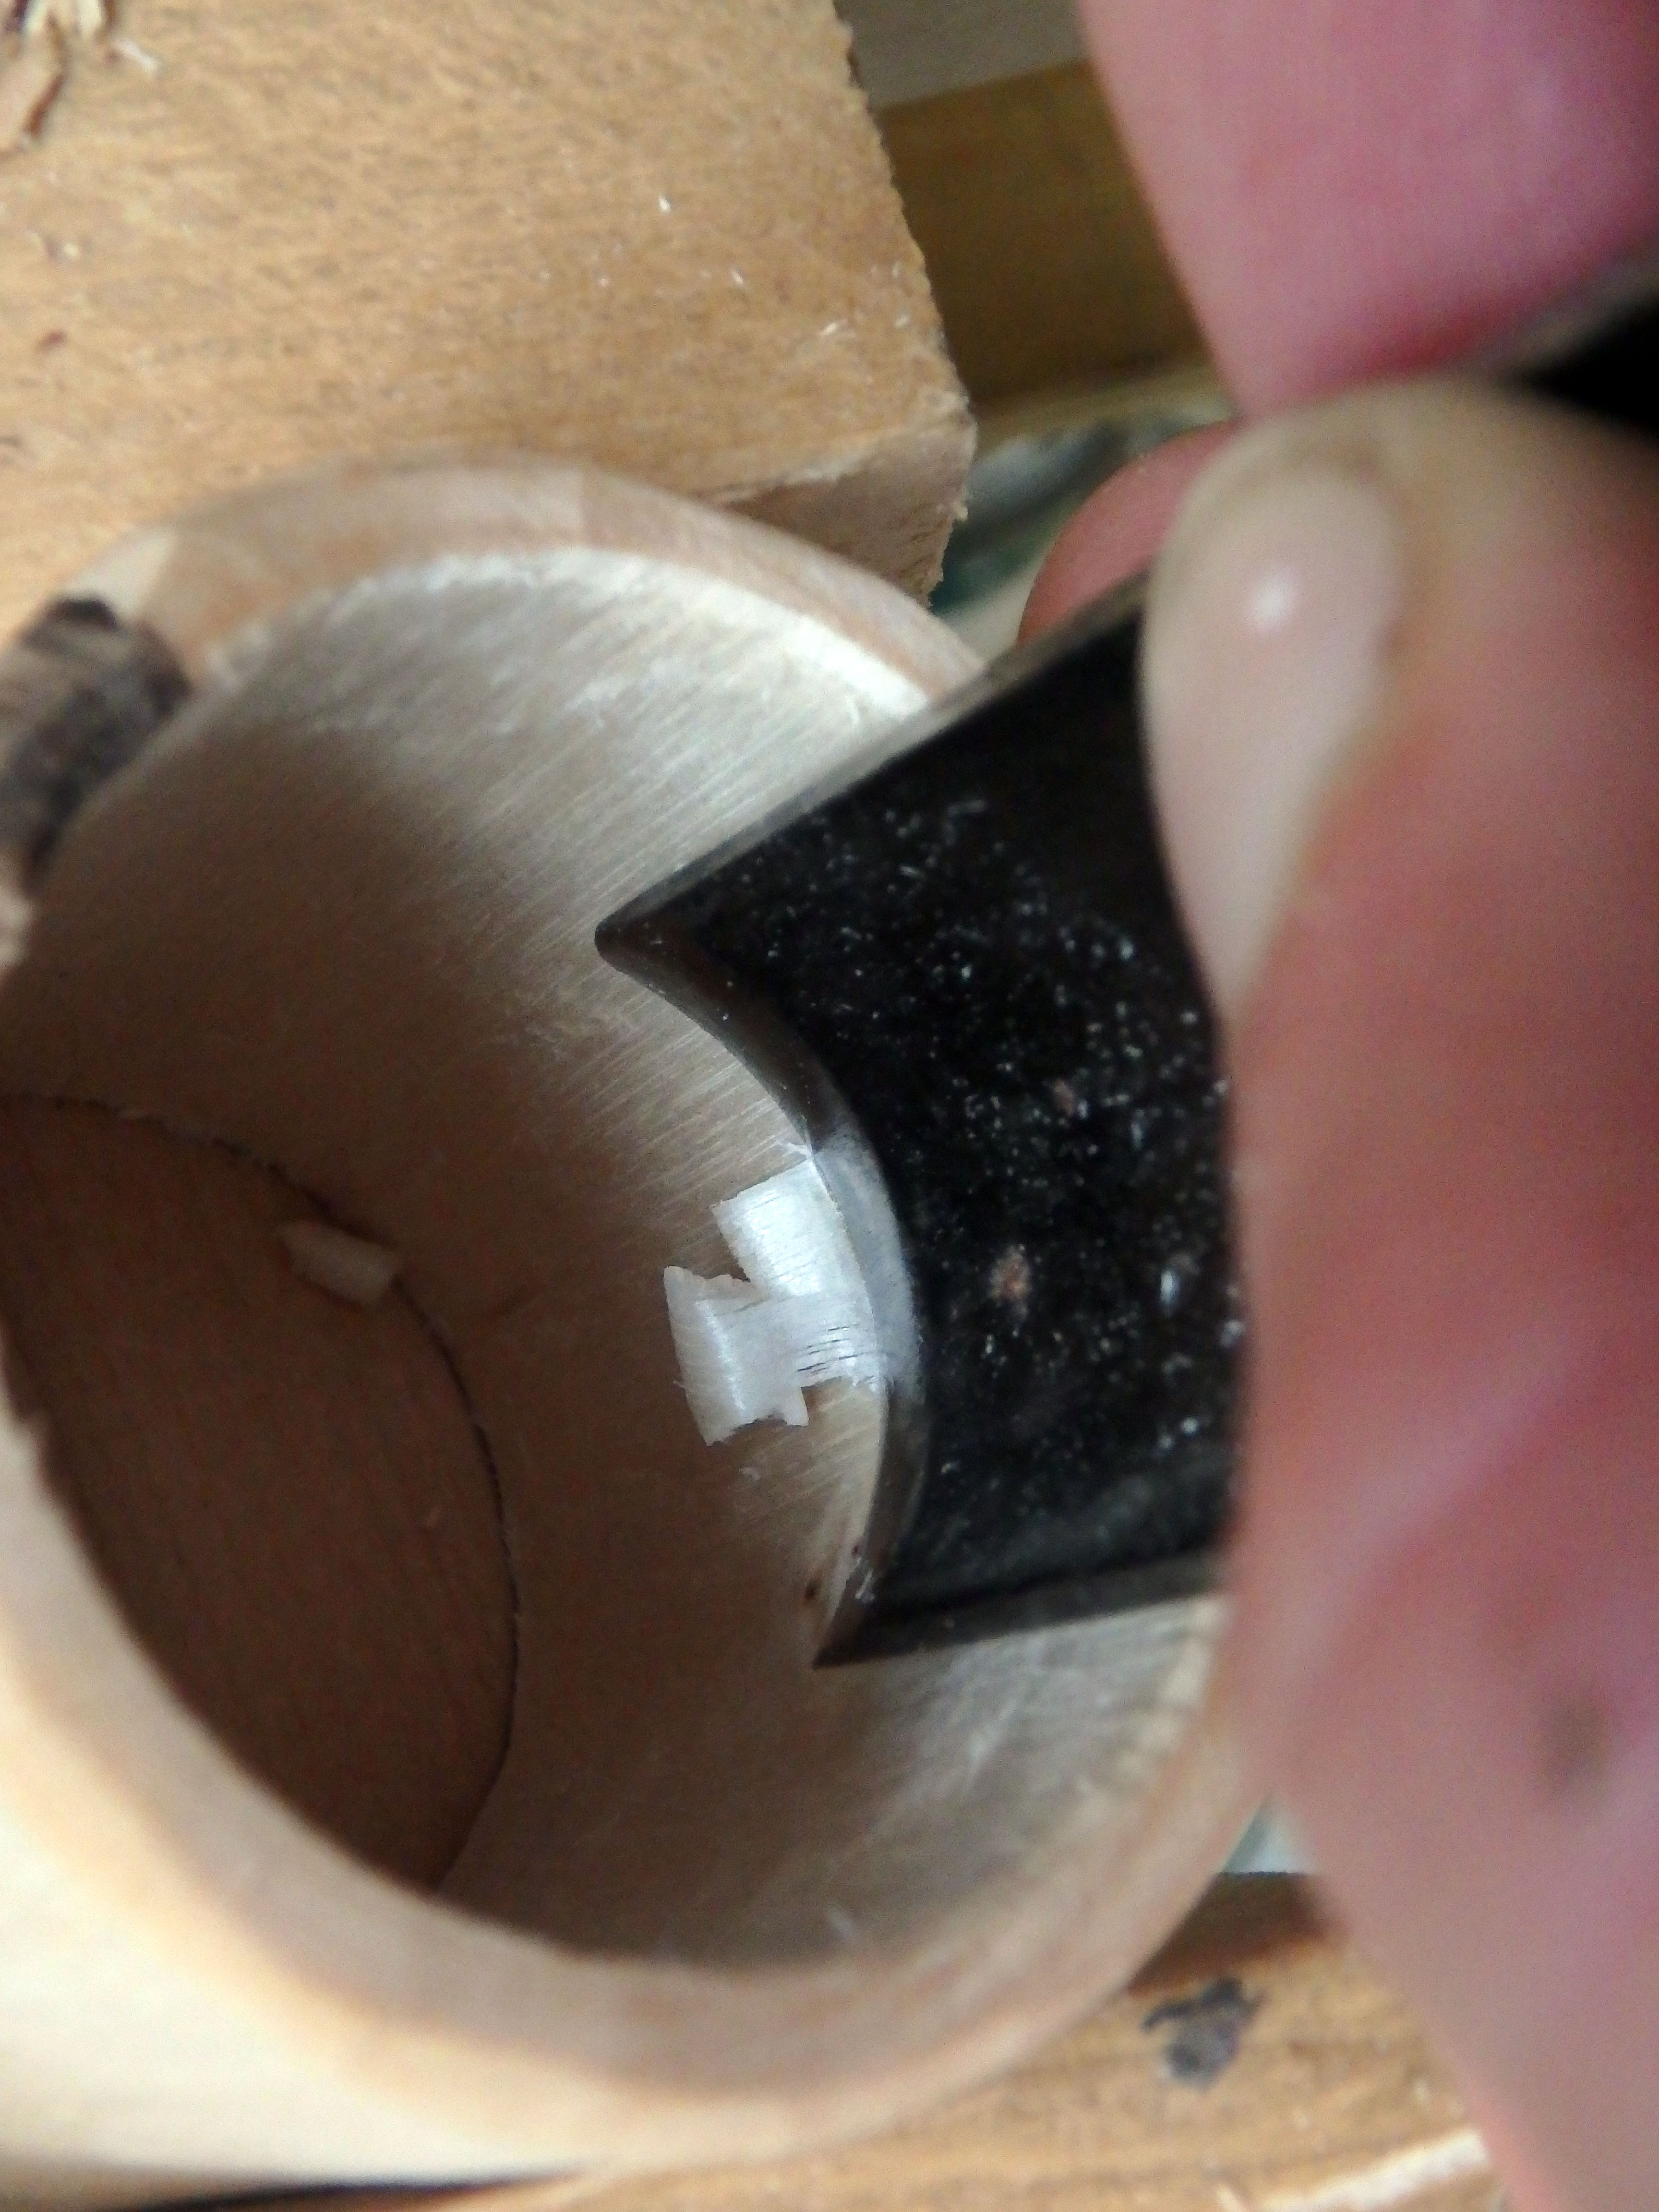
Once the inside is widened to about 1 ½” I use a skew chisel to create the groove that the base will fit into.
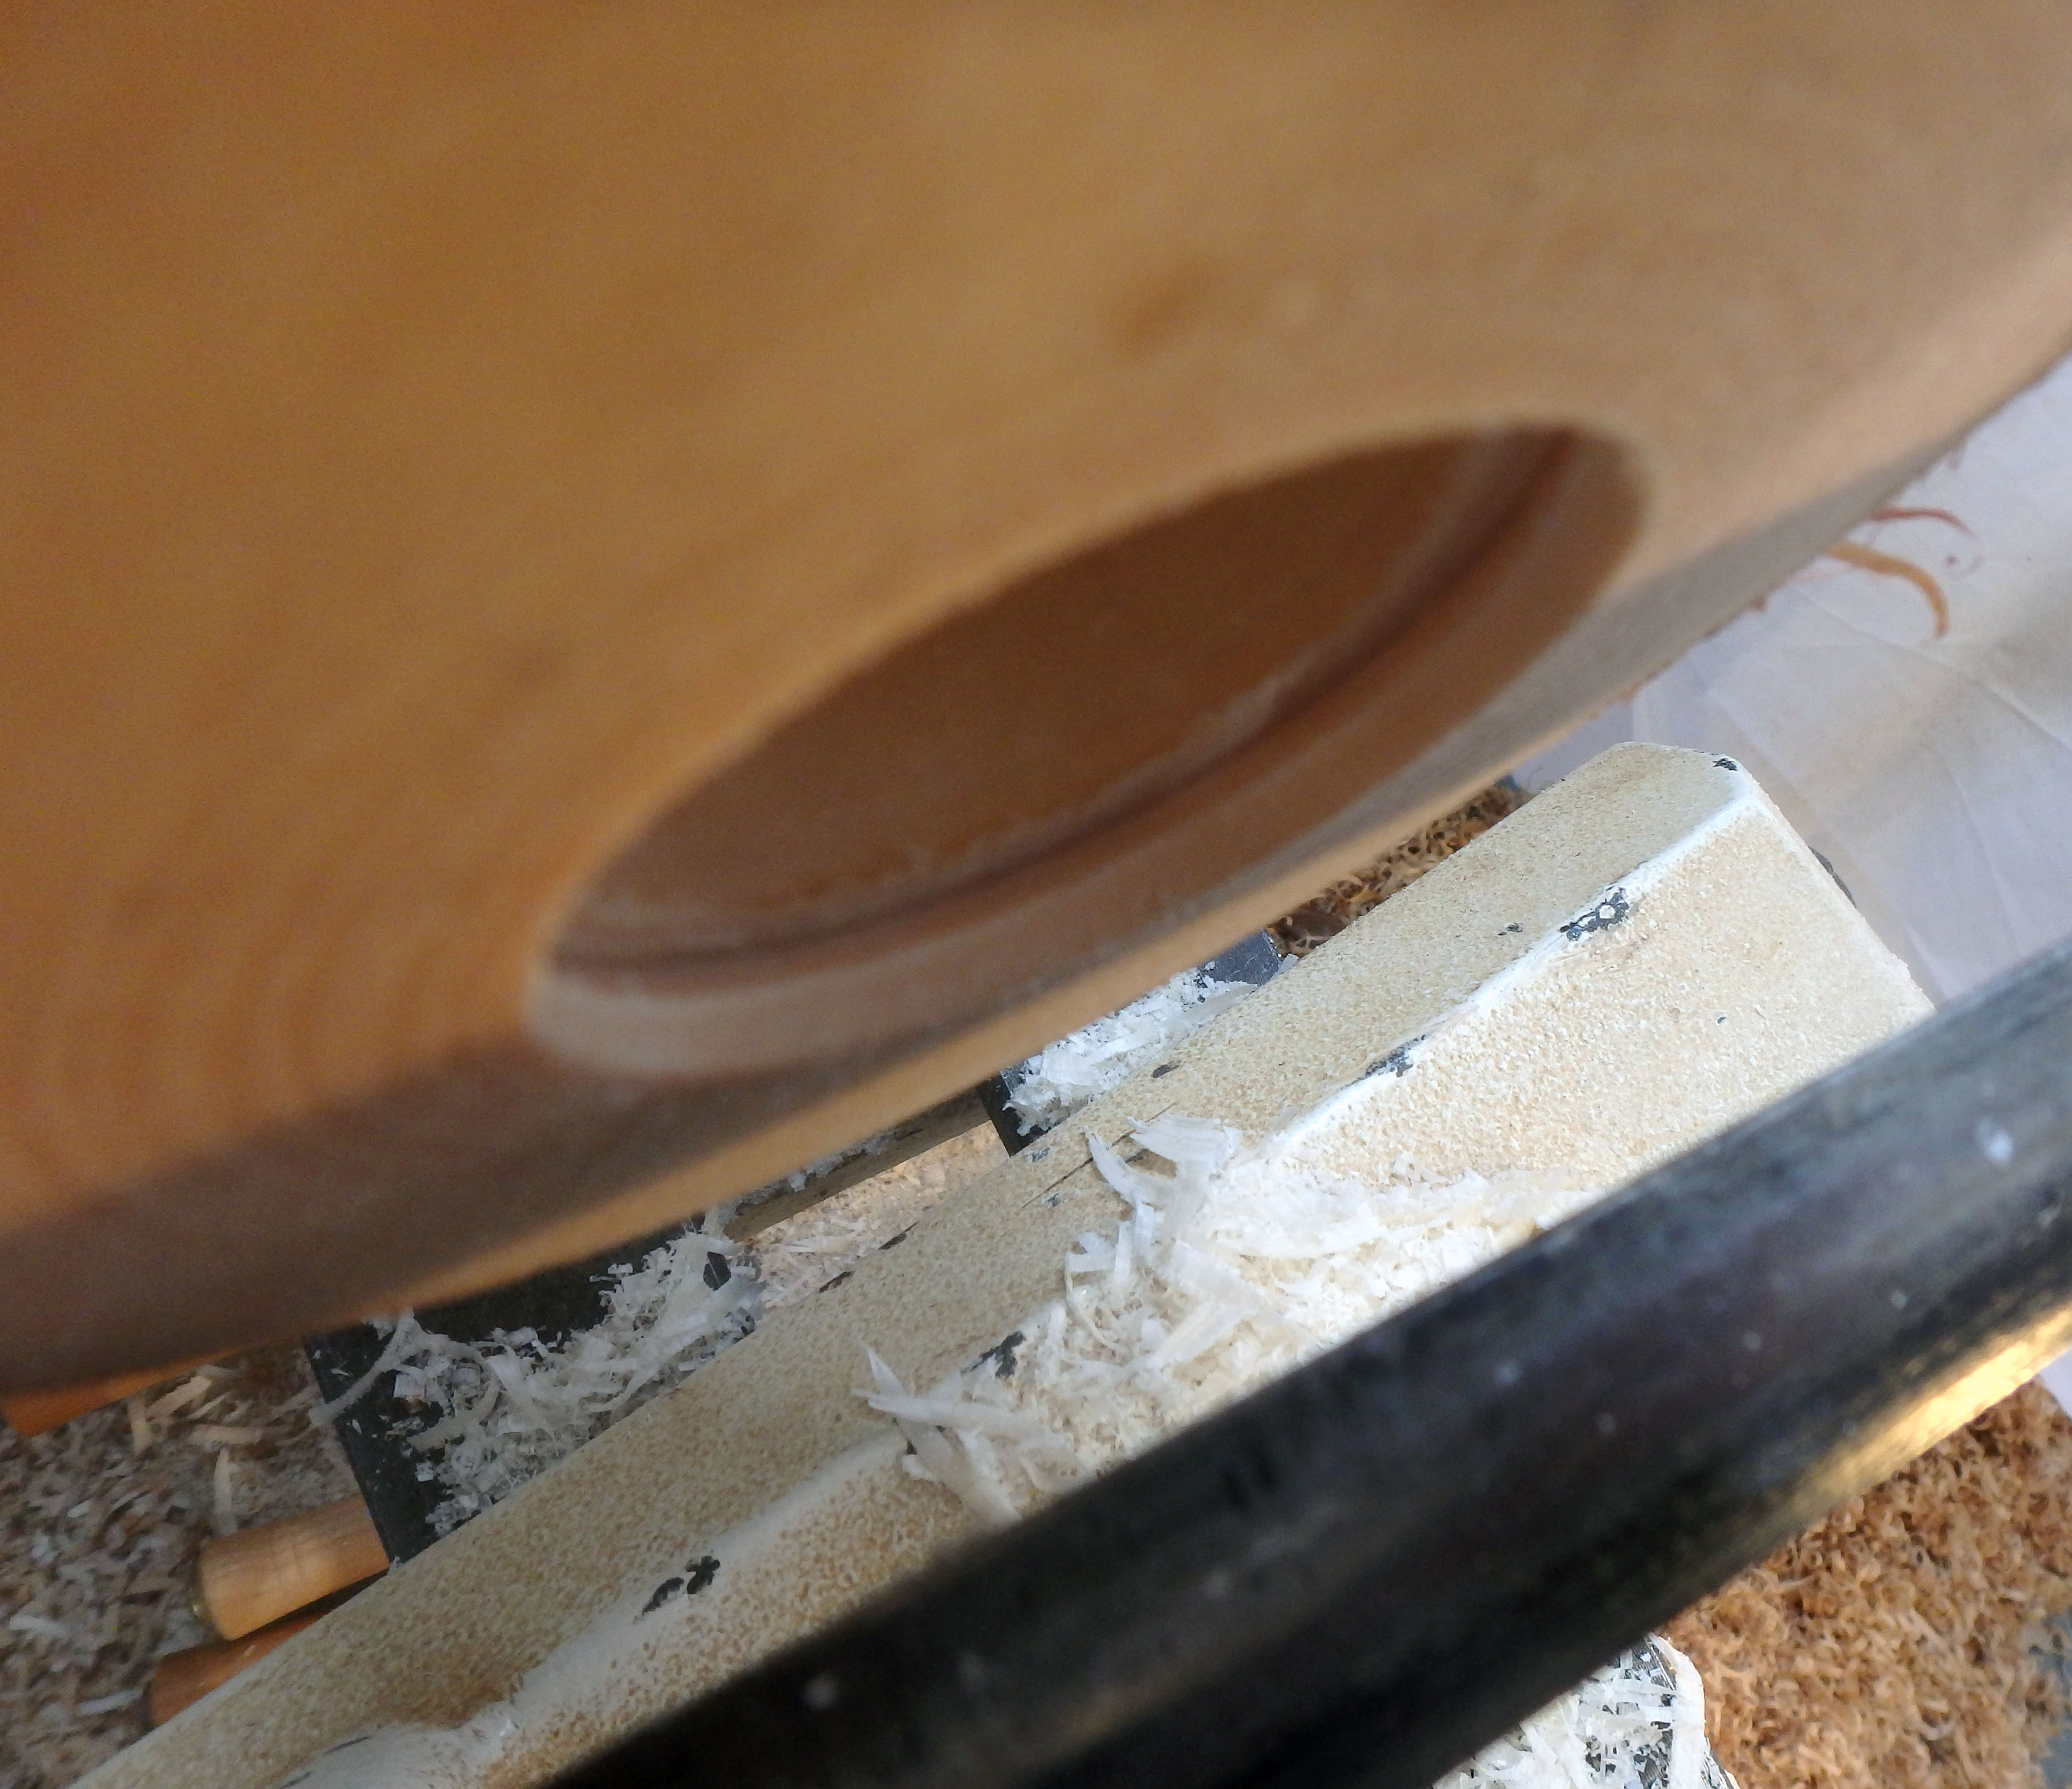
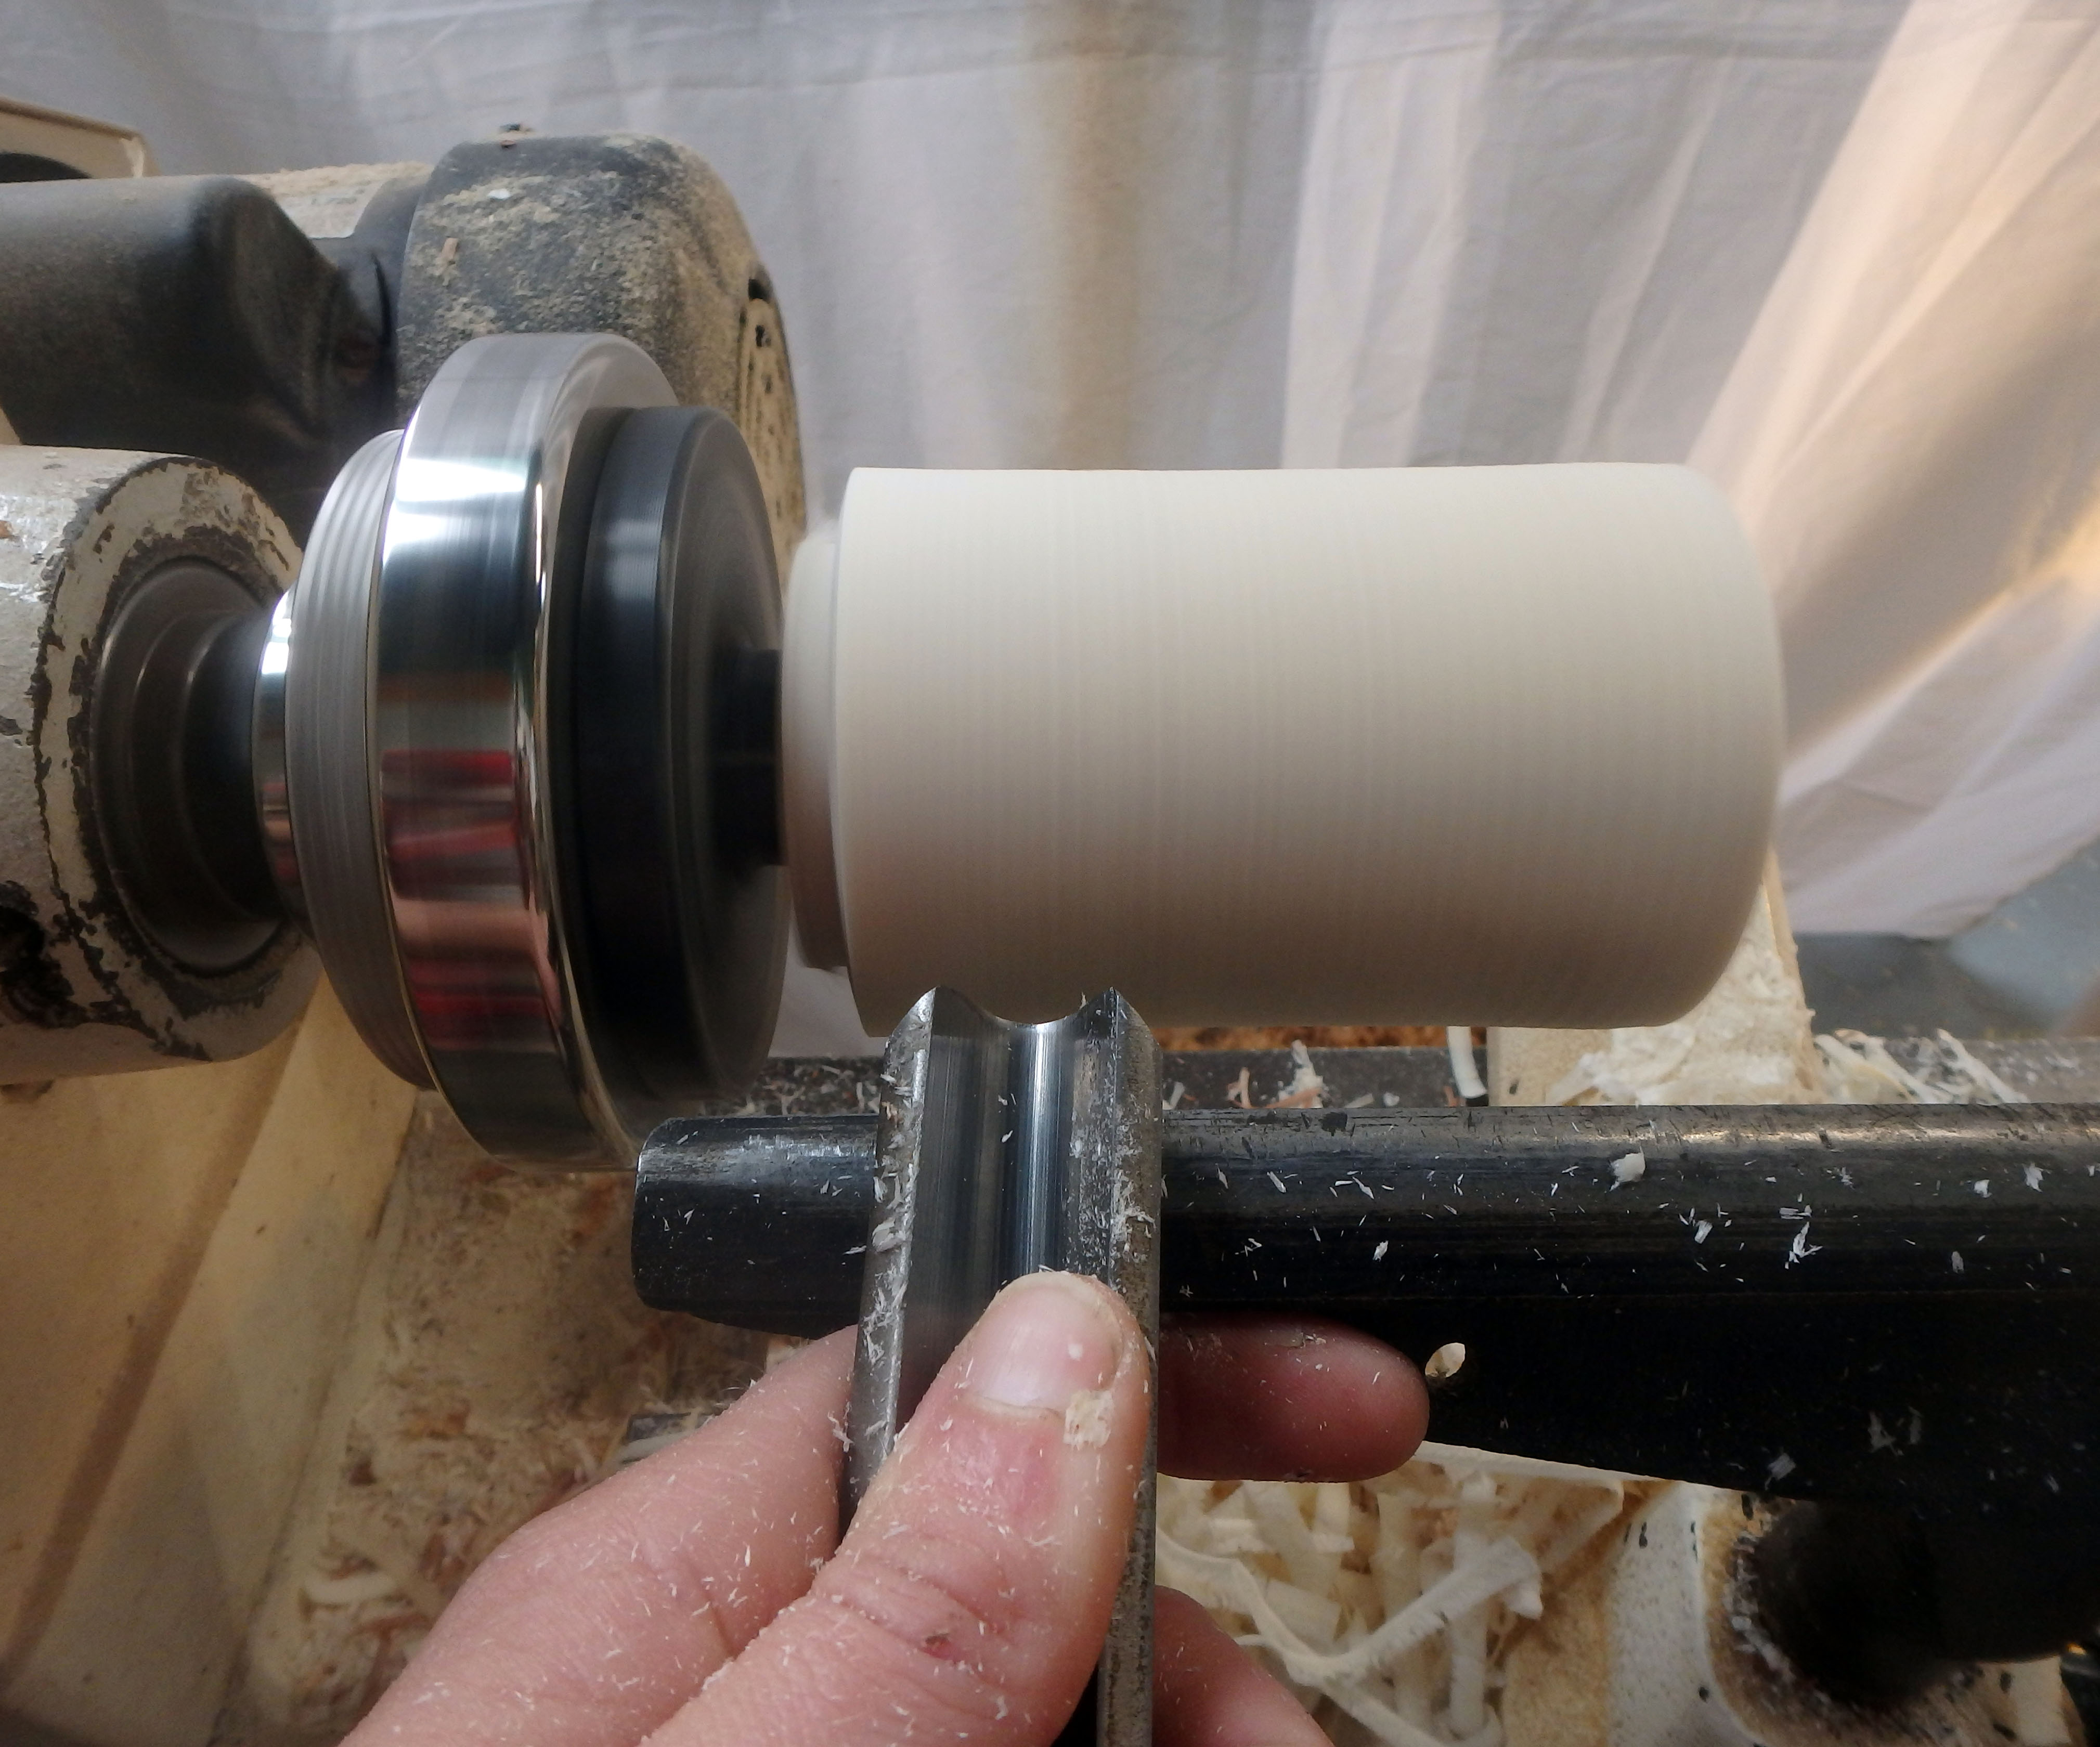
By hand this process can take some time, but on the lathe it can be completed in seconds. After the inside is complete, I take the outside down to my desired 2” diameter with a spindle roughing gouge, not being too concerned about the finish it leaves because I will later carve the shrink box for a hand tool finish and more desirable surface for the embellishment carving.
To create the base, I pull out some thin slabs of birch that I rived out and planed down a couple years ago when I first explored the world of shrink boxes.
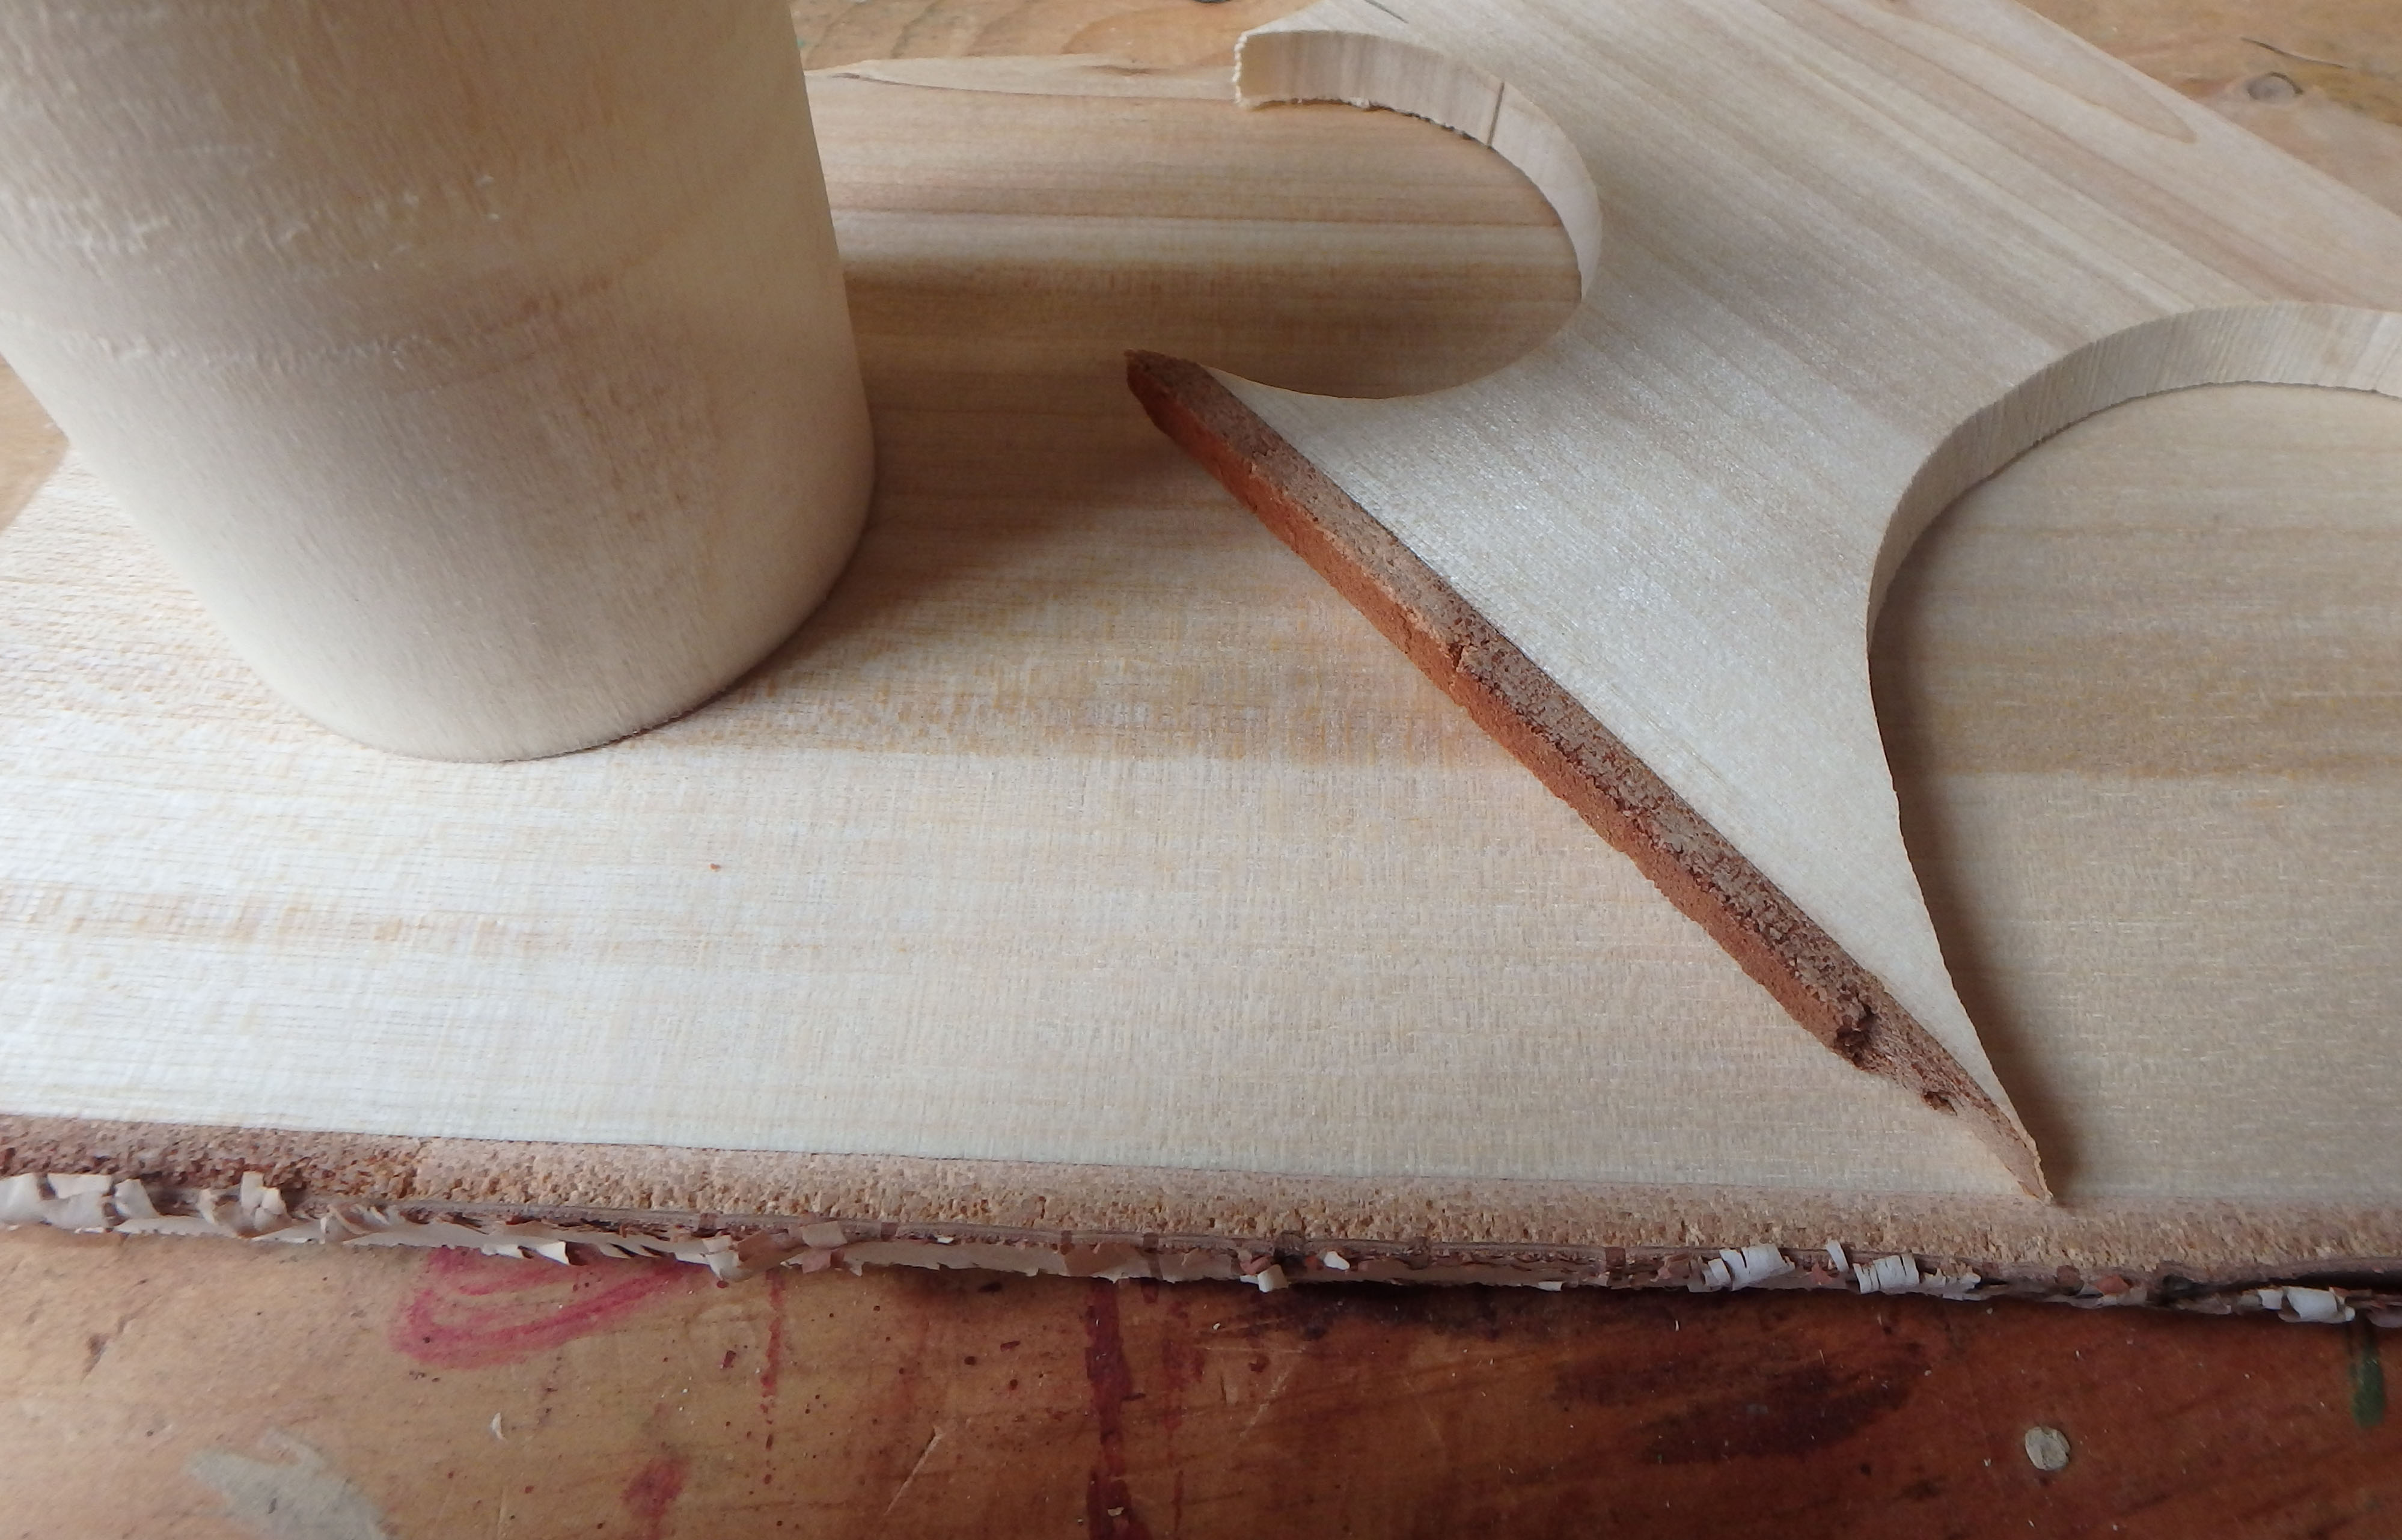
I trace the inside of the box onto the thin piece of birch, cut it out and carve the edges down to fit into the groove that I created.
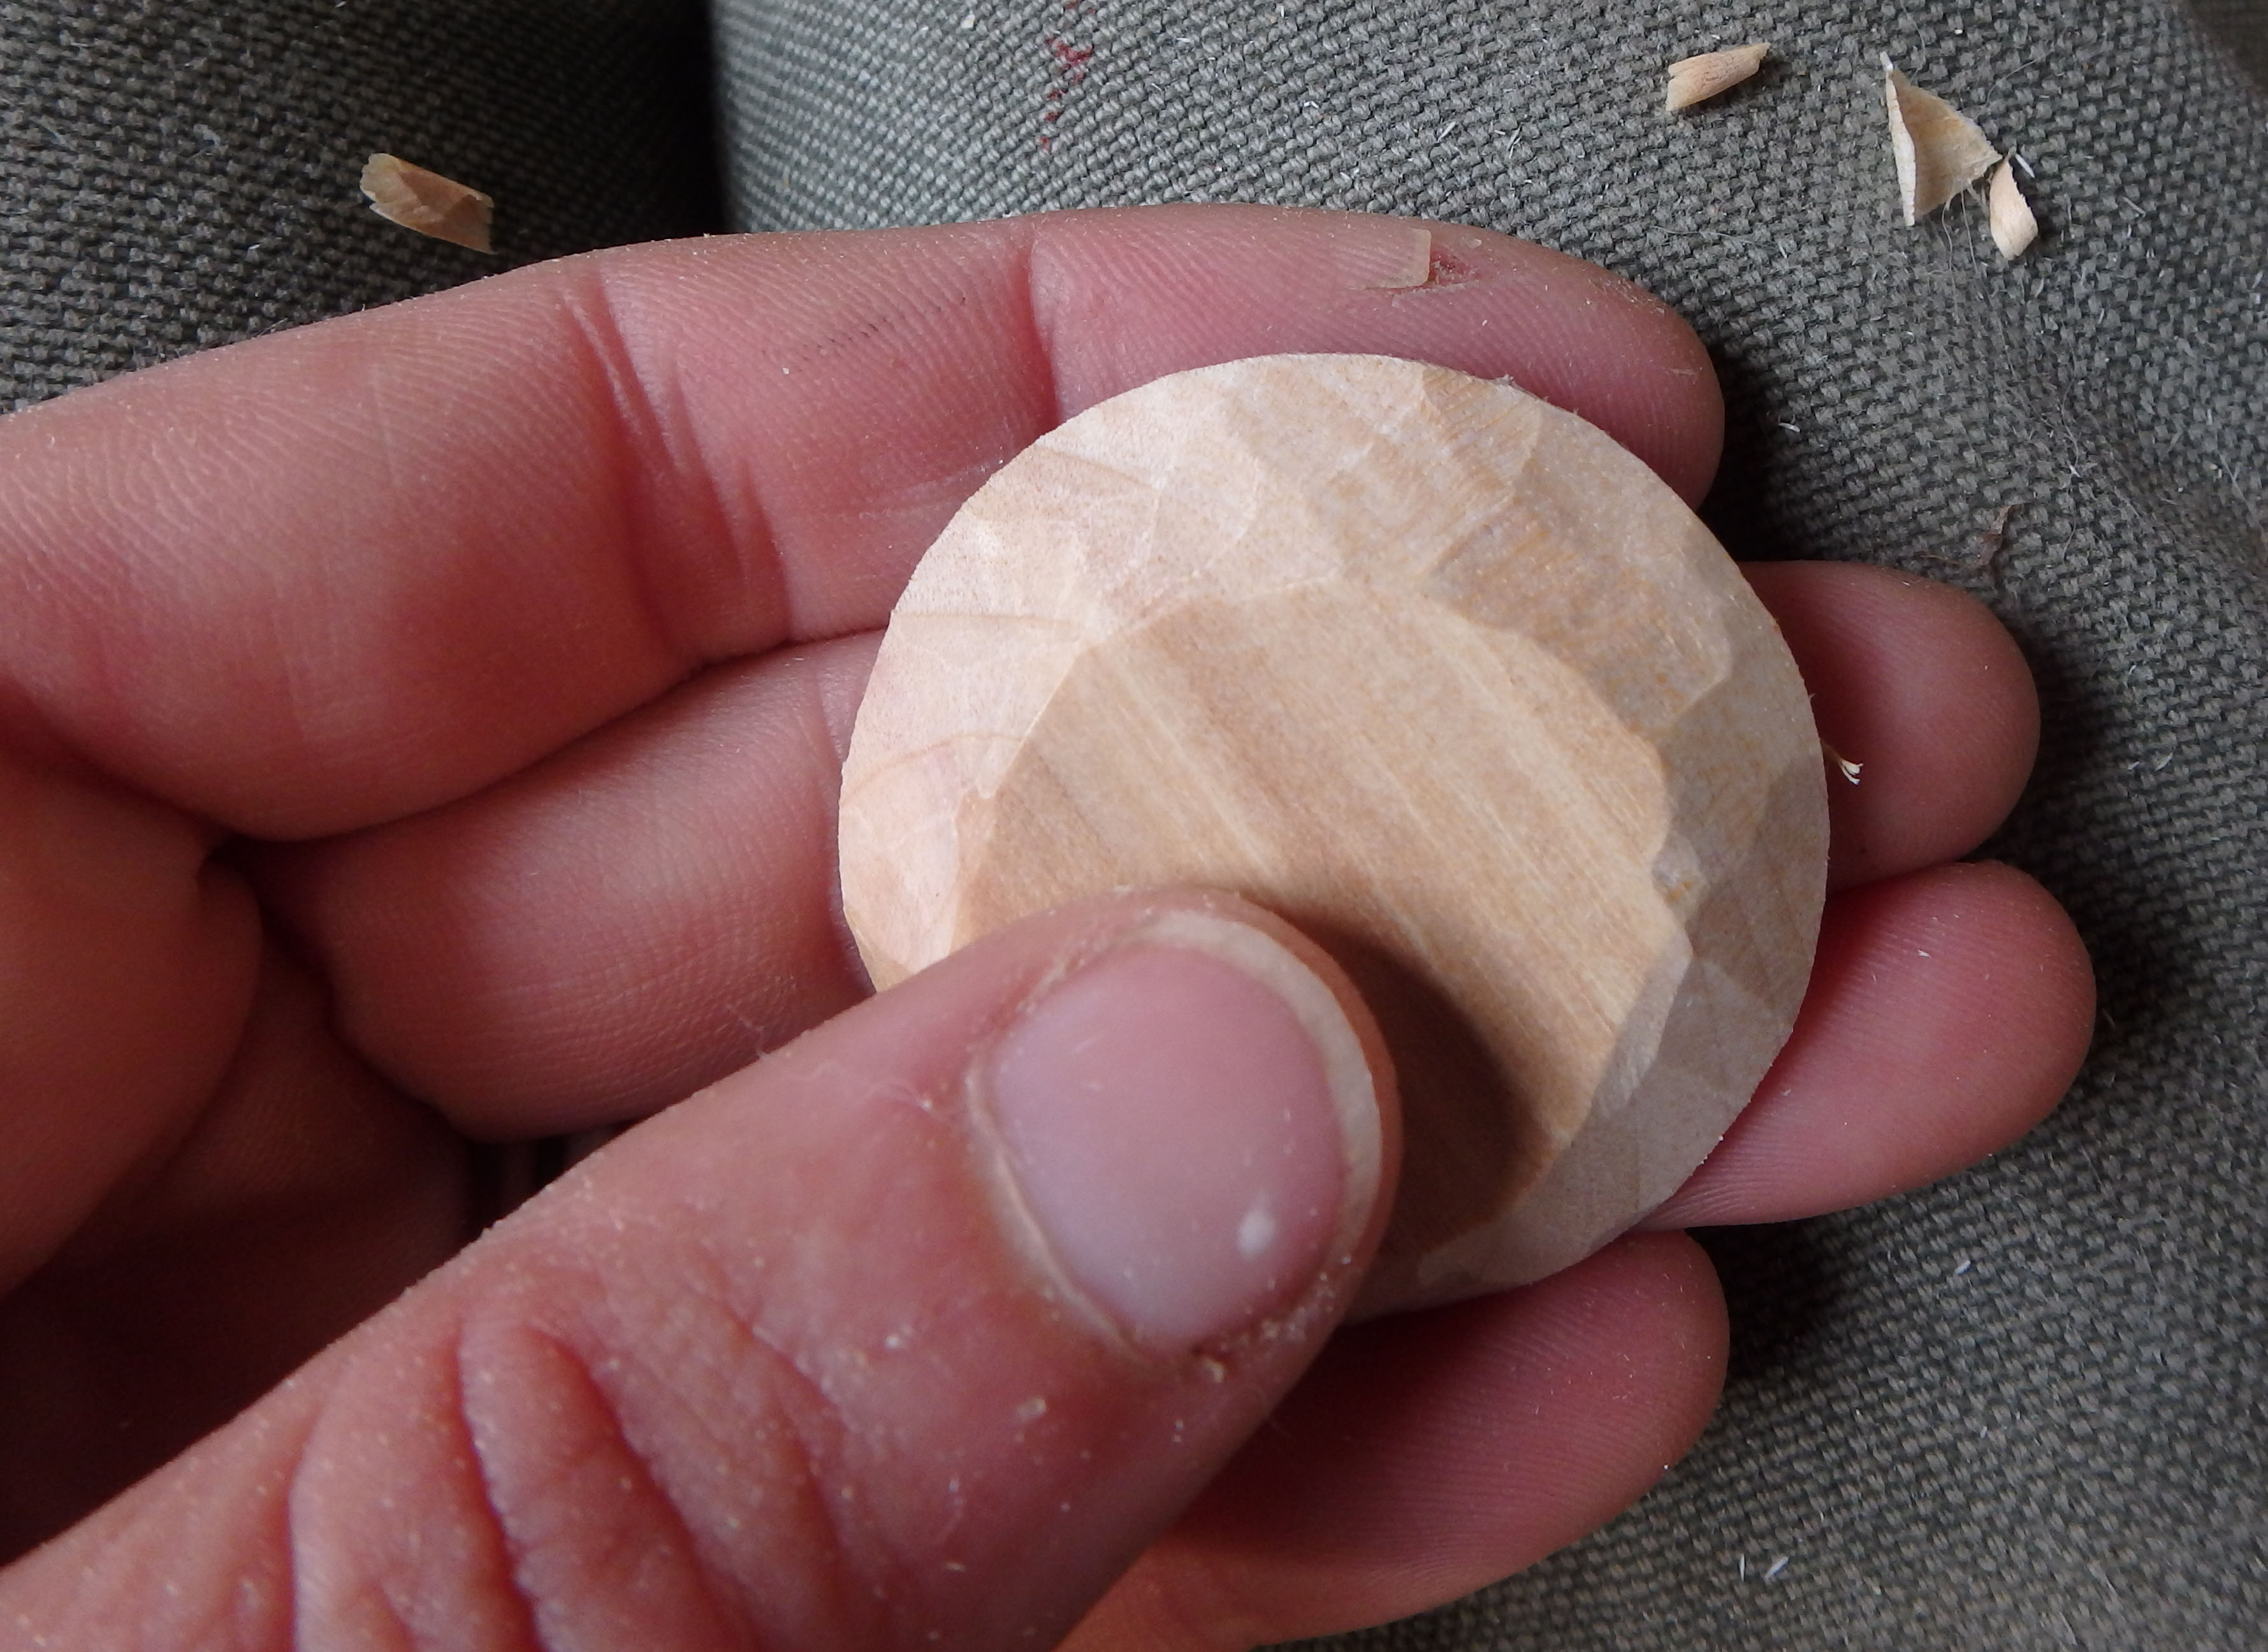
Then I POP! the base into its groovy home and set it aside for a week or so to dry out and shrink around the base.
When I return a couple weeks later, I carve the outside of the box with a sloyd knife and use an incannel gouge to add a nice finish on the inside of the shrink box.
This is an amazing gouge that my mentor Dennis Chilcote introduced to me and has graciously loaned to me. As opposed to a more traditional carving gouge which has the bevel on the outside of the curve, this gouge has a bevel on the inside.
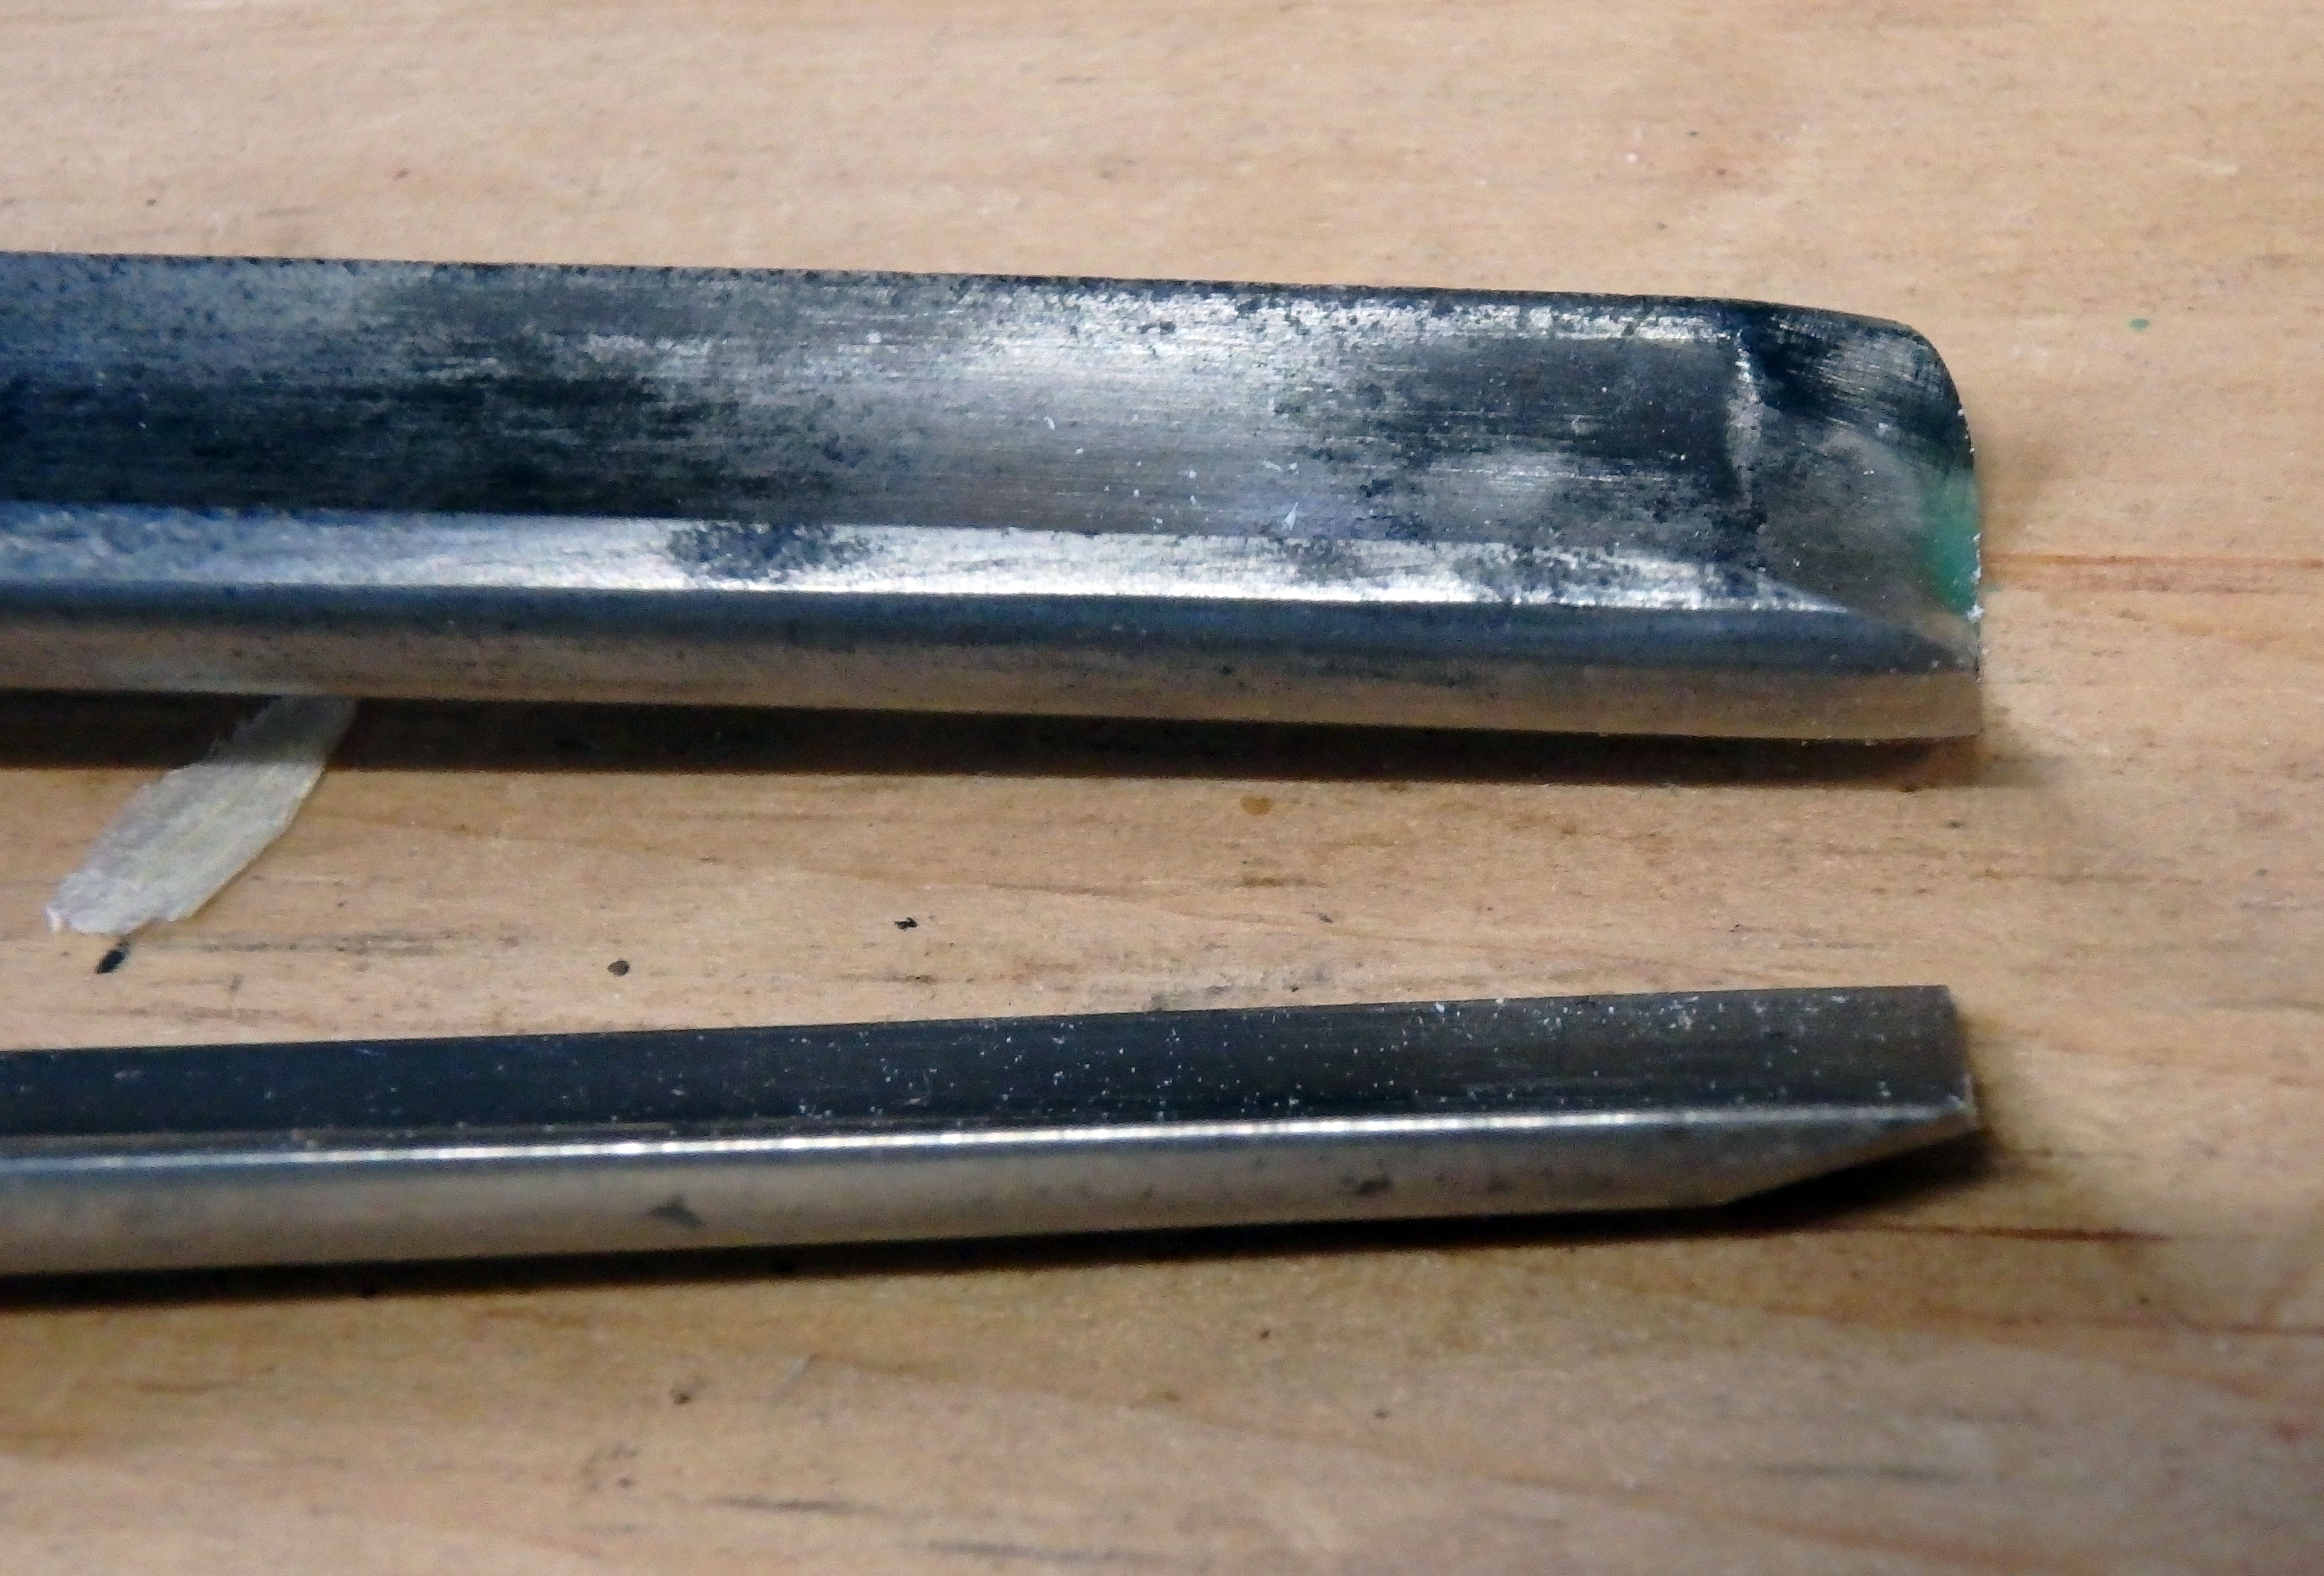
This allows me to run the length of the gouge straight down the inside sides of my shrink boxes, allowing me to get deeper into them with a more consistent cut than a gouge with the bevel on the outside. Then I am free to explore, using freeform chip carving, similar to what I did in the Bretton Spoon Carving class I took earlier this year with Jane Mickelborough, or relief carving, similar to what I explored with Else Bigton at the February Artisan Retreat, and with Jock Holman while serving as a class assistant in his Timber Carving class.
I’m excited to see where this shrink box journey leads and look forward to the day when the conglomerate of mismatched glass and plastic containers on my spice shelf are replaced with a full set of colorful and artistic wooden containers.