The Blanket Blog
In her latest blog post, Christine Novotny gives us a glimpse into the fascinating process of weaving large blankets!
In July, I traveled out to Vävstuga Weaving School to take a class with Becky Ashenden on Swedish weaving. Becky studied at North House’s sister folk school Sätergläntan when she was 18, and has been weaving and teaching in Swedish tradition ever since. I acquired a 56” wide countermarch loom last summer and have been teaching myself how to use it throughout the pandemic, so I was thrilled to go out and work with her and learn more about these awesome looms.
Among a number of projects at Vavstuga, each student designed, warped and wove our own wool throw blankets. I have made a few small blankets on my jack loom, but have run into issues with weaving wide and having appropriate tension and shed size to get a good rhythm while shuttling. Weaving wide on a countermarch loom totally changed the process for me. When properly set up, countermarch looms provide excellent tension and shed size, and require a much lighter touch in treadling than lifting shafts on a jack loom. Learning all these tricks totally changed the process for me, and I came home ready to take my loom to the limit and weave up some nice fulled wool blankets for the winter.

Dressing the loom with my blanket warp
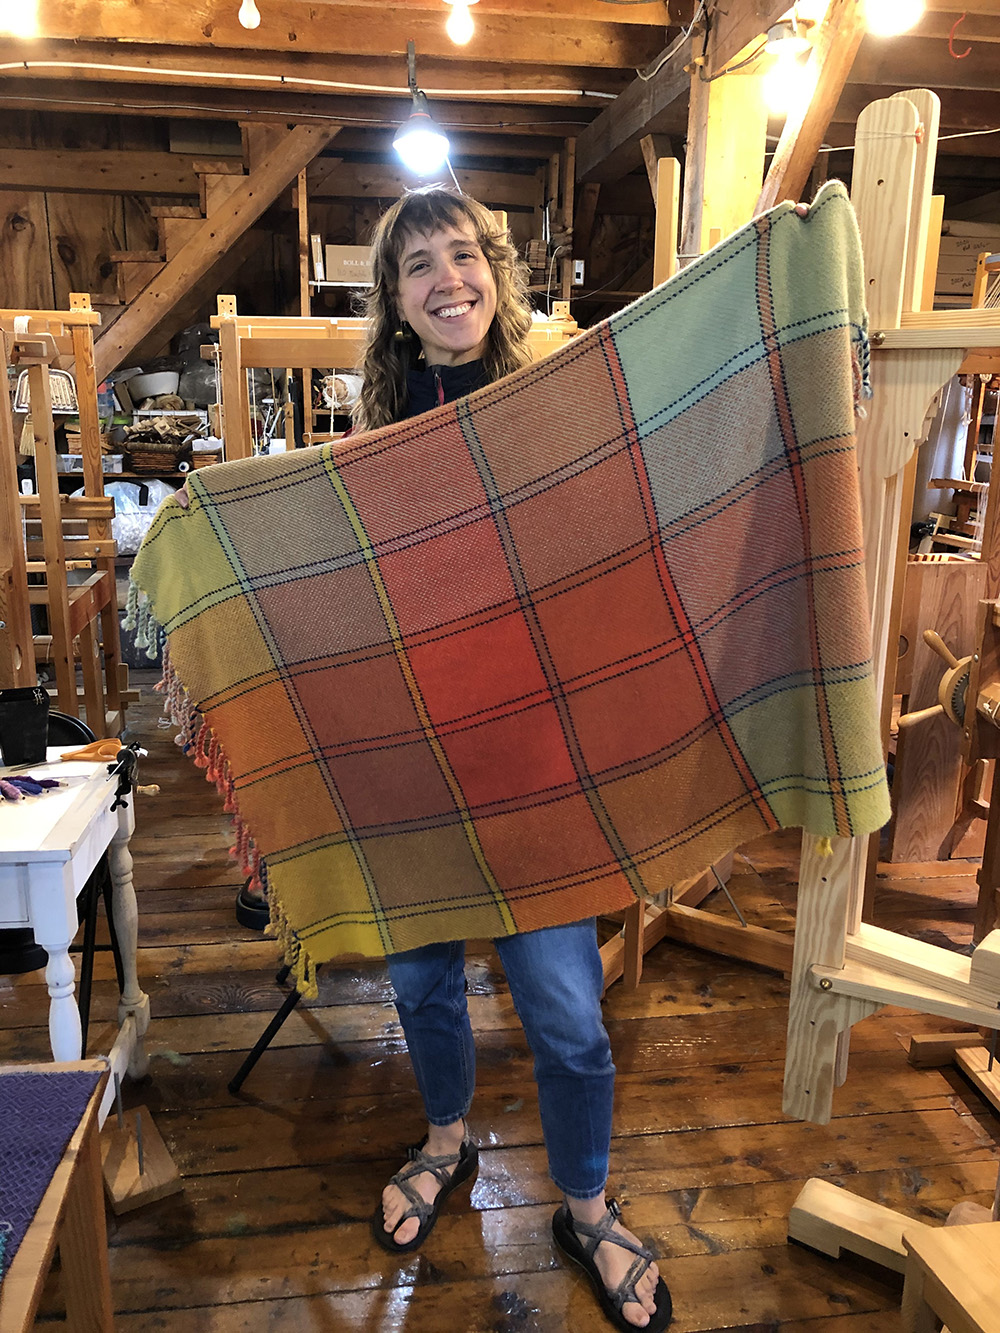
The finished blanket on our last day of class. Thank you to Becky for all your excellent instruction!
As with any larger items in craft, weaving larger blankets requires more time, materials, and intention which can make it risky! But thankfully in the Artisan Development Program, we are encouraged to take risks and try new things, so I went on my way. I created a design that I’ve been internally referring to as “False Ikat”, using a turned twill weave structure to make stripes appear and disappear while weaving, like the resist dye of ikat handwovens. The warp is very colorful while the weft is all woven with just one color. A huge part of what I’ve been able to practice while in the ADP program is how to use the loom to create color changes and designs so that the weaving portion is more efficient. You wouldn’t think it takes much time to switch colors while weaving, but it can really add up and interrupt the flow of weaving.
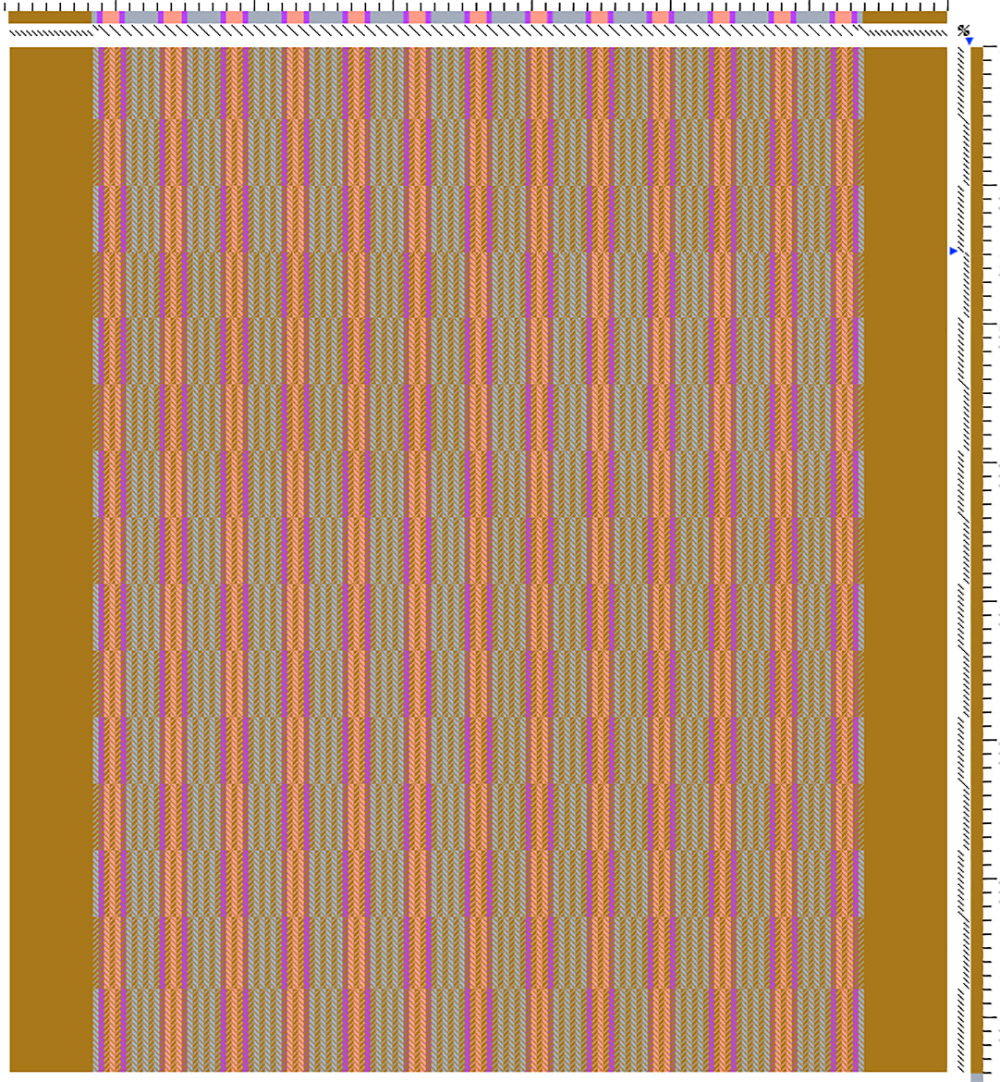
Blanket draft and design, ready to go. All the color is in the warp (top color bar), while the weft is all camel colored (right color bar)
I wound on enough wool warp for 4 blankets, using a 3/8 wool as my warp. The total length of the warp was 9.5 yards with 676 individual warp threads over 56”. This equates to 6,422 yards of yarn, and if you tied it all together and spread it out, over 3.5 miles! I wound the warp in three chains, which helps improve tension as you’re winding warp onto the warp beam.
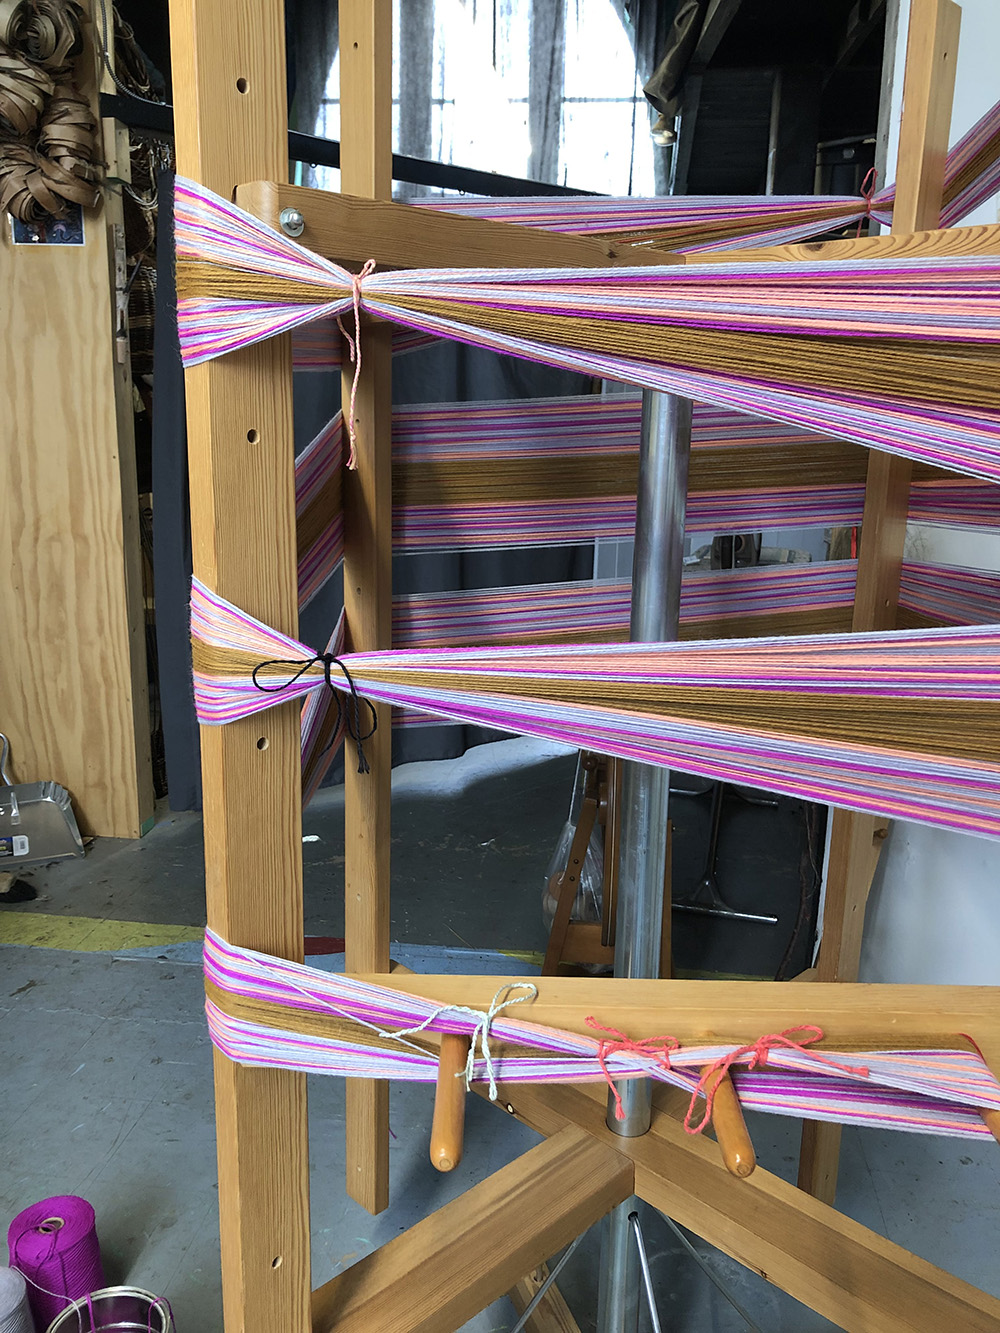
One warp chain on my warping reel, ready to be chained off
Next, I had to enlist some help! I recently purchased Ulla Cyrus’s Manual of Swedish Handweaving, which included a multi-person beaming technique which would be perfect for beaming this wide warp
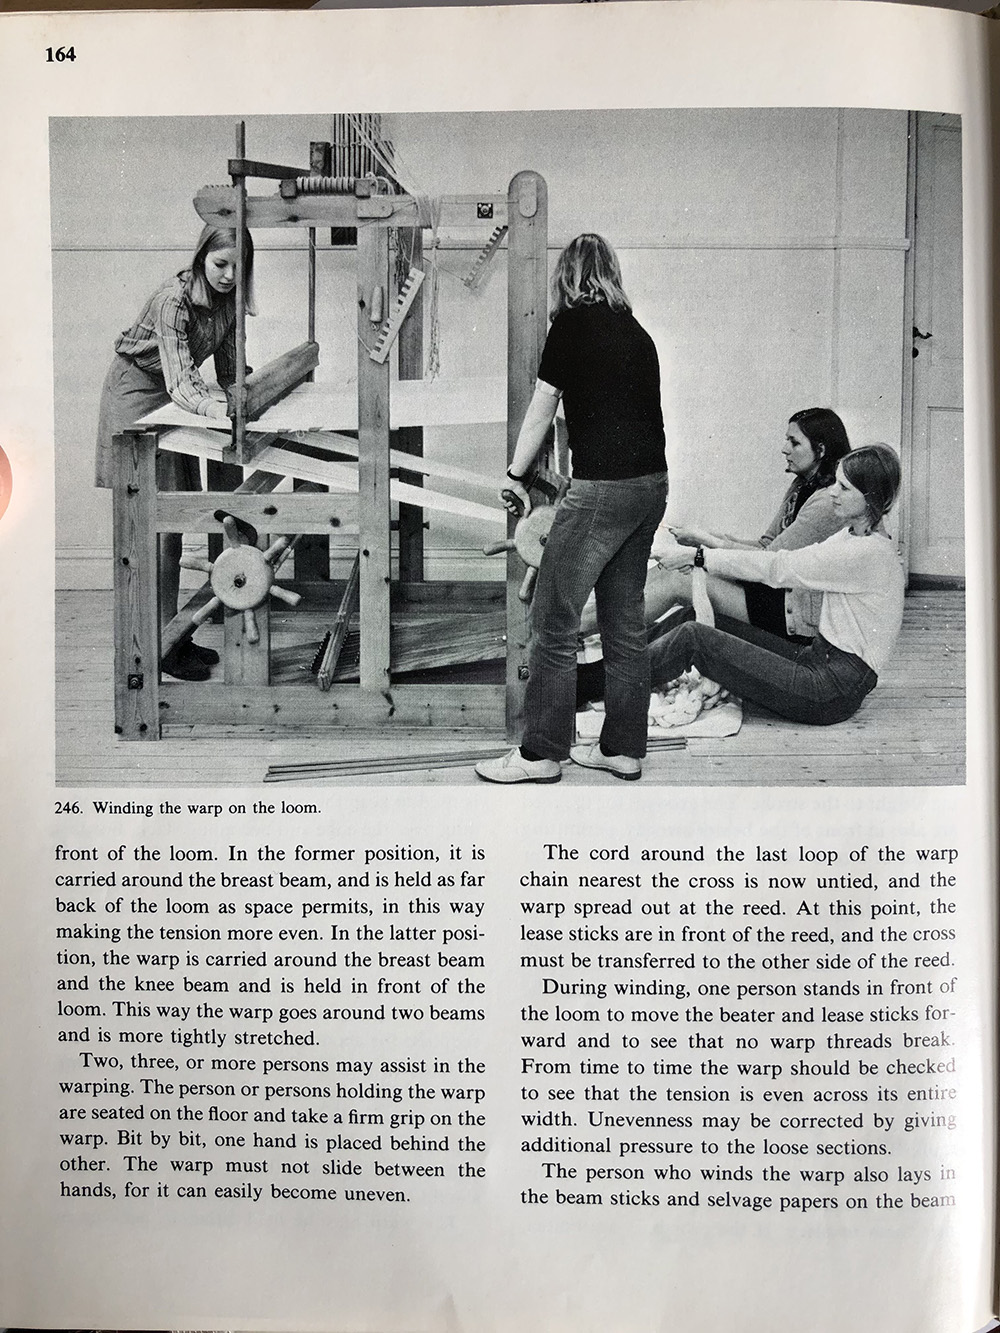
Warping can be a group project!
With the help of some friends, I practiced this technique, pre-sleying the warp in the reed, feeding it under the knee beam, and then out the back under the warp beam. The friends pulled tension on the warp chains, while I checked warp tension as it was feeding onto the warp beam, laying in warping sticks at regular intervals to ensure the threads laid on a nice flat surface. Warping with people involves a lot of direction. I was regularly feeling tension in different places and asking for one of them to pull more tension, or another to loosen up. They were all such champs, and we got the whole warped beamed in 45 minutes!
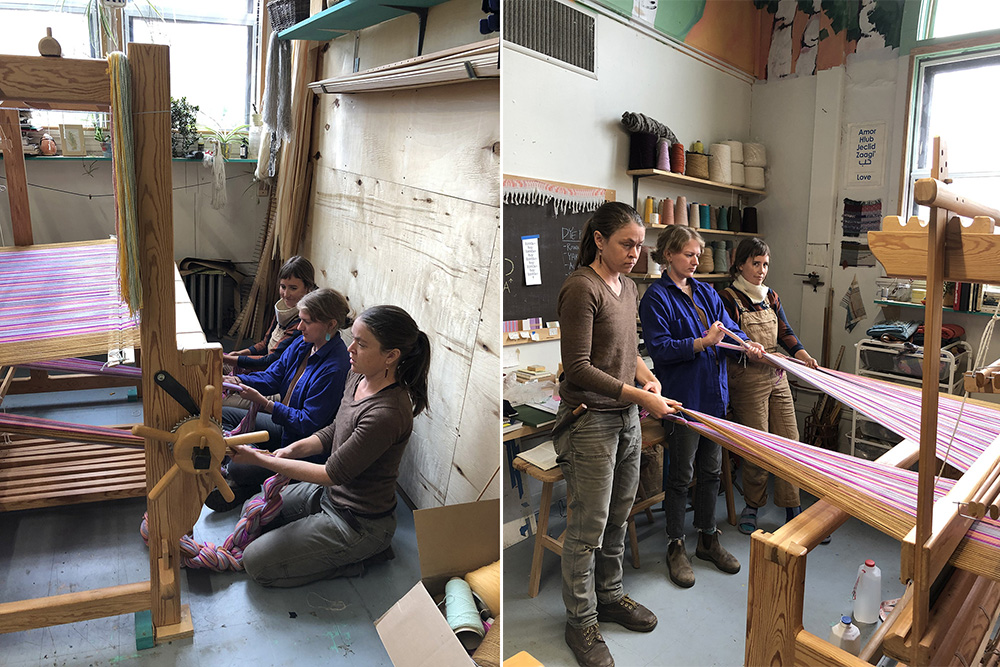
Emily, Sara, and Abby holding tension on the warp chains at the back and then the front of the loom
The next steps were all straightforward with the dressing the loom process - threading each heddle according to my draft, sleying the reed, tying onto the front beam, and connecting treadles to the shafts. Within a day or so, I was ready to weave!
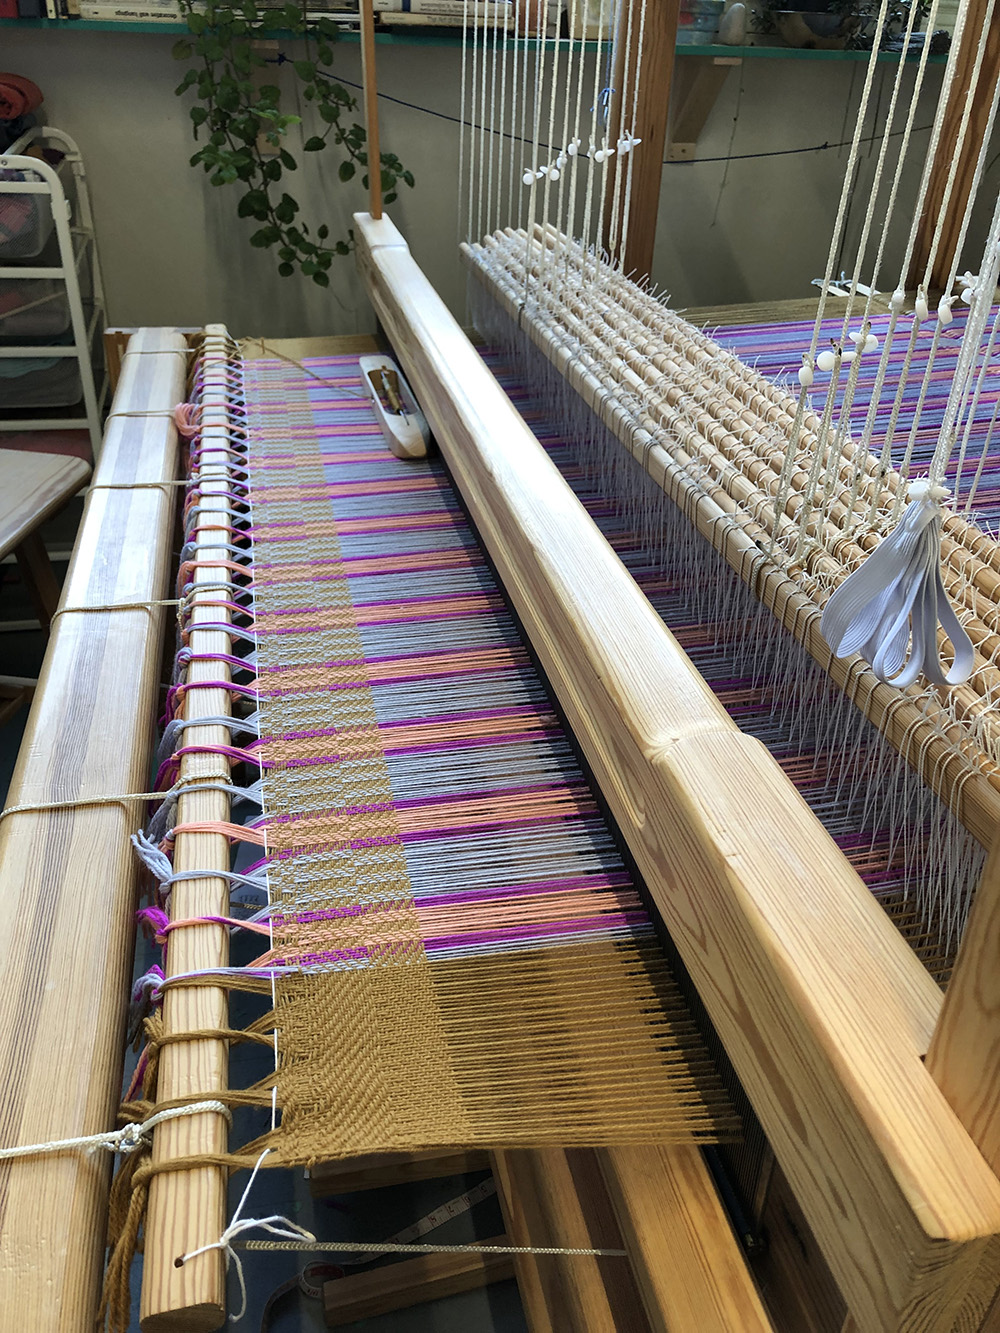
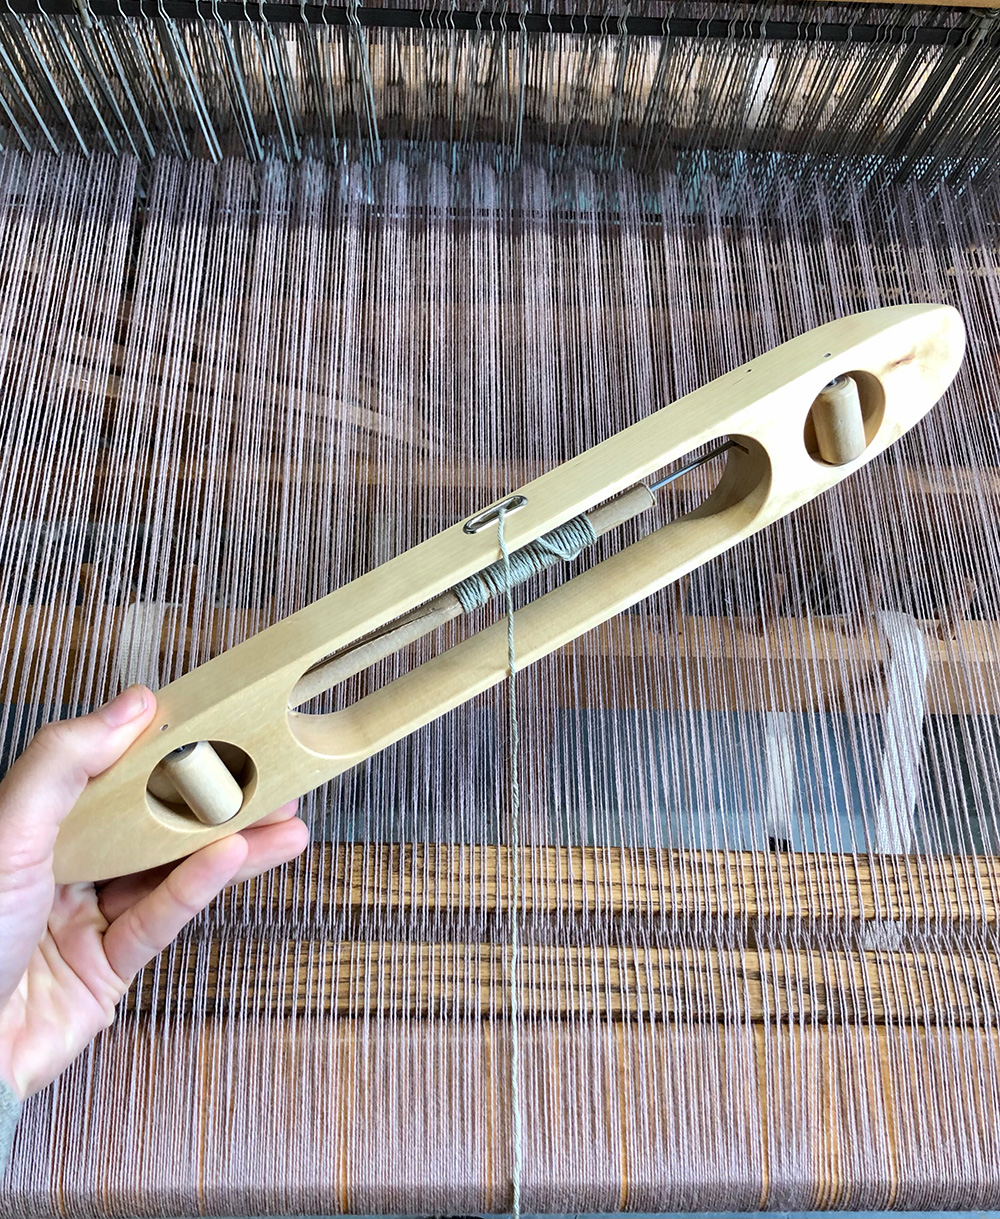
Weaving wide is a whole other animal. At Vavstuga, I used a large shuttle with rollers for the first time. This was a gamechanger. The rollers slide across the shed brilliantly. I also learned that when you’re weaving at a wider width, the bobbin should be shorter so that it has room to slide around on the pirn. I’ve been making my own quills out of heavy paper for the last year, and I love being able to cut them to size for the project and shuttle I’m using.
The Glimakra 15” roller shuttle, an essential tool for this process
And then, lots of weaving! It took some practice to find my rhythm. I had a lot of nose dives of the shuttle through the warp as I was practicing the right amount of oomph to send it across 4.5 feet!
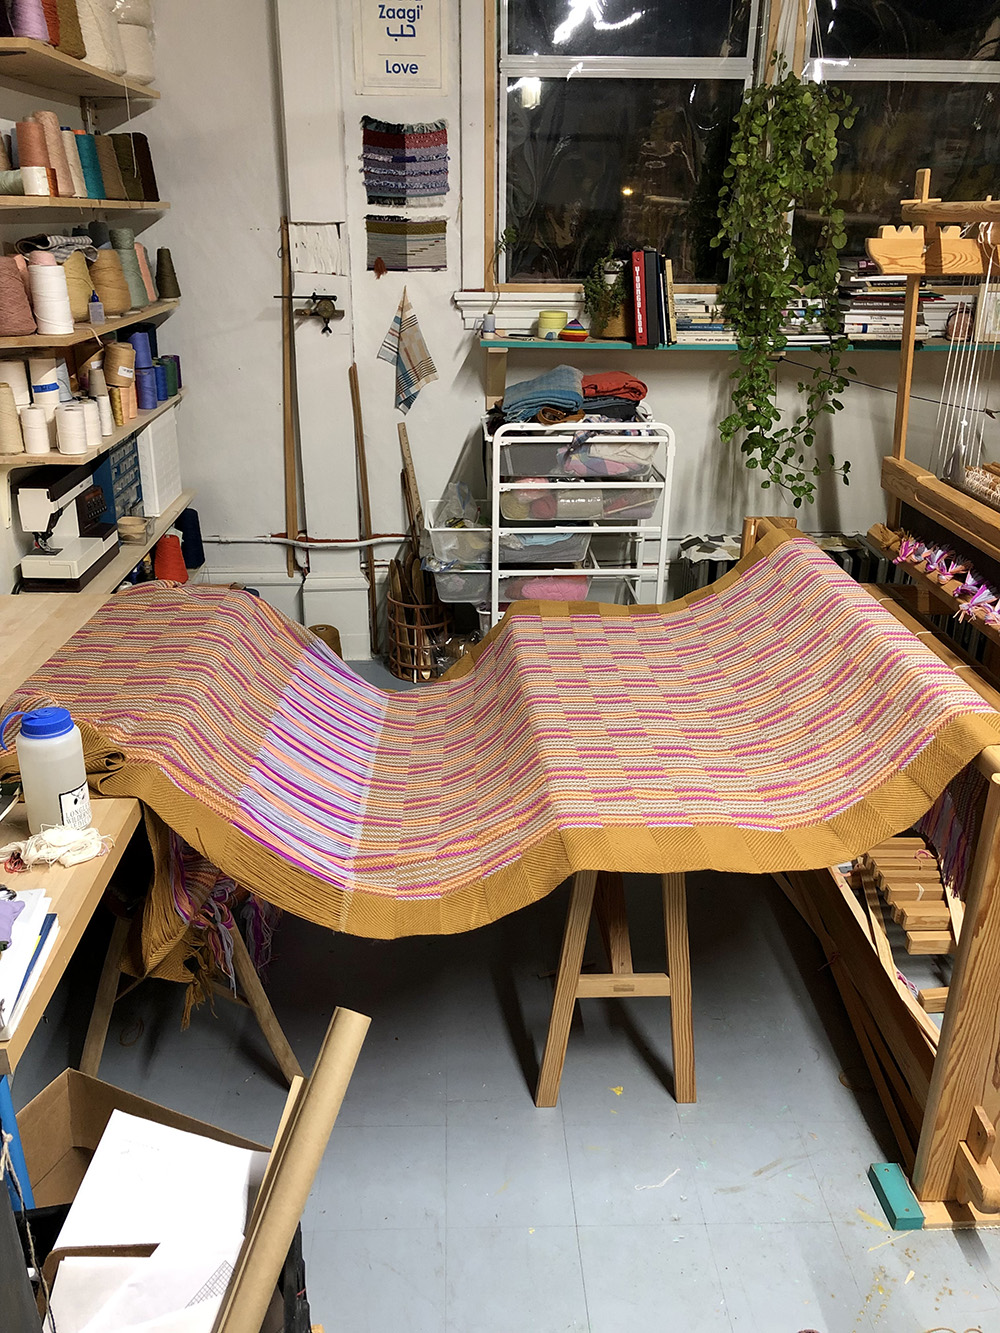
Weaving in my sundrenched studio. I love how full-body this kind of weaving is!
Four blankets came off the loom in two rounds, one for North House’s Unplugged Live Auction, and the rest will be on my webshop in October for holidays. I love the design so much that I’m doing another colorway in blues and teals. Check on my website in the coming month for some finished photos!